
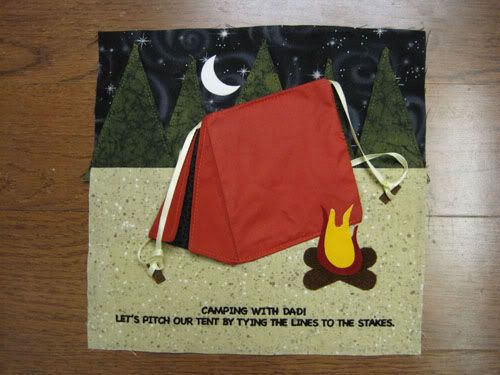
We're going to dial it back a bit and tackle an easy one pager. You'll see why during final assembly, but we need two pages to be single pages in this book. Pitching a tent is going to be one of them. The second will be a fuzzy one :)
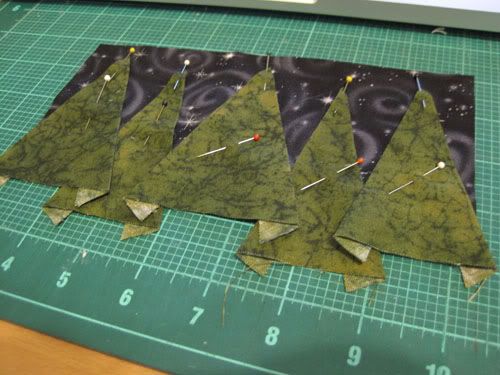
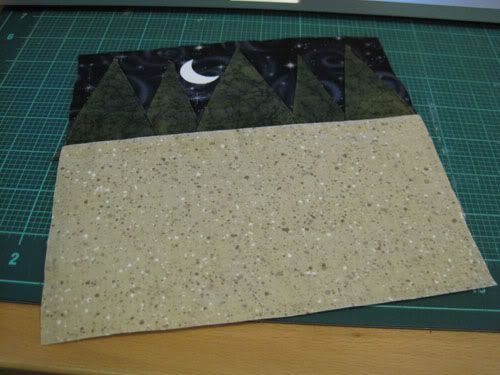
To begin, prepare 2 large and 3 small trees by pressing .5" under on the sides.
Arrange on your ready-cut sky (3.25" x 7.5") and pin into place.
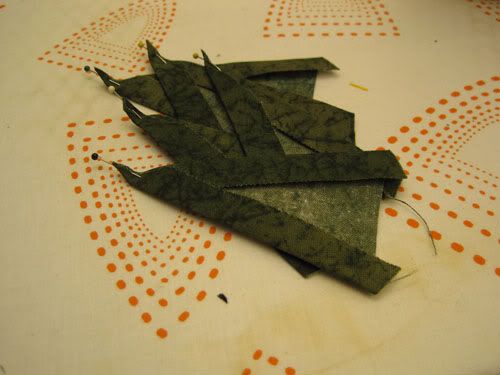
Topstitch into place, starting from the back trees.
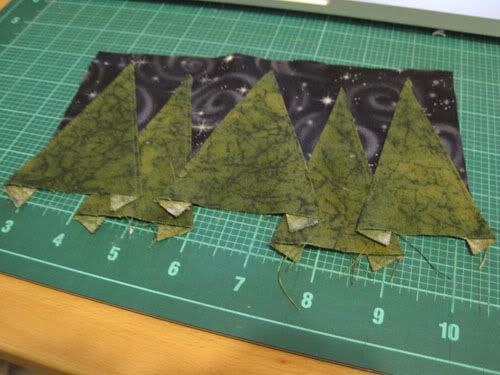
Trim the excess of the trees and sew on the ground portion. Press and slap some fusible fleece on the back.
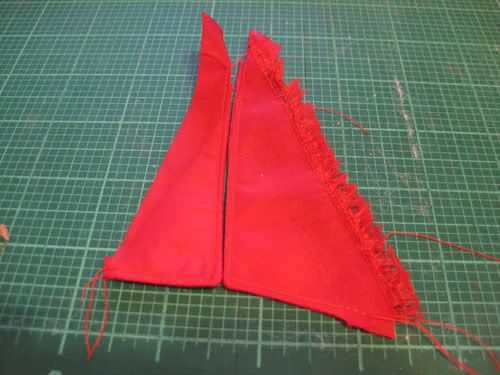
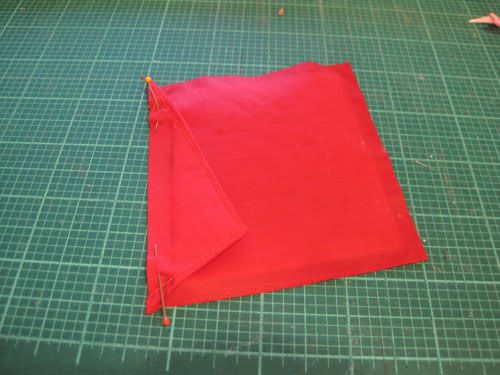
Prepare the flaps of the tent by cutting their pattern pieces from fusible interfacing and iron it to your material (I chose nylon). Face it with another piece of fabric, and sew around the two inner sides, making sure that you leave a good amount of fabric to the outer sides. Turn and topstitch. Then, trim the excess off the outer sides while leaving yourself a 1/4" seam allowance.
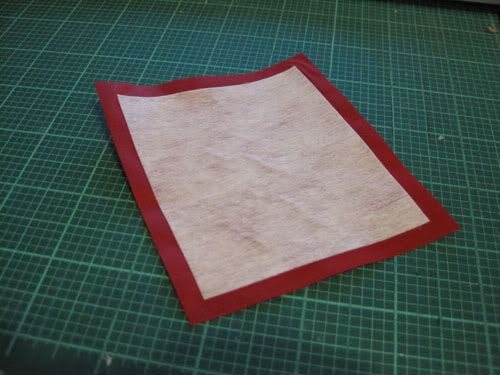
Cut your inner tent piece out of black fabric and your tent side piece from interfacing. Adhere the interfacing to your tent material and cut the fabric .25" away all around.
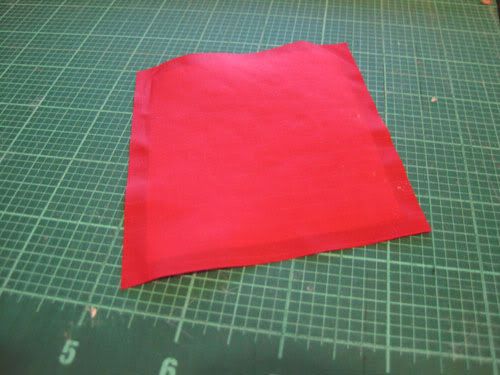
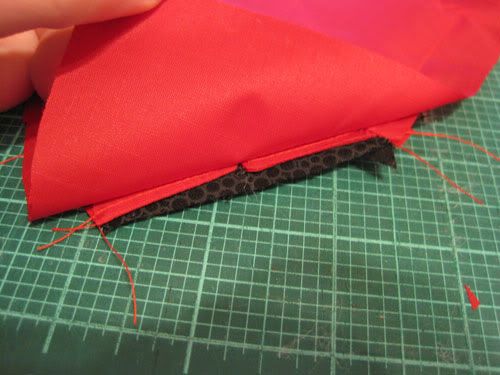
Layer the pieces as follows:
Tent side
Right flap (note how I lined up the finished edge at the bottom with the tent side's interfacing)
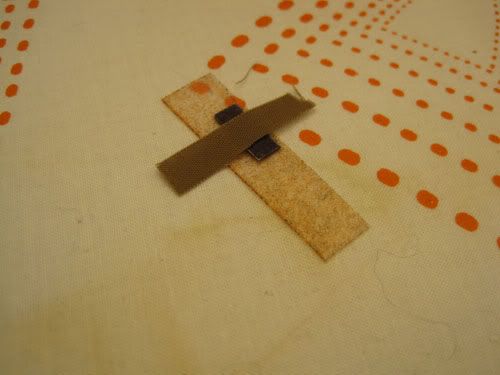
Ribbon
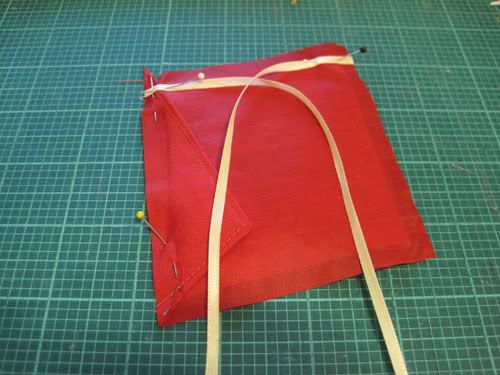
Inside tent piece, face down and seam allowances lined up (I marked the seam allowance on my tent piece)
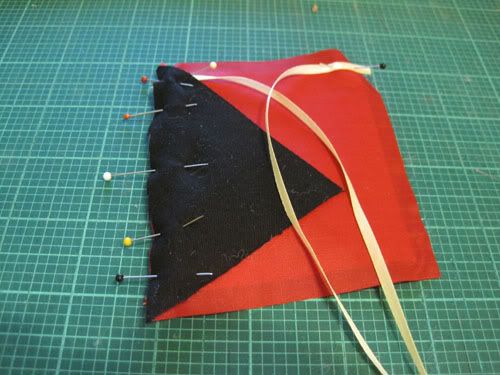
Sew the seam
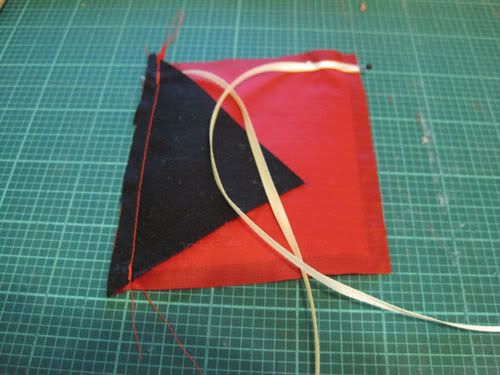
After pressing the seam open, pin the left flap on like so (you'll see that I didn't leave much of a seam allowance on the left piece - don't do this)
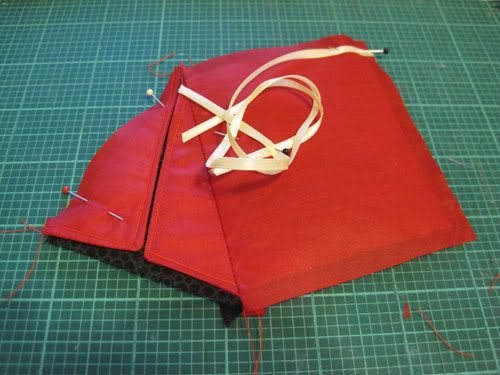
Position over your backing fabric, right sides together, and roughly trim after pinning.
Sew all around, leaving a turning hole. Make sure this hasn't happened to your flaps (if it does, redo it so the flaps are free).
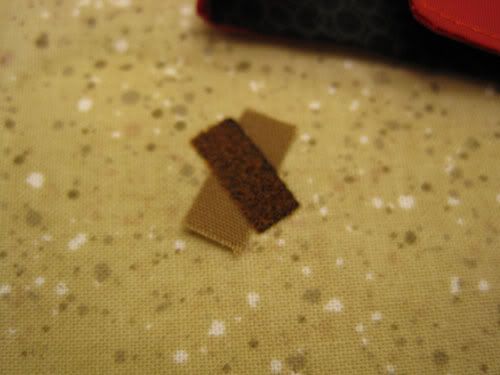
Trim and turn
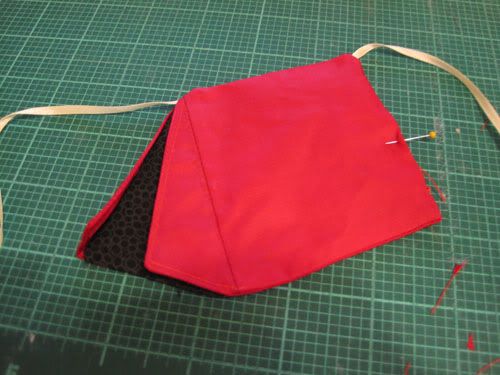
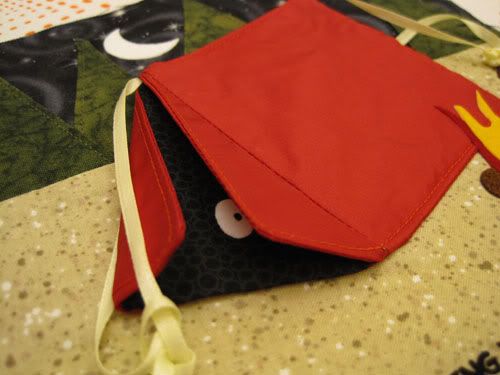
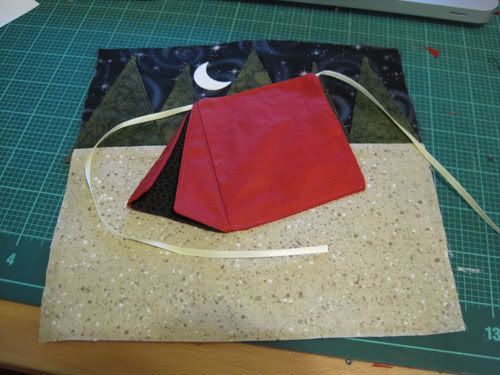
Position on the scene and pin down (pretend I'm showing pins here)

Topstitch along the bottom and for about an inch in the center of the top - leave the corners loose so the tent can be "pitched". Close your turning hole either by hand or catch it in your topstitching. I failed to accommodate this and put mine on the side - I hand sewed it.
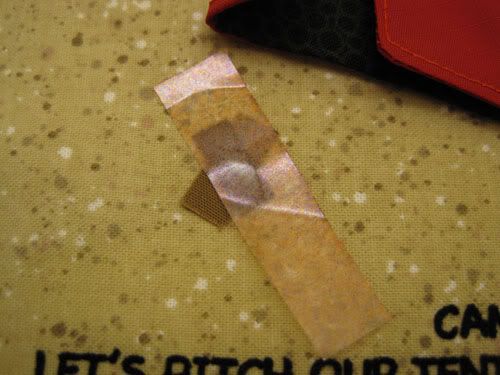
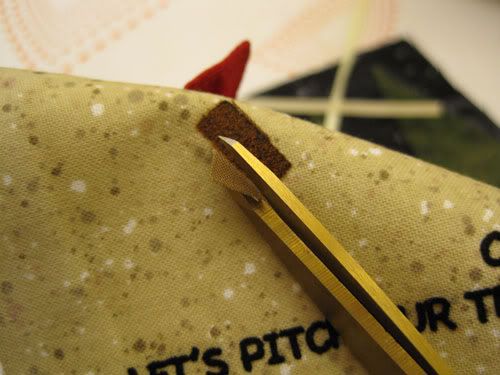
To make the "stakes", cut a piece of scrap fabric a little narrower than the length of the heat transfer stakes.
Position it under the stake on the page, and press. Trim the excess
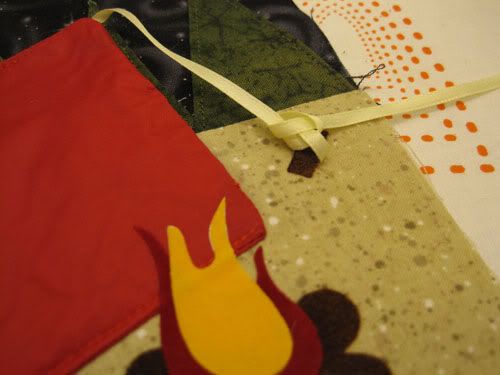
Finish up the graphics, put some fray check or glue on the ends of the ribbons (to keep them from fraying and to make them stiff). Done!
Thought this was fun? Just wait for the next page and while you're at it, be my fan!


How do you come up with these things??? CUTE!!!
ReplyDeleteAwesome!!
ReplyDelete