Oh man, I was so excited to get to this part.
Two weeks of work (many of them late nighters) and I had only hours to finish this up. And, I had never attempted this construction method before so I was nervous about how it would go as well as how well the book will hold up. Fortunately, I work with its recipient every day so she'll know she can send it in for repairs if needed.
To begin, figure out your pagination. Here's why we needed two single pages - they form the first right hand page and last left hand page of the book. You could get around this by making the inside cover page a quiet book page, but that sounds like a nightmare to construct so I don't recommend it. As you paginate, pay attention to thick areas of attached pieces or layers and try to spread them evenly.
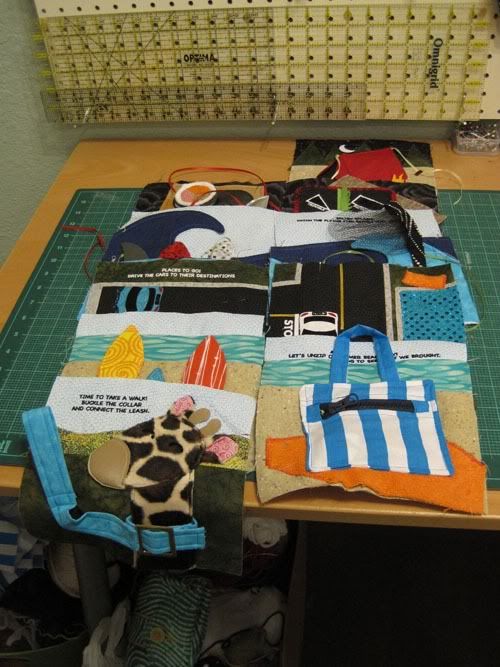
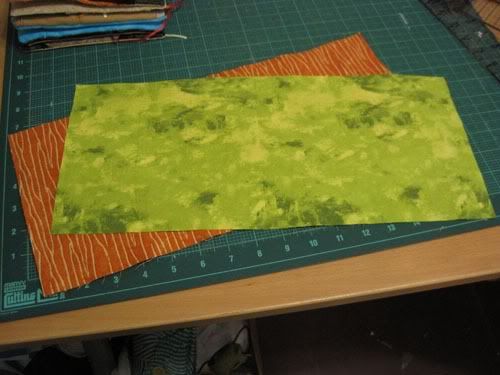
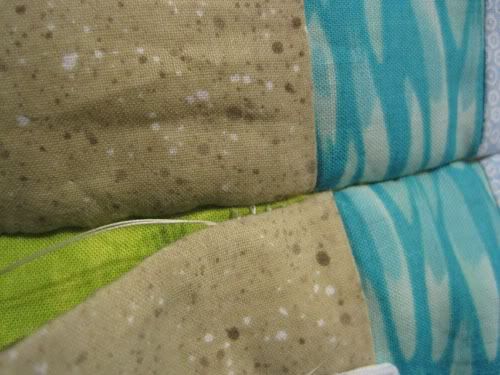
To make the pages, we're going to sew them back to back. What this means is that you'll sew a page to the back of a page from another spread. The pages below are an example of this - compare them to where they were in the picture above to see what's going on.
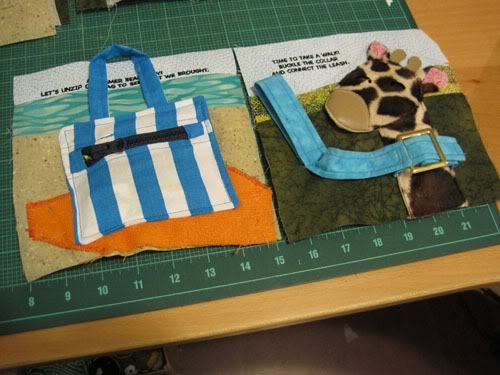
Pin them right sides together and sew, leaving a turning hole. If you're crafty you'll put the turning hole toward the spine so you don't have to sew it closed >:D
Repeat will all of your pages. Fun fact - we can almost get away with calling these "signatures" as a signature is a collection of prints that, once joined with other signatures and trimmed, becomes a book. Gosh, I'm such a nerd.
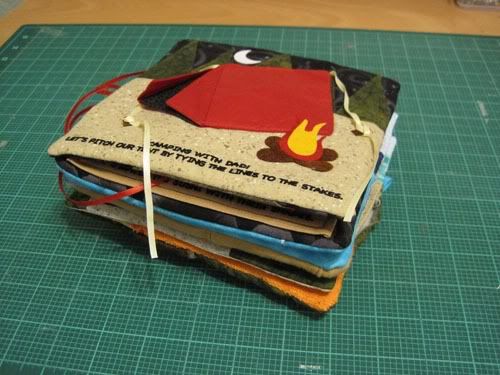
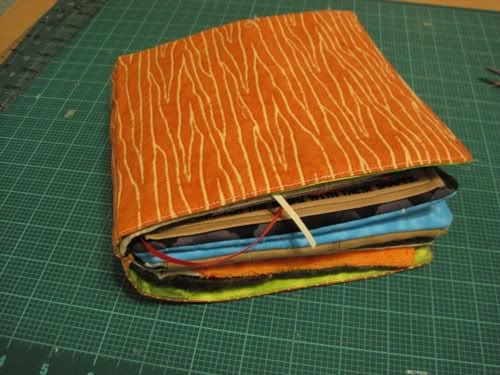
Stack them up, and measure the highest point. I got 2.5".
Looking back, I goofed up but my cover ended up perfect and I'm not sure why. The height we just determined is what equates to the width of the spine so naturally, that plus the two covers is the finished width of the cover. But, we have seams and I forgot to add a seam allowance to my raw cover width. The fact that my cover fit great could be in how I attached my pages, but I say do it correctly and add in your seam allowances. A little bit of cover hanging over never hurt anyone.
Sew, turn, press, topstitch...oh jeez is this the last time I have to say that?
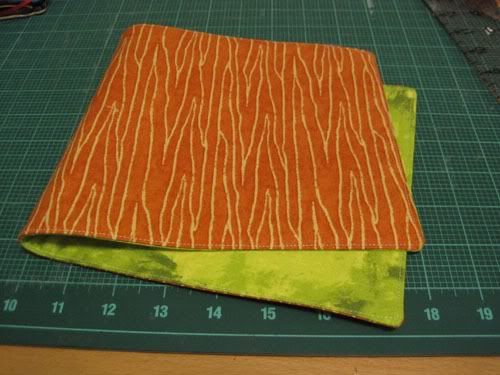
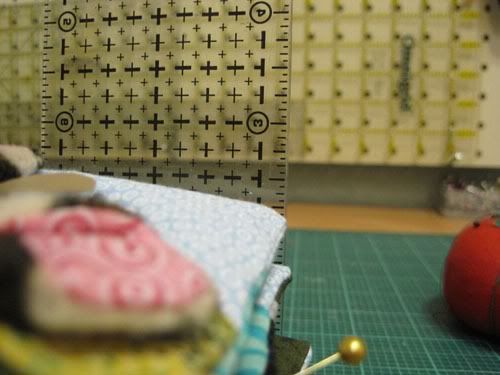
Iron creases at the edges of your cover, so 7" in from the right and left.

Then securely hand sew in your pages, starting with the centermost page that you have centered within your spine. And, since I've already outed myself as a nerd, we can call this perfect binding :) Perfect binding in the binding used for hardcover books. I did entertain a few saddle stitch binding options for this bo-...ok, ok, I'll stop with the design nerdiness. By the way, this nerdiness forces me to notice everything. I seem to notice Sketch Rockwell everywhere...gosh it is so annoying to be able to name fonts.
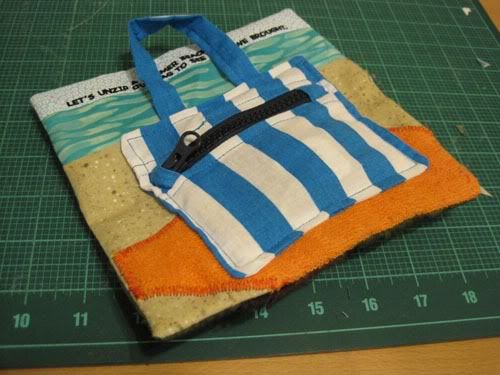
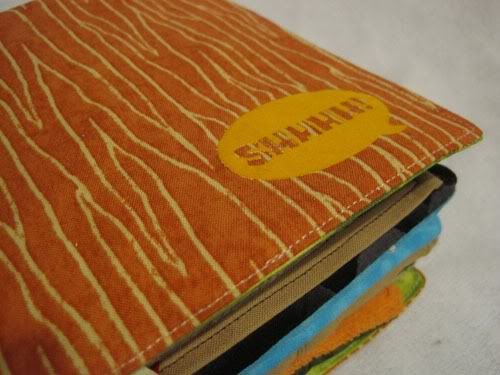
When you're done sewing your pages in, you get this!
I added a little logomark to it as well (hard to see):
Done! My next post will be an overview of the finished project, and while you're at it, be my fan!


No comments:
Post a Comment