
I have threatened several times to complete a newfangled quiet book and have yet to actually follow through. Well, with the invitation to a coworker's baby shower in just a week I have to, well, show you the money. Why doesn't anyone ever have to show ME the money? Am I disqualified because I worked as a bank teller for two years? I saw lots of money there, but I digress.
An ambitious project? Absolutely. Am I crazy? Does that question even need to be asked?
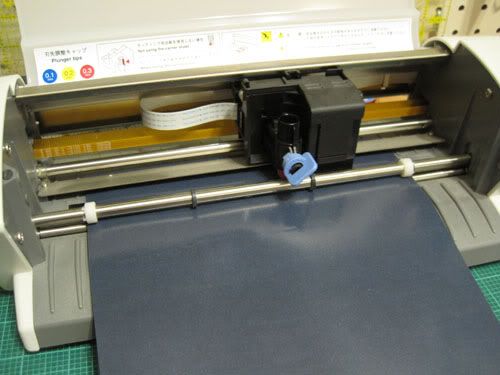
I'll do my best to blog along with each page, but it seems that time runs exponentially shorter the closer I get to deadlines and explaining what I do goes out the window. I might have mentioned my CraftRobo cutter before, but it is the same idea as a Cricut, but slightly smaller and it runs from Adobe Illustrator (a familiar name for anyone who's dabbled in professional graphics). Since it runs off of my computer, I can cut literally any design, including many of the elements of this quiet book. WELL worth the $325 price tag - it has paid for itself several times over now and I use it for all kinds of cool stuff.
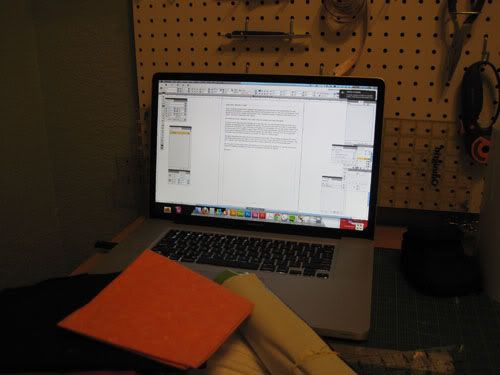
I brought my computer into the Fortress of Stitchery so I really have no excuse to not blog along now.
Some of the techniques and concepts I use are "for the comfortable sewer", so if you are new to sewing just take your time and be patient. The next piece of this book might be a better starting point for you. Buy extra fabric. Someone once told my mom that "you never screw up while cutting fabric; you've just cut a piece for a smaller project." I'll use many of the same techniques throughout, so I'll cease explanations of how I assemble things after this post. The handy thing about this project is that it is extremely scrap friendly. I'll be invading my stash and my mom's overwhelmingly geriatric-print fabrics. I won't tell you what fabrics to buy other than try to stick to wovens. Use your creativity. You'll also need some bits and bobs of ribbon, interfacing, and my beloved fusible fleece.
So, why sushi? We love sushi at work, and it has been a bit of a joke at work that my poor coworker can't eat anything while pregnant, including raw sushi. And we're going to teach this kid right, k?
We begin.
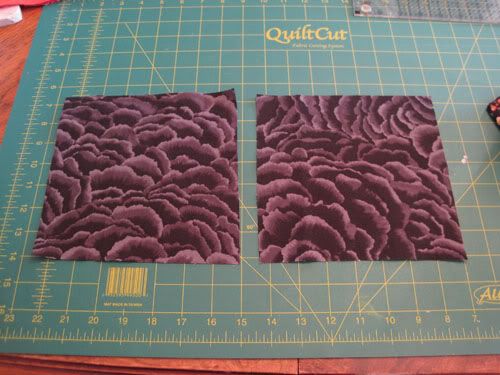
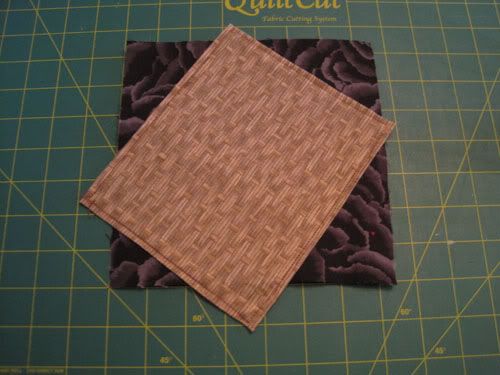
Cut out two 7.5" square pieces of your "tablecloth material". This will be the bottom layer in this spread. All of my pages will use 7.5" square pieces, just telling you that now.
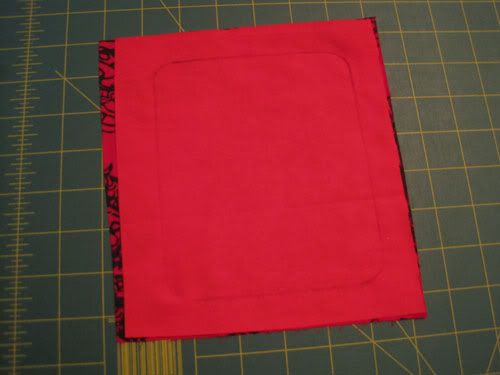
Cut out a 7" x 8" piece of your "placemat" material and press the edges under .5" all around. Normally I'd sew this to a backing and then turn and topstitch, but meh. This is easier.
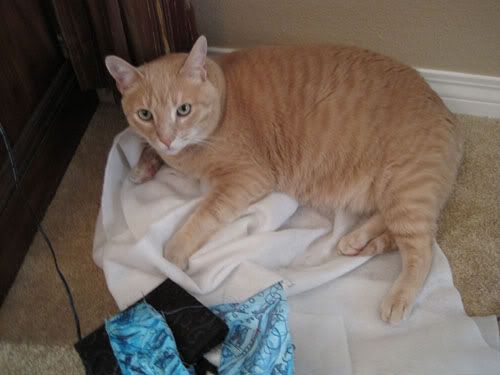
I should note that about this point John decided that he needed to rub some dingleberries on my fabrics. I should note that my cat does not place herself upon my sewing projects.
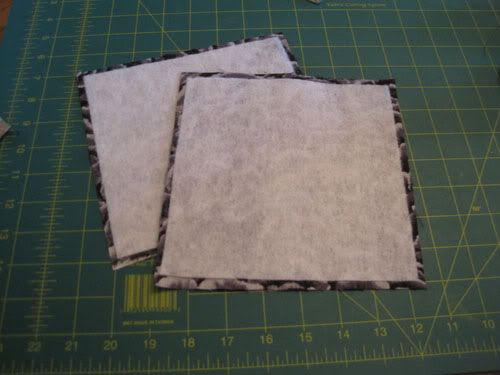
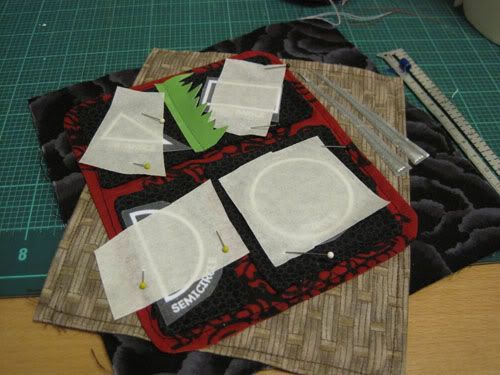
Now, to give the pages some body we need to add some fusible fleece. Cut two 7" square pieces and iron them onto the backside of the tablecloth, centered. Experience has shown me that things come out best when I don't have two thicknesses of fleece in my seam allowances. This prevents that and the fusible factor keeps me from having to pin them in. Handy stuff indeed!
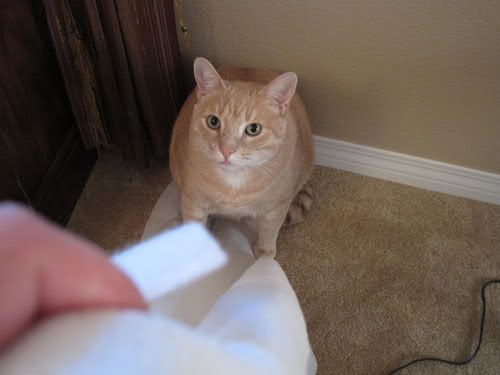
John was on my fusible fleece and didn't want to give it up :(
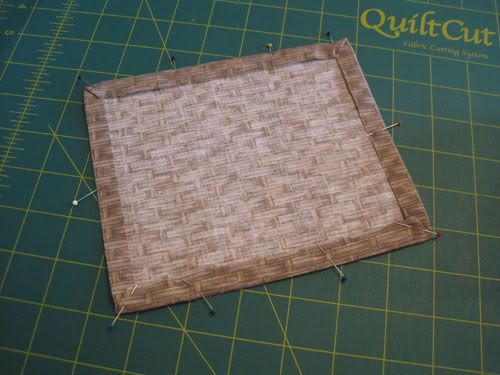
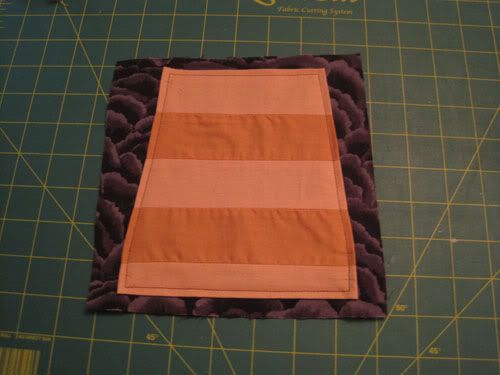
Lay the placemat on a piece of the tablecloth as follows (use the grids on my cutting mat as your guide). Topstitch it into place. Note that I topstitch 1/8" away from the edge.
Next, let's make the cutting board.
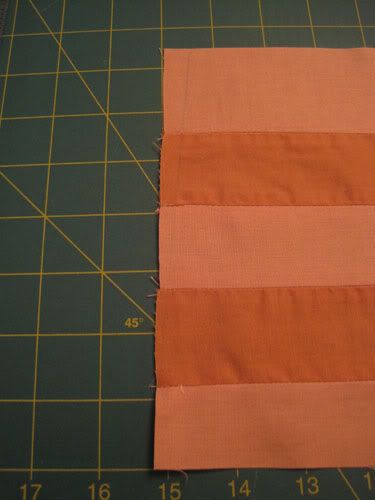
Cut a 7" x 2", 7" x 2.25", and a 7" x 1.5" strip out of one brown fabric and two 7" x 2" out of a second brown. Arrange them in an alternating pattern with the thinnest strip at the bottom and the widest at the top. Sew them together with a .25" seam allowance.
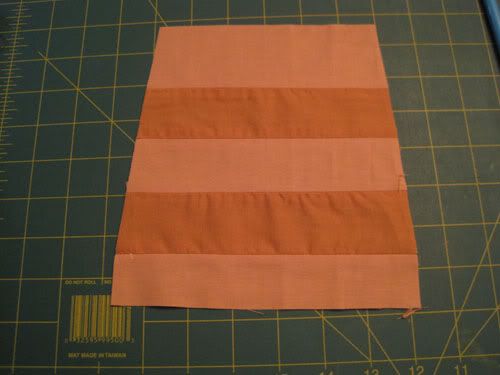
Measure .5" from the top edge of the board and mark. You'll be cutting from here down to the seam above the skinniest piece, at an angle as shown. Repeat on the other side. You can skip this step if you want to keep it simple (now is not the time to be saying this project is complicated...just wait).
Fold all four sides under .5" and press. Center on the remaining tablecloth and topstitch into place.
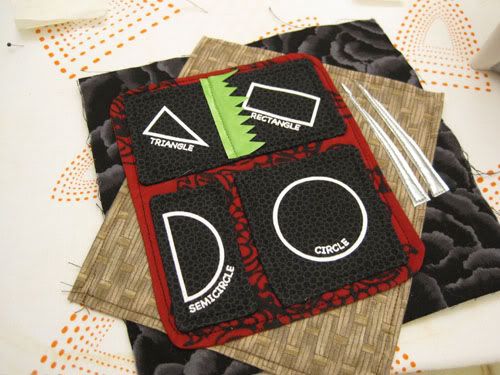
Let's make the bento box now!
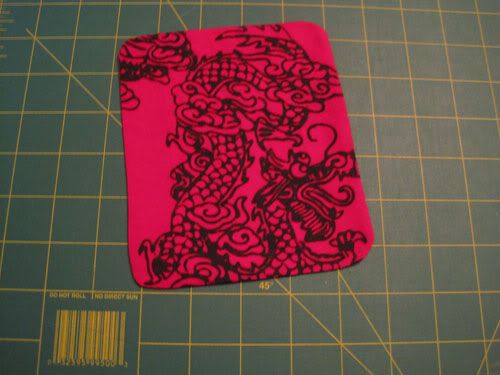
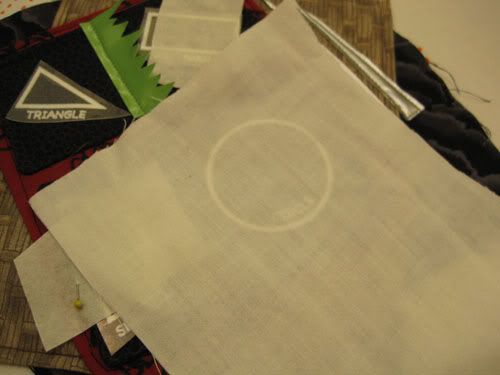
Trace the bento box pattern onto the wrong side of one of the fabrics you're going to use. Here I'm showing it on my backing fabric (my front fabric was too busy). Face it to your other fabric and sew along your traced line, making sure to leave a turning hole. Trim, turn, and press.
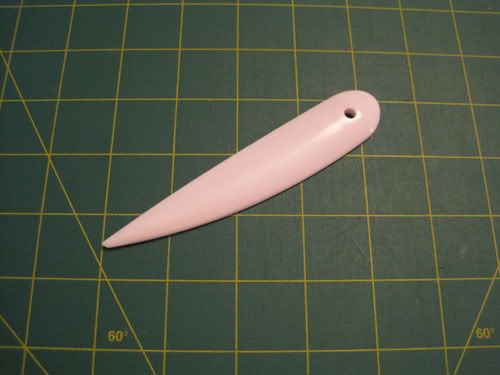
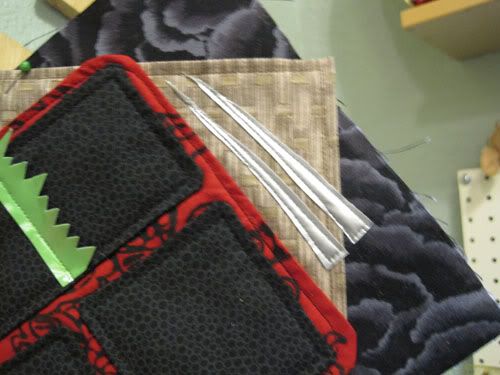
This is the best turning tool ever.
I trimmed my fabric about 1/8" away from my stitching, but I left about an inch by my turning hole and then tucked it inside when I turned it. When I topstitch this on the stitching will be sufficient to close this without hand sewing. I do believe that I've told you I'm lazy.
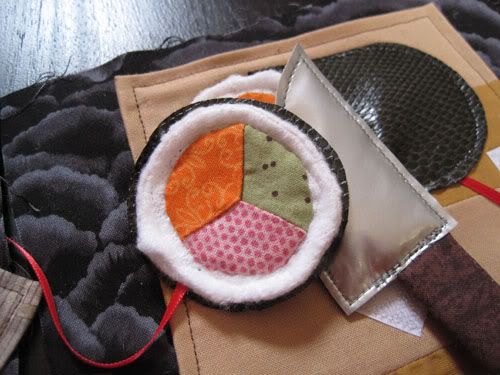
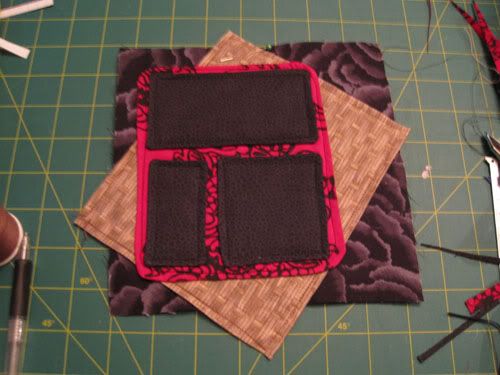
Cut the bento sections out of black fabric assemble them like we assembled the red bento box. Stitch into place.
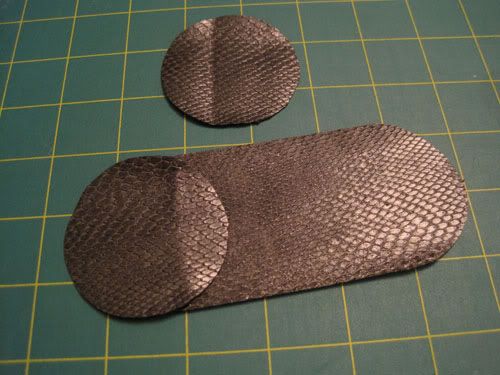
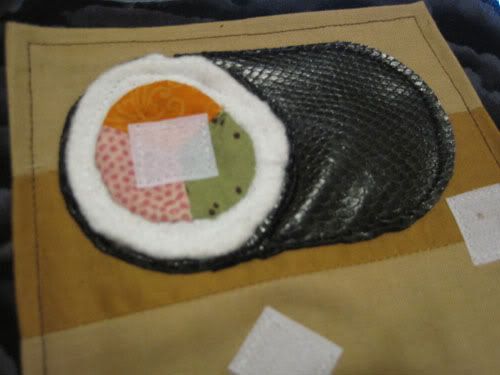
Cut out your "nori". I used snakeskin pleather.
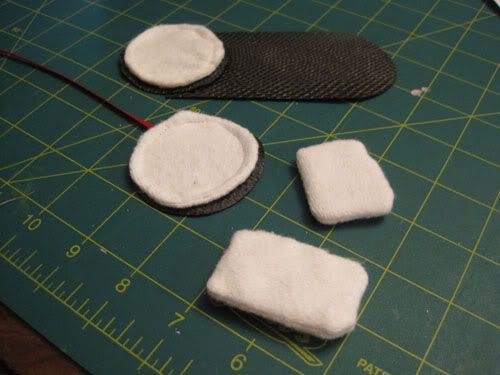
Assemble your sushi, making sure to install velcro and ribbon as you go. I think it's pretty clear what I did here to make the individual pieces of the sushi - I repeated the same process I used for the red part of the bento box.
Rice for the ebi and salmon, before turning and showing more use of fusible fleece.
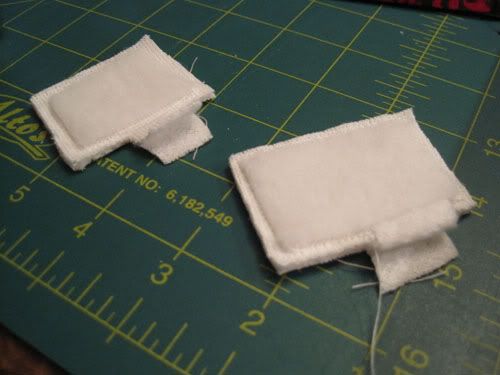
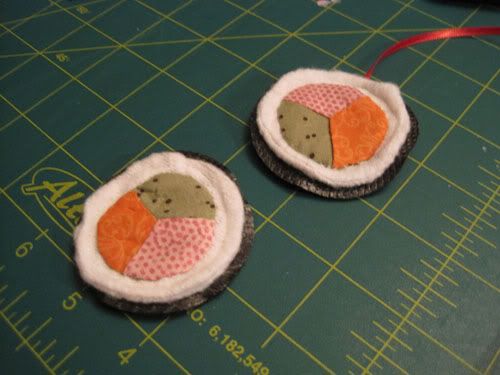
Made the rice for the rolls and stitched it down:
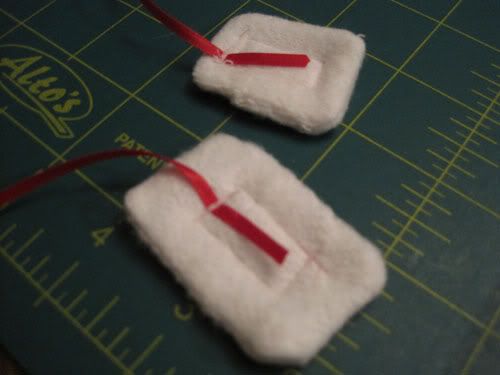
Installing velcro (I should note that I always put the soft loop side of velcro on the parts that go into little hands):
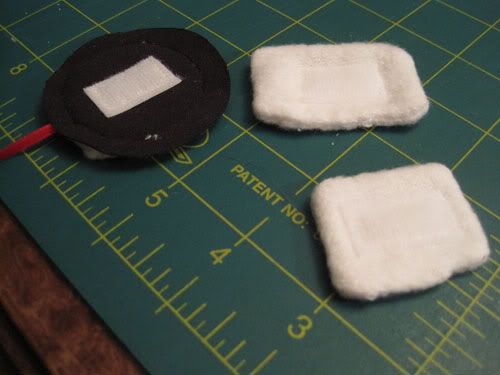
I simultaneously installed the ribbon with this step:
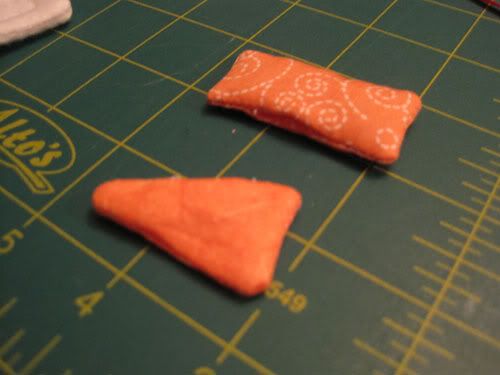
Fillings!
Meat. I attached these to the rice by hand sewing.
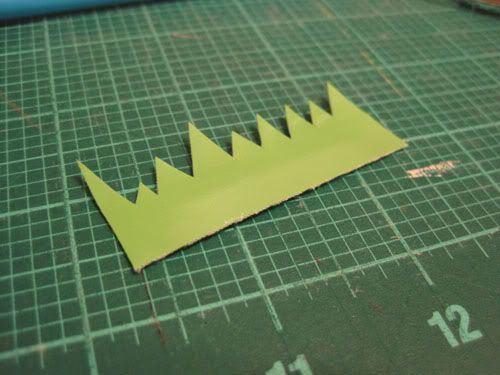
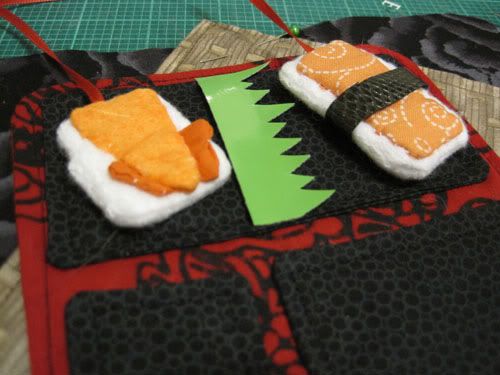
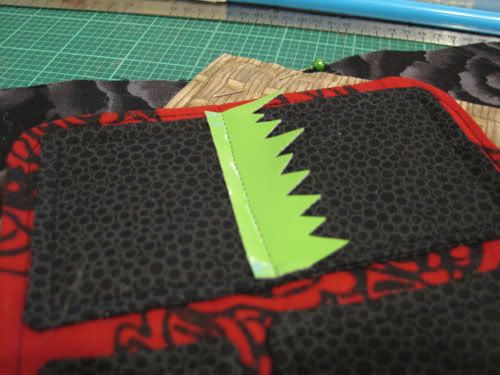
Cut out your grass divider and install. You'll notice I attached a piece of nori around the salmon at this point.
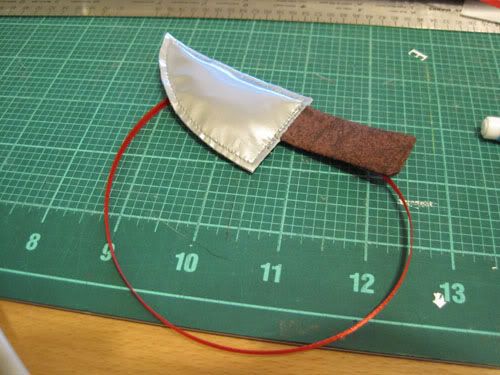
Assemble the knife, and don't forget to install the ribbon (I did).
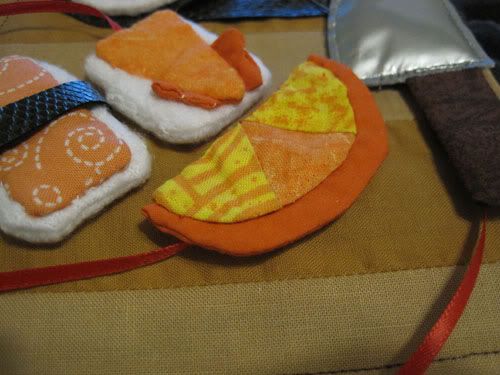
Remembered the ribbon on the orange slice :)
Cut your chopsticks from your desired fabrics. I couldn't quite figure out how to make this with woven fabric, so I used pleather so I wouldn't have to finish any edges. Feel free to modify as you wish. Tack those puppies on, making sure to not get them into your seam allowance.
Now, time for some final assembly.
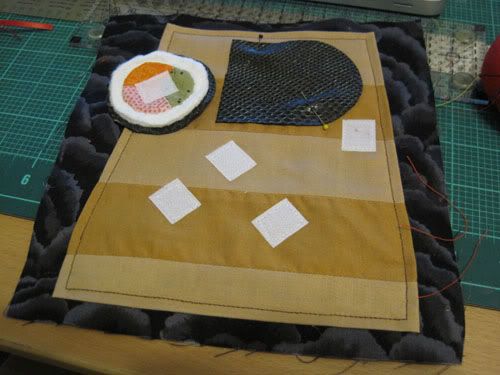
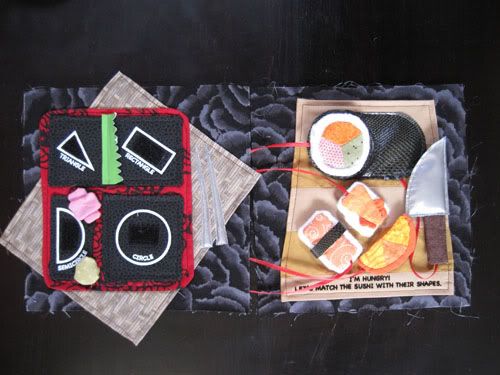
Arrange all of the sushi pieces on the cutting board in a manner that is pleasing to you.

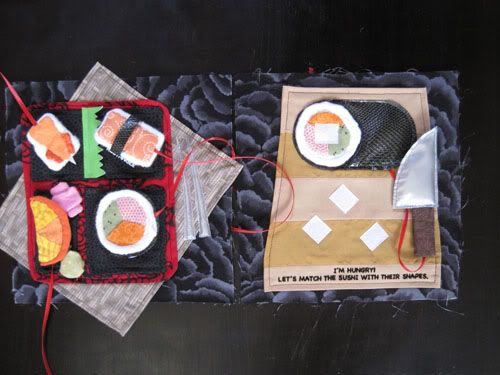
Locate velcro pieces in corresponding locations and sew them down. Going back, I should have used tan velcro but perhaps the white will be easier for a young child to understand as "stick stuff here".
Then, topstitch your sushi roll down. Don't forget to catch the knife's ribbon in this seam (guess what I did???).
Fixed.

Now for some finishing touches.
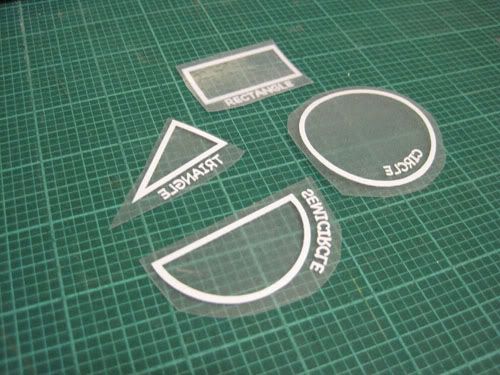
One of the coolest things about my CraftRobo cutter is that I can cut cool stuff like lettering and shapes - totally custom and perfectly sized for the job. Can't do that with a Cricut (a tad biased against canned cutting shapes here - if you hadn't noticed...).
This was cut from a sheet of flocked transfer vinyl that you then "weed" to remove all the unwanted vinyl. You can do some cool stuff by mixing up your cutting materials and methods - remove the "filler" and you get transfers, remove the lettering and you get a cool stencil for glass etching or painting. To install you proceed as such:
Position the pieces into their appropriate locations and tape down with transfer medium. This is a fancy product I have that is heat-friendly, though carefully applied masking tape should work too of you don't give it too much direct heat. You'll notice the "fancy" part of this product is that it isn't super tacky so it has to be helped with a few pins.
Cover and press with a dry iron for a 15 seconds to get the adhesive started. I've found that it helps to put some weight into the pressing as well. This will need to cool before you mess with it, so move to something else for a minute or so.
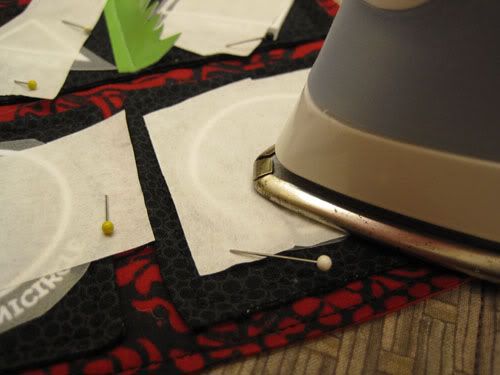
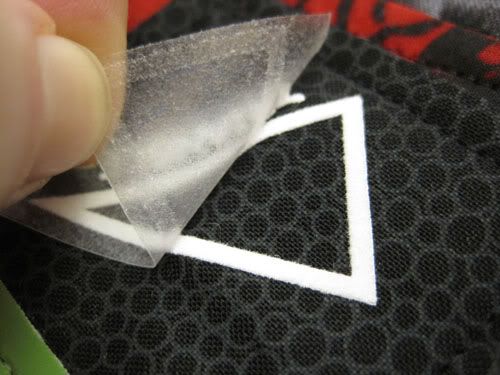
Carefully remove the backing and run a touch up iron over any areas that haven't adhered. Let it cool again.
Once you get the backing off, cover and press for 15 seconds. Take care around any heat sensitive fabrics that you may have used.
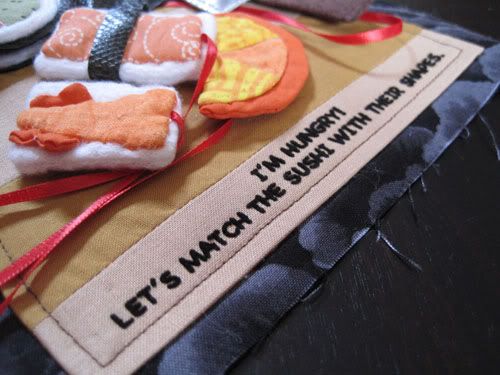
Put in the wording while you're at it.
All that's left is sewing in some velcro to receive the sushi pieces. Done!

Voila! I also added in some wasabi and ginger.
Thought this was fun? Check out the next page and while you're at it, be my fan!


No comments:
Post a Comment