This is a good one for beginners since it has simple lines and no fussy business. If you haven't read about sushi yet, I encourage you to do so. This won't make a lot of sense if you don't.
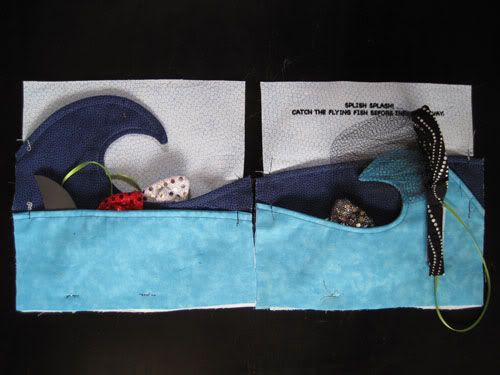
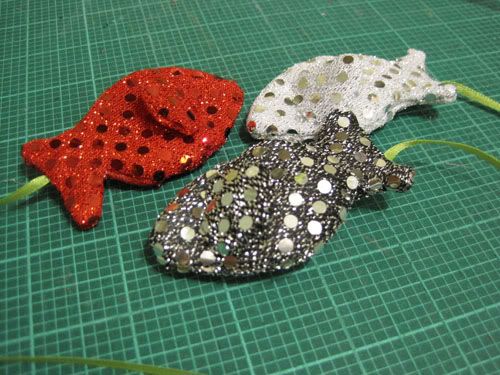
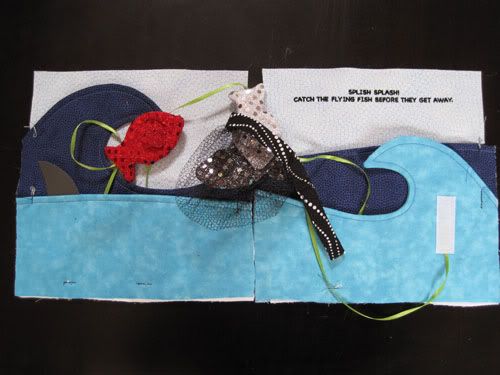
The second page to be assembled is a "catch the fish" type shebang. For it you need a few fabrics - some fun fish colors (can't go wrong with sequins) and three blues: one for the sky and two for the waves. If you want to be a little quirky you can also get your hands on some gray pleather. You'll see why. If you want to make the fish fun and crinkly (I don't know of any crinkly fish actually...) get your hands on some sort of nosy mylar or plastic. I used a grocery bag.
Start with your two 7.5" square squares of sky blue that have been backed with 7" square fusible fleece.
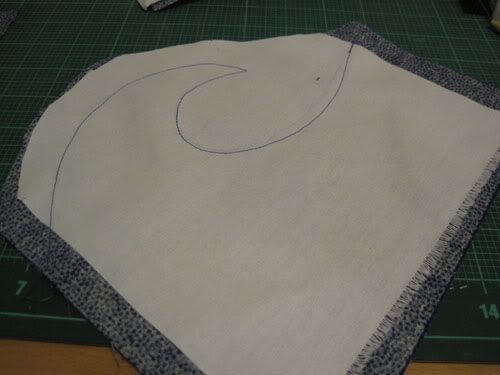
Then, using the patterns, fabricate the larger wave out of the darker of your waves fabrics. But, I strayed a bit from my standard assembly technique here by ditching my beloved fusible fleece. Why? Well, had I used it I would have some areas that were three layers thick. And that would be for just one page and we've got two pages going on here (eek). Instead I lined the wave with some sturdy fabric I had laying around.
You could also use interfacing but I didn't remember to buy it until I was leaving the cutting table at the fabric store. I had just made them cut about 25 quarter yard measurements so I wanted my face out of that store asap. I should note that we had a nice little blunder at the register (nobody's fault, really, just a funny discount situation) and I was in that store for about ten minutes longer than I think I was welcome. My bum knee had called it quits about an hour earlier so this was a long ten minutes. But honestly, everyone was very nice about it all.
Use the lighter blue for the smaller wave, but have some fun with that pleather and make yourself a nice little Bruce. Anyway, sew those puppies up, but only on the top "wave" line, turn, and topstitch.
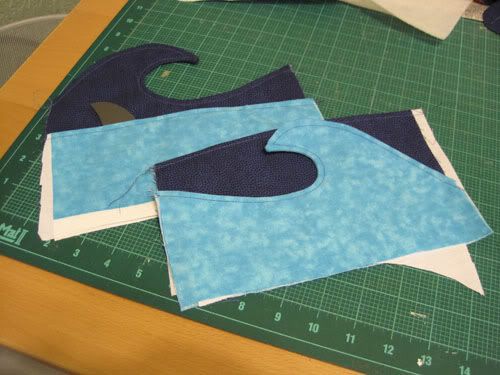
Lay these across your sky pieces and adjust their positioning to your liking. Make sure you won't catch anything in your seam allowance when you assemble the book. Pin these down well.

Set those aside for now.
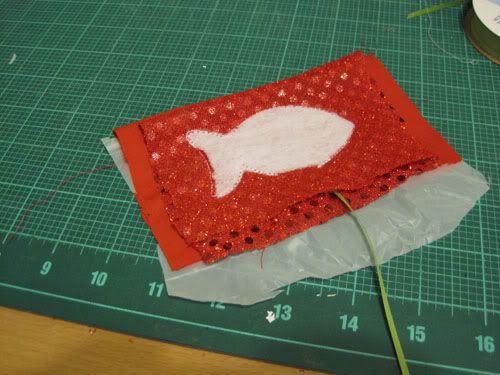
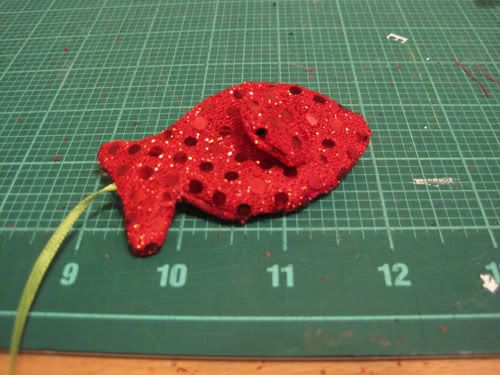
These fish are super simple, but somewhat fussy. If you use the sequin fabric like I did, you'll need to back it up with some simple fabric to give it some structure. Simply cut some fish shapes from the fusible fleece and iron it onto the wrong side of your fabrics and then make a sandwich of the sequin and backing fabric. Slip your crinkly material in as well. Then, sew along the fish shape as below, but don't forget to install the ribbon in the tail like I always do.
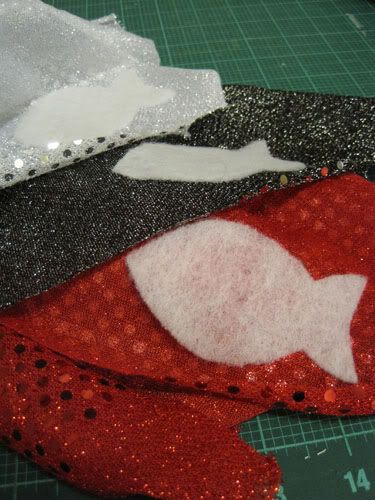
I show the fusible fleece being attached to the wrong side of the sequin fabric, but I did that before I decided I needed to add a second fabric for structure. Given that the sequin fabric is somewhat see through, I recommend attaching it to your backing fabric so it doesn't show.
Turn and close your holes.
Make some fins and sew them on.
Run the end of the ribbons down through the waves and pin them to the bottom of the page.
Put some tacking stitches around the pages where needed (at the end of ribbons, edge of waves, etc.) and set aside. To keep these tacking stitches from being seen, sew them 1/8" away from the edge of the pages.
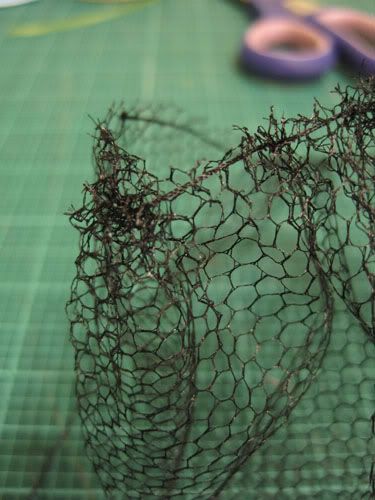
Next, we assemble the net.
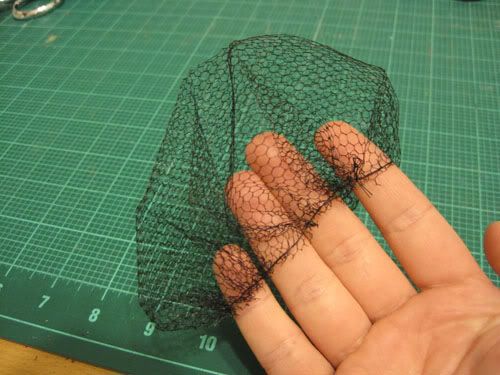
Cut an 8" round from your netting material and run a stitch around its circumference and cinch - forming a pouch about the width of four fingers.
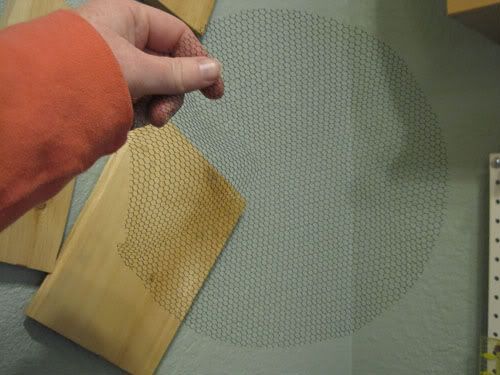
Wondering why I have random pieces of wood hanging on my wall? Put another one in front of me and I'll show you why.
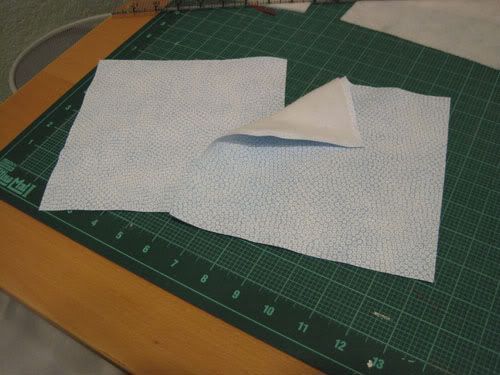
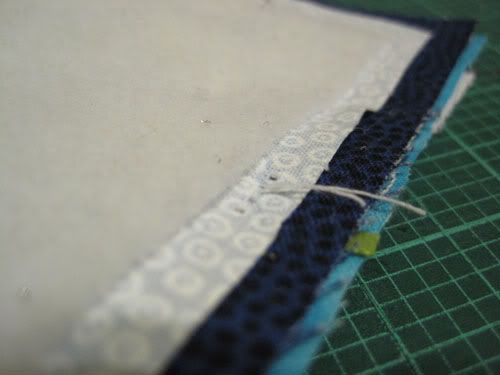
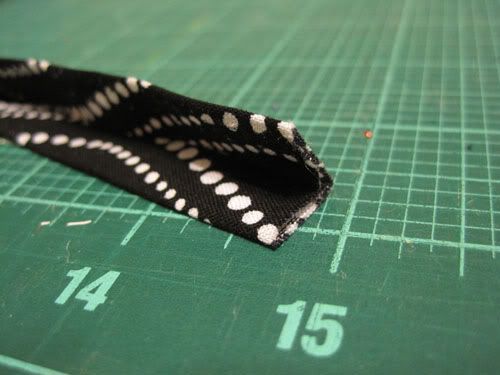
Prepare about 18" of 2.5" wide fabric by pressing it in half, and then pressing the halves in half (what?). See the picture below.
They were the boards I broke at my black belt testing, if you didn't figure it out.
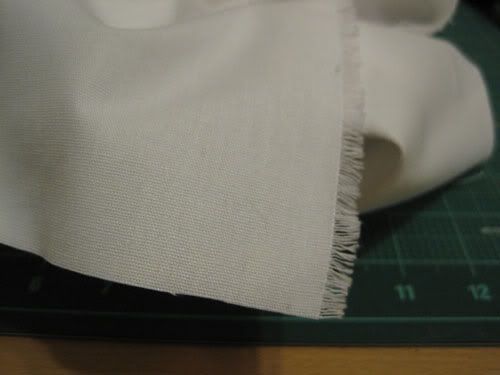
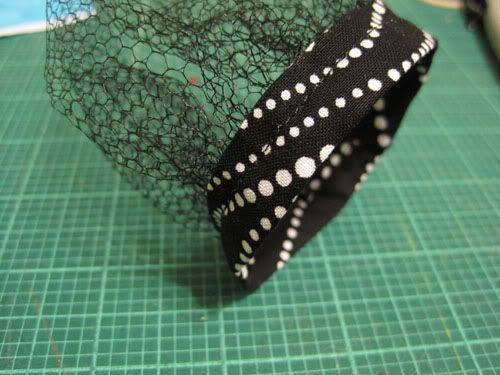
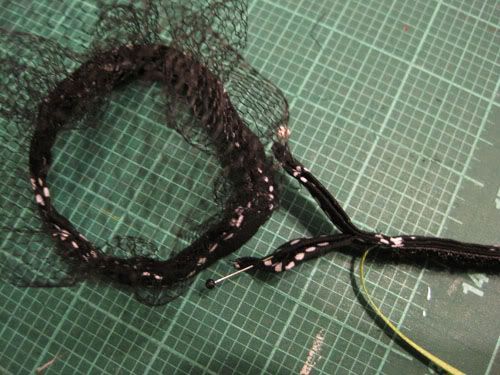
Line the netting by slipping the open end of the fabric we just prepared over the edge and sew into place.
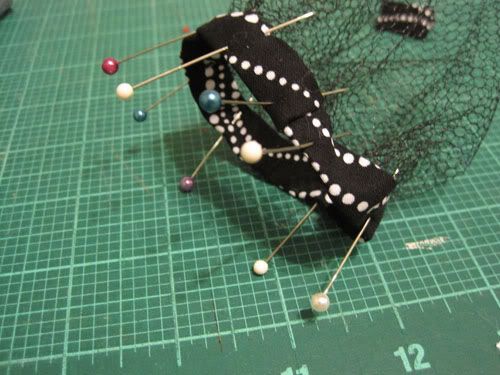
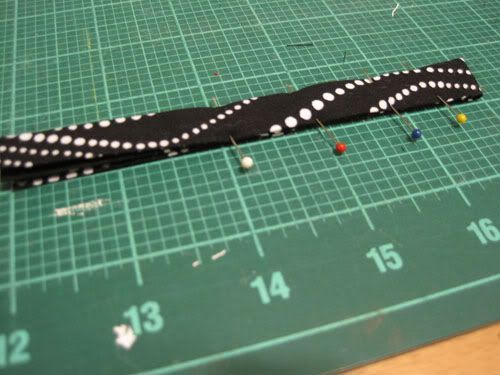
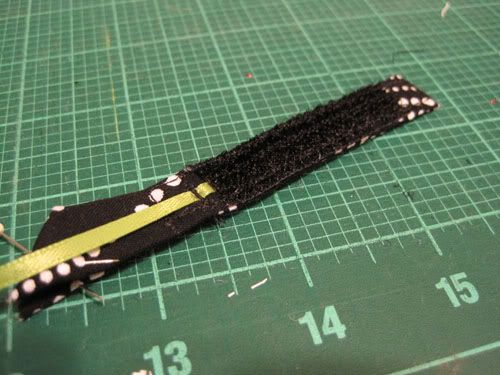
Cut an 8" piece and fold it in half lengthwise, and align the halves and pin to 3" in from the fold. My piece is 10" here and I cut it down, so don't let the picture throw you. It really is 8". The "loose" ends of the piece are towards the left and the folded edge is to the right.
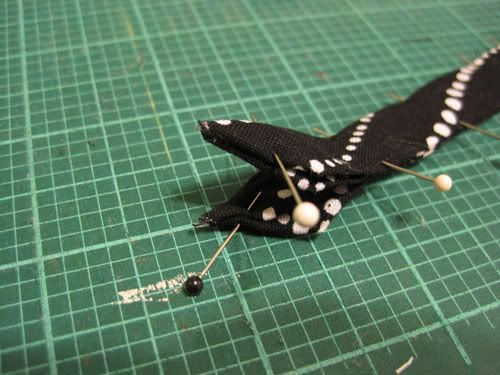
Tuck in the raw edges and pin.
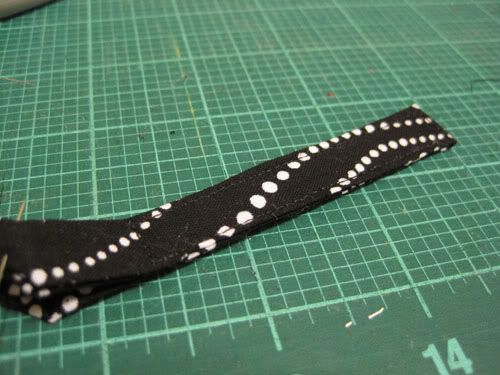
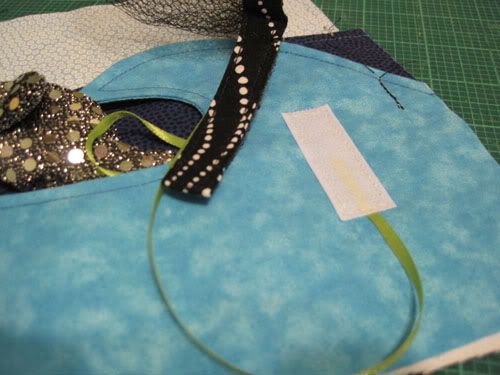
Topstitch this "handle" to give it some rigidity, and now would be a good time to add in some velcro and a ribbon leash.
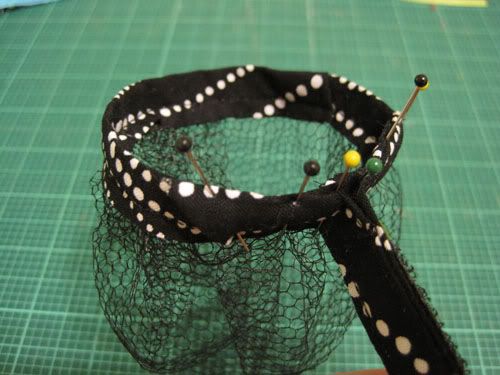
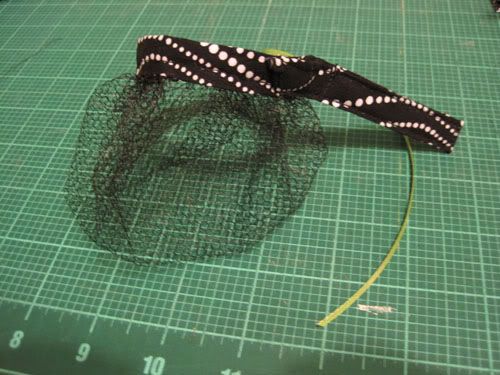
Fan out the open ends of the handle, and topstitch onto the netting assembly.
Install some velcro on the page to receive the net, and tuck the ribbon in as you sew it down to secure.
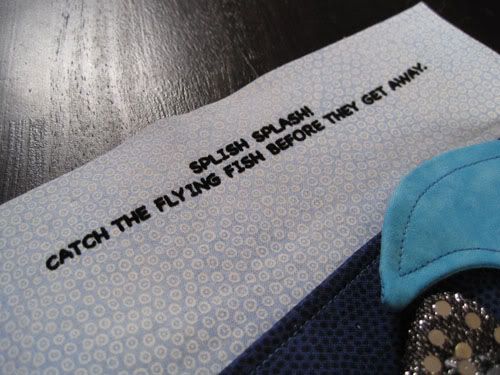
Install the wording, and it's done!
Put away
Caught!
Thought this was fun? Just wait for the next page and while you're at it, be my fan!


This is so cute!
ReplyDelete