
Get your swim suits, it's our last page of the quiet book!
For the final page, a two page spread, we are having some zippy fun as we arrive at the beach. Here, the activity is to unload the beach bag and also have some fun on the waves.
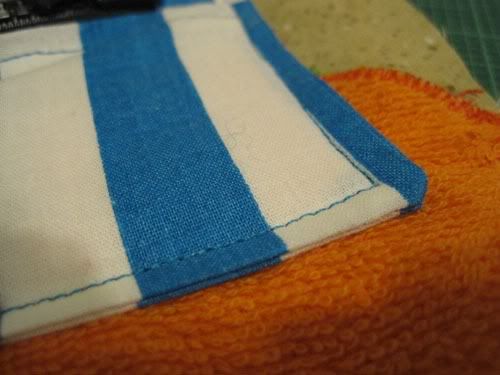
Begin by fabricating two backgrounds and back them up with fusible. Zigzag on the beach towel as well.
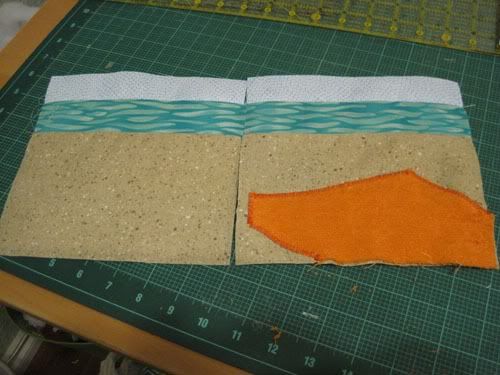
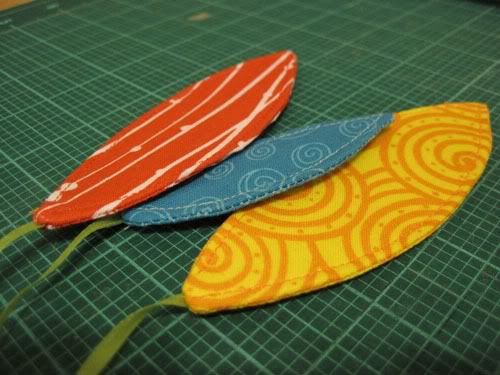
Work up your surfboards by cutting the shapes out of your heavy interfacing and pinning it to the wrong side of your fabric. Face this, insert a ribbon, stitch around, turn and press. Topstitch. I do have to admit I put a layer of fusible interfacing over the heavy stuff to make the boards even stiffer. A little tricky to turn, but I keep a pair of needle nose pliers around for just this sort of thing.
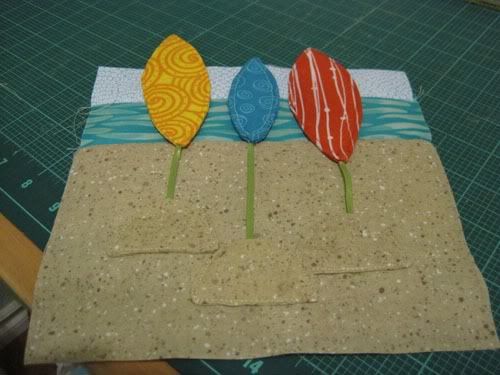
Make up three sand mounds the same way I do everything ;) and topstitch them onto the left hand of the spread, leaving a gap at the top for the surfboards to slide in. Make sure you catch the ribbon in there!
That finishes that page, onto the right hand page.
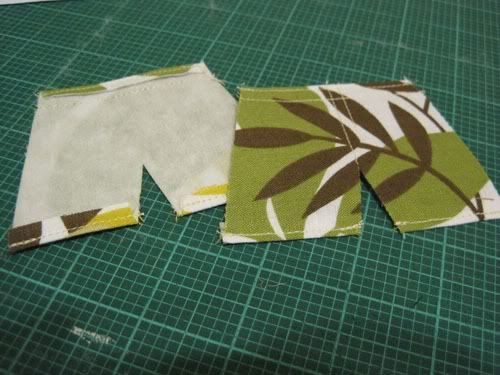
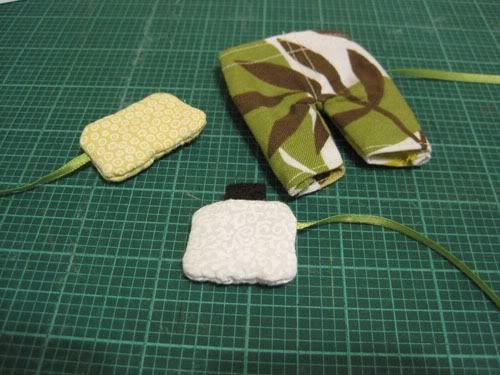
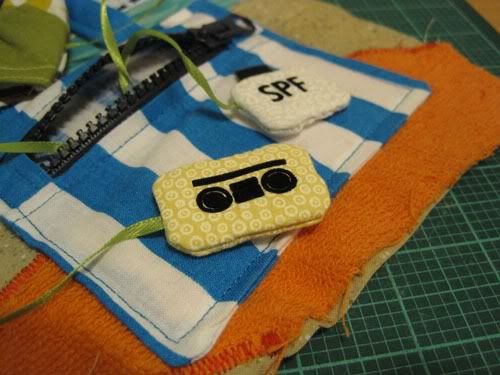
Since we need to attach the bagged items to the bag, we need to make them first. I whipped up a few simple items: boardshorts, a bottle of sunscreen, and a radio. The bottle and radio are made the same way I make everything. To make the shorts I first cut to pants pieces and then to finish the edges, I folded the waist and leg holes up 1/4".
This way, when you sew the two halves together you don't have to try to topstitch tiny little tubes. I also used some decorative topstitching to make a fly and back panel of the shorts. I was quite pleased with them! If I ever have kids I imagine I'll be fabricating GI Joe or Barbie clothing.
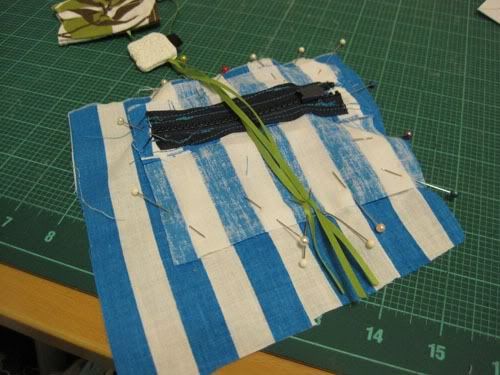
Work up a little zipper bag for yourself. I should note that I just flew by the seat of my pants here. It was probably 1am by the time I started this and still had to assemble the whole book by 1pm (the second time in my life I have stayed awake for 36 hours straight...). Anyway, essentially all I did was frame in my zipper and sew a backing and handle onto it and caught my inside pieces in the seam.
Turn, press, yadda yadda...
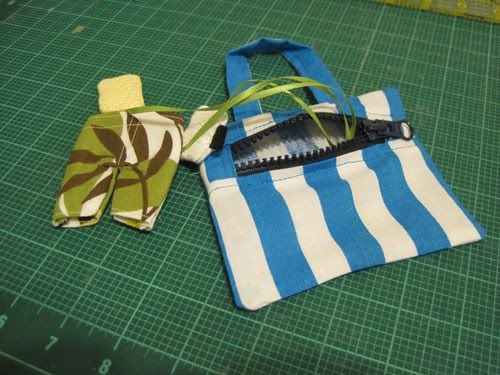
Attach it to the page by topstitching.
Install some graphics so things make sense (I should have done a better job on the radio).
Install the rest of the graphics and you're done! It appears that I failed to take a final picture, but you'll see it in the next post.
Thought this was fun? Just wait for final assembly and while you're at it, be my fan!


No comments:
Post a Comment