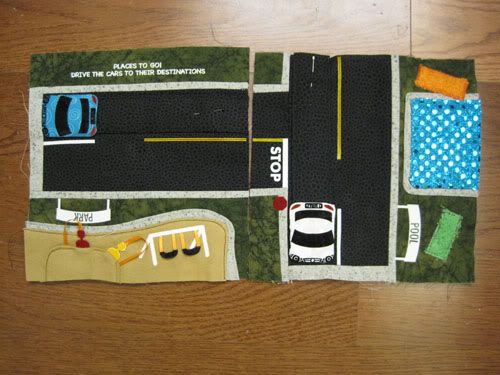
For the next installment, we're going to putter around town. This is a good page for a beginner who is comfortable with straight lines and understands the big concepts of sewing. The activity on this page is to "drive" two cars to two destinations on the pages. We'll mix it up by working in some fun fabrics and activities. It does use a lot of heat transfer and that takes quite a bit of time, but overall this is a very easy project.
The first task is to assemble the cars. This goes together in my "standard method" of facing two fabrics, sewing, and then turning. However, there's a bit of a catch with the cars as they need a sleeve on the bottom. Proceed as follows:
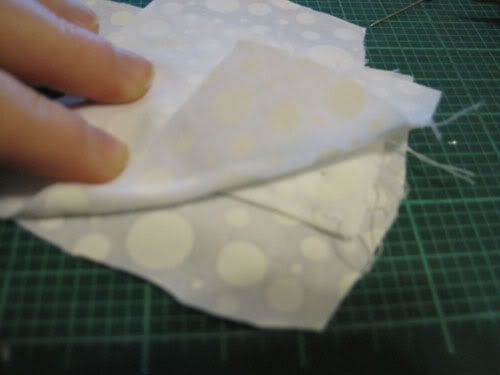
Prepare the sleeve by sewing a 3" x 2.5" piece of fabric in half (1/4" seam allowance) to get a 1.5" x 2.5" piece of fabric. Turn and press so the seam ends up in the middle of the piece like so.
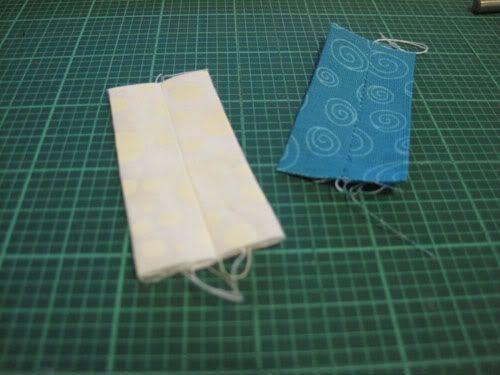
Topstitch the long sides.
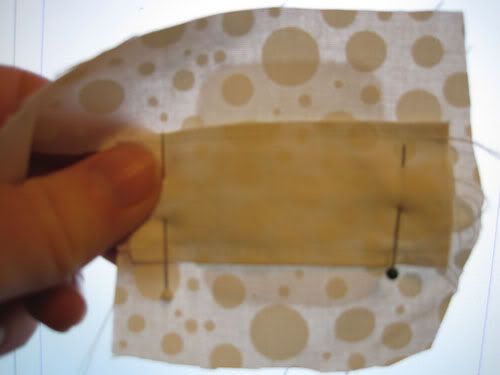
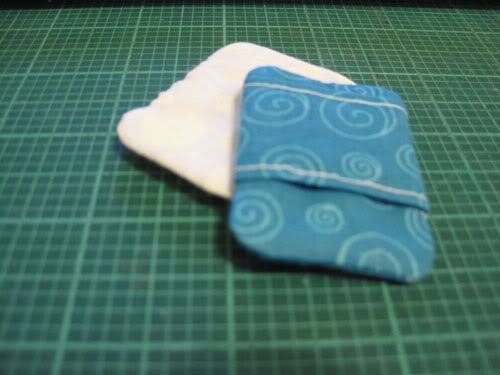
Center this piece over a piece of fusible fleece cut to the car shape and ironed to the wrong side of your fabric, like so (put the seam side towards the other piece of fabric):
Place another piece of fabric over this, essentially making a sandwich with the sleeve on the inside. Make sure all right sides are together, like so:
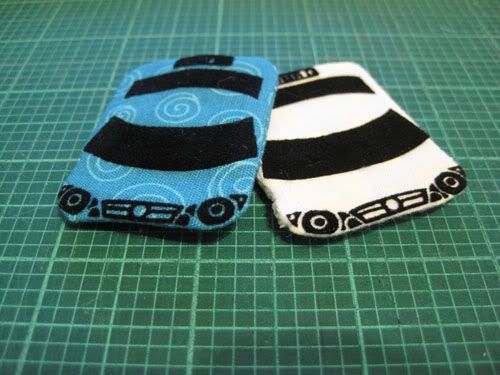
Sew around the fleece, turn, and sew the turning holes closed. Take your time with this - it's important that the car shape is as close to the pattern as possible so the graphics will fit correctly.
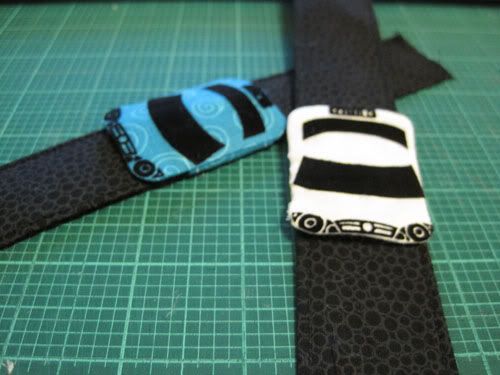
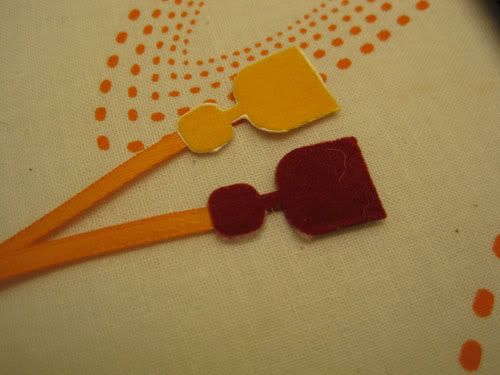
Install your graphics. I should note here that said coworker drives a white Mercedes ;)
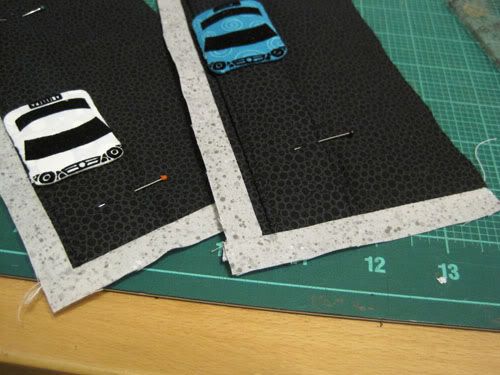
Next, let's prepare the tracks. Cut two 7.5" x 1.25" pieces of your stiff interfacing (heck, I don't know what this stuff is called, it's super duper thick and is in the interfacing section).
Sew a 3" x 16" piece of your "road" fabric in half, turn, and then press the seam to the middle. You'll be forming a tube to slip these track pieces into. I used a seam allowance a hair under 1/4" here.
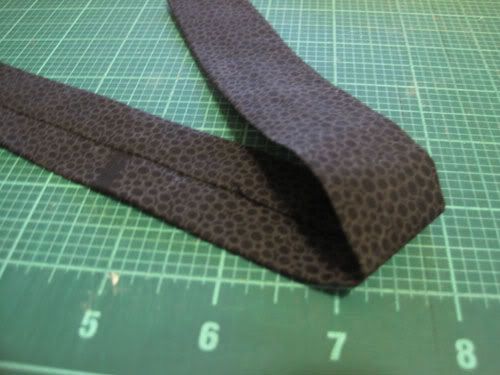
Slide your stiff material into the tubes. It'll be snug, so you might need to do something crazy like sew a piece of ribbon onto the stiff material to give you something to tug on. You can just clip this off afterwards.
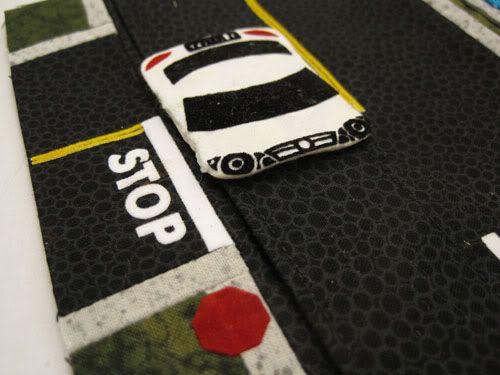
Topstitch the long edges of the tracks and slide the cars on. Set those aside for now.
Now, on to assembling the ground. Build your tracked roadway as follows:
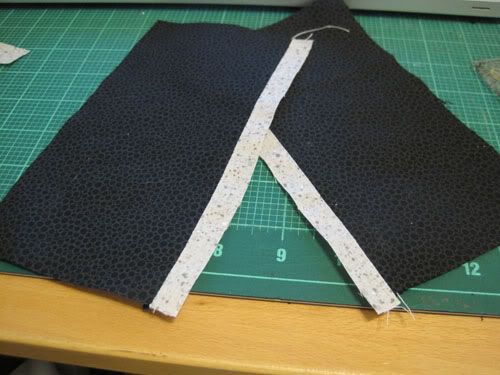
Cut two 3.625" x 7.25" pieces of your roadway fabric. Sew a 7.25" x .75" piece of "curb" fabric down the side of one and press the seam open.
Lay your car-laden tracks over your roadway, adjusting them so the car is even with the edge of the curb (we're curbing them). Pin in place securely.
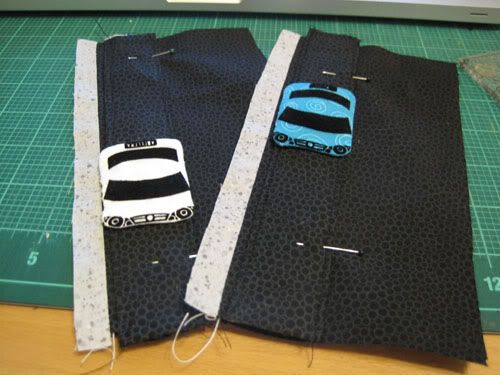
Sew in another strip of curb at the "destination" end of the piece. Press the seam open.
I should note that I had a pretty big fail here - the page with the car going to the pool (the white car in this case) needs to be assembled a little differently. Assemble the entire left block and then piece it. Go me.
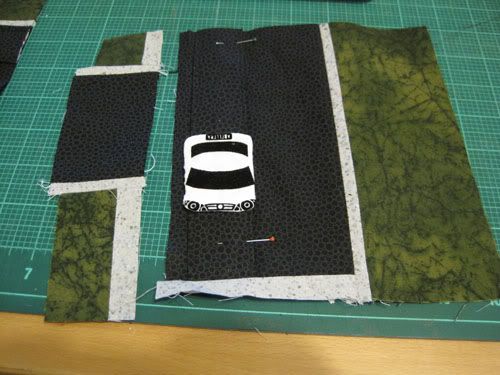
Continue piecing per the pattern. Square off your blocks to 7.5" square and back with fusible fleece as we've done before.
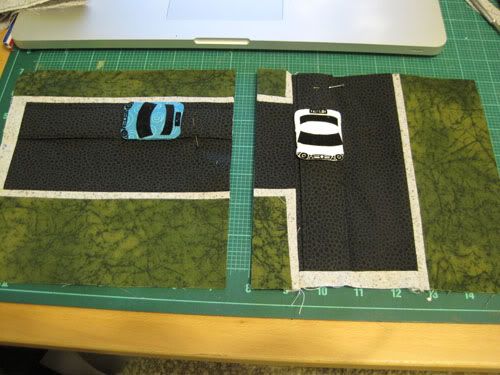
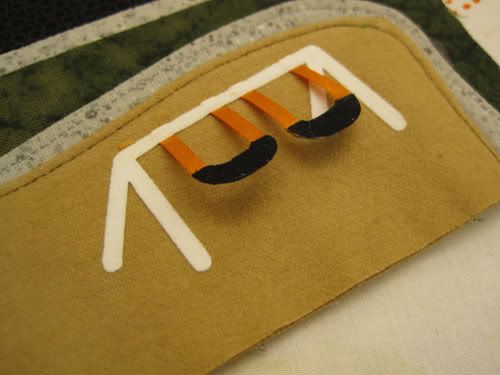
Install your pool and sandbox as we've done before (like with the bento box). The pool towels were just zigzagged on.
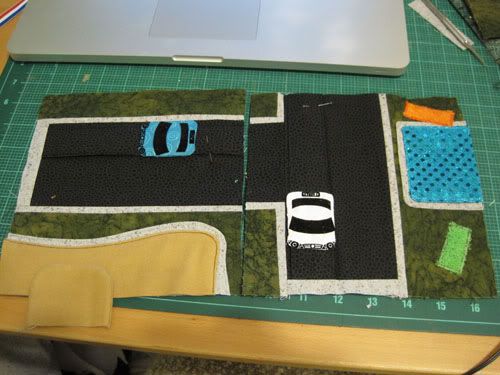
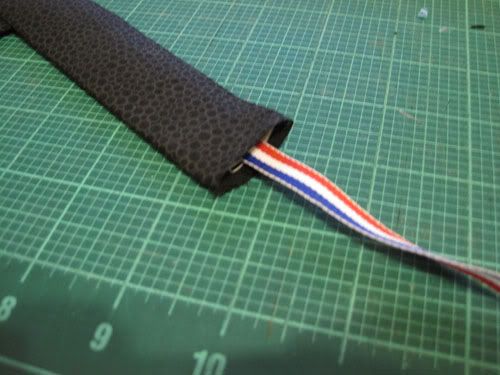
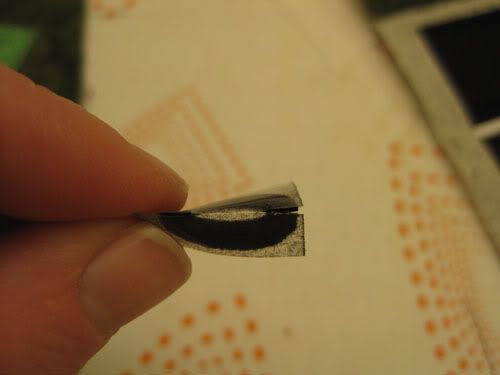
To make the swings and shovels, I used some fancy footwork to catch a ribbon between two halves of the iron on material.
I clipped the backing over the areas that needed to accept the ribbon
Then slid some ribbon in
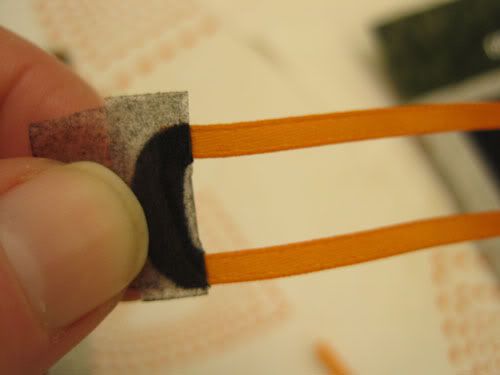
Ironed carefully (don't move the iron a micron) and I got these:
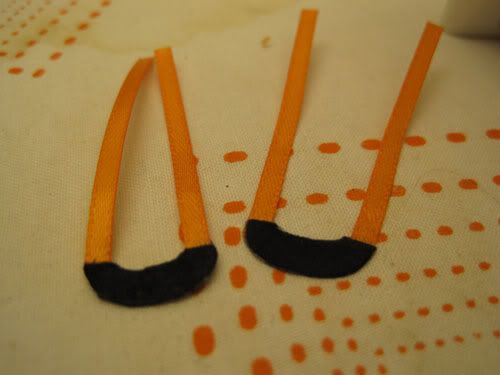
Swings!
I used the same process for the shovels. These are not nearly sturdy enough to withstand a kid - I'm going to have to figure out a better way to do this when they get ripped off.
Install all the iron on parts (golly there were a ton...).
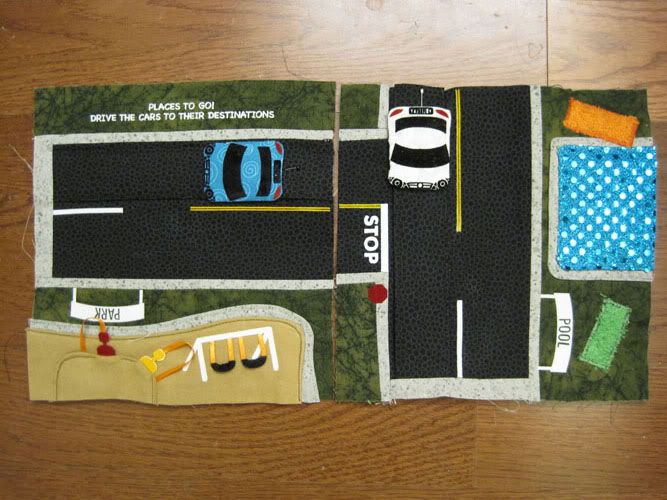
Done! The cars slide along their tracks to "arrive" at their destinations.
Thought this was fun? Just wait for the next page and while you’re at it, be my fan!


The "fan" link doesn't work...
ReplyDeleteWorks now.
ReplyDelete