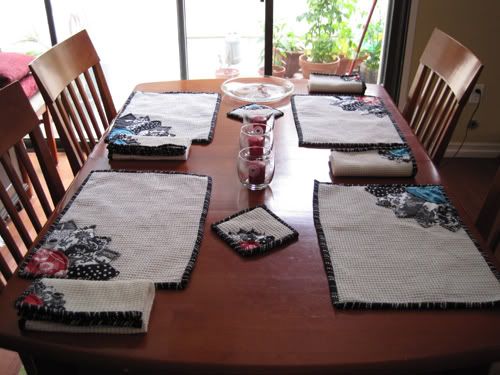
This is the project I mentioned last week. I had to be somewhat stingy with the details in describing it because it was actually a gift for a friend’s bridal shower. Given the mobility of pictures and information on the intertoobs, I didn’t want to ruin the surprise for her. This shower came with a gift “assignment”. We were all given a time period and time of day to base our gift on. I was given the Middle Ages or 6pm, and I had no clue what I’d do with the Middle Ages other than a chastity belt, so 6pm it was. At 6pm I’m hungry. I want to eat, so there you go. Another food-themed project (maybe I should actually post a recipe so you don’t all think I’m just a pig).
Given that my friend Jessie is starting her house stash, I thought that 6pm lent itself to the possibility of making a very nice table setting package with everything needed to dress up the dinner table.
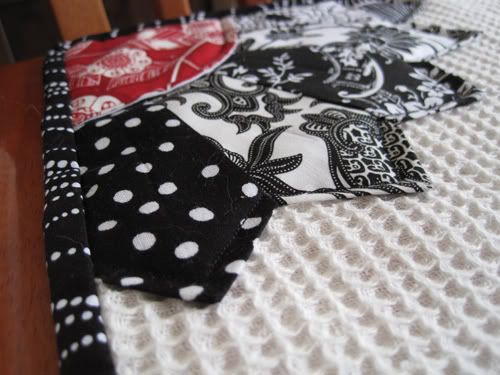
Tricky thing is, I didn’t want to go out and buy generic (and expensive) placemats, napkins, and whatnot when I very well have the equipment and skills needed to make my own AND make them cool. Plus, Jessie swoons over the care and attention put into handmade gifts so I knew I could really make her happy.
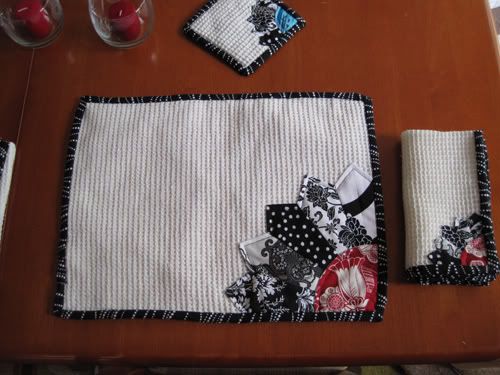
Problem is, just how should I make them? Here’s where being a blog addict comes in handy - I came across a sew-along patten for a Dresden Plate on a sewing blog. You can see the blog entry here. Looked easy enough, and I filed it away for later use as I didn’t have any immediate need for it. I loved the geometry and “spunk” by using the various black and white patterns. Once I had my concept for Jessie’s gift, I knew I could finally put it to good use. Jessie just loves kitsch and vintage things. With a little bit of tweaking and shoving aside any reservations about making fabrics clash, this could turn out darn spunky cool.
So, I now had my Dresden Plate pattern and my “big idea” of vintage, spunky, and kitsch. By chopping the pattern into quarters and anchoring it into a convenient corner, I could add some tension to the piece which works wonders with setting a fun and funky tone. It also had the added benefit of becoming an active part of the piece itself, not just an applique that was slapped on and is sitting static in the center. And, it was a simple enough pattern that I could carry it onto other pieces...say votives and a serving plate...
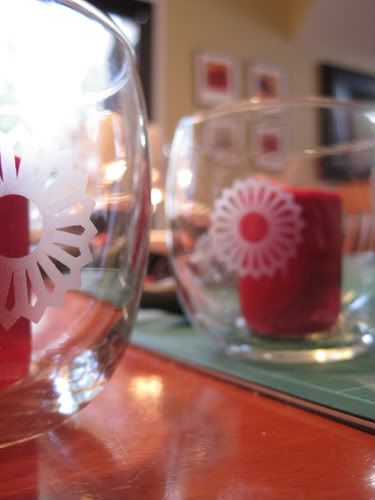
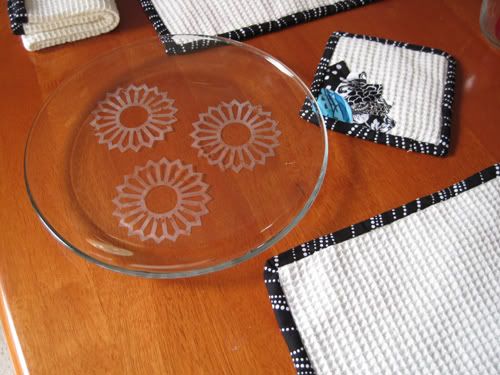
(more on how I did this later).
This is one cool way to really make a gift pop - make an entire “system” by repeating a theme or motif throughout it. This adds an additional layer of obvious thought and attention and things just seem to “go”. This is how branding works - taking one element and somehow carrying it throughout every item related to the whole. Disney is a master at this (and I hate them for it) - I’m surprised they haven’t made mouse-embossed barf bags for the people who are nauseated by their “magic” (like me). But I digress...
The first thing I do when I get ideas like this is to turn to my handy illustration program to really get an idea of how things will look, sizes, pattern pieces, etc. It saves me a ton of time and I’ve been able to do some cool things by seeing the piece before it’s finished. If you don’t have a drafting program at your disposal, well, I don’t know what to recommend because I could never do this on paper. I also use this to estimate fabrics because I am lousy at math. I find it much easier to just draw the pieces I need and fit it into a mockup of a cut of fabric.

So, time to pick out fabrics...per the pattern I picked up three “dark” black and whites and two “light” black and whites. I also chose the base to be waffle weave fabric because if I’m assuming correctly, that was a popular towel fabric back in the day. I then chose fun and spunky accent colors per Jessie’s registry items. Doing two different colors gives them options to mix and match, and the fun of kitsch is that things rarely match and quite often find harmony in clashing. I didn’t go too overboard here, but you could really do something cool if you got brave.
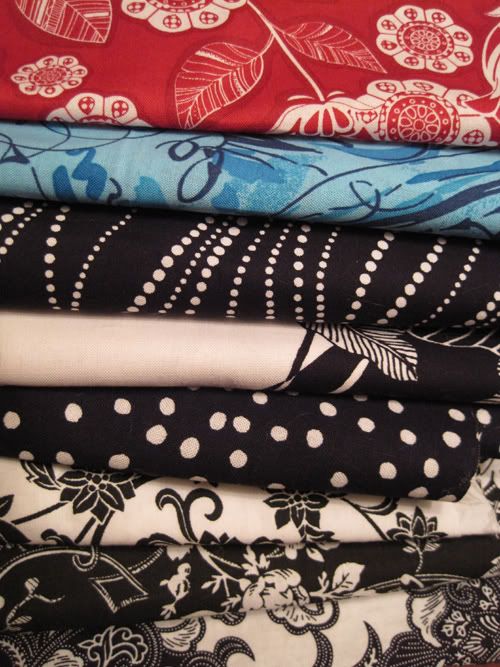
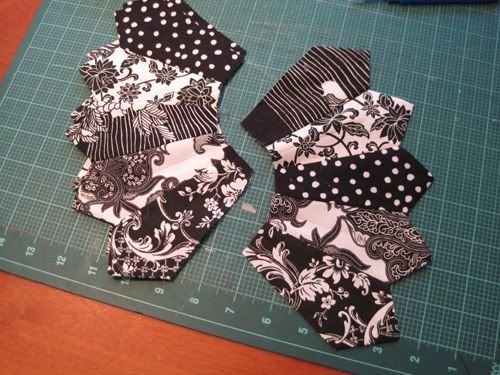
I sewed up the outer pieces of the Plate, making a point to mix up the arrangement of the lights and darks. The handy thing about this pattern is you can sew up all of the indivual “spikes” of the plate together by chaining and then clipping them apart and turning. Please note that I scaled the Plate pattern down 50% for the napkins and hot pads.
Then topstitching the appliques on. I chose to stitch through all the layers so the outline would show on the back, but this is entirely optional.
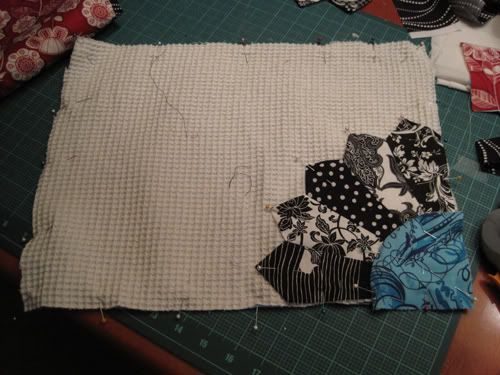
Then came final assembly with what seemed like a million miles of this stuff:
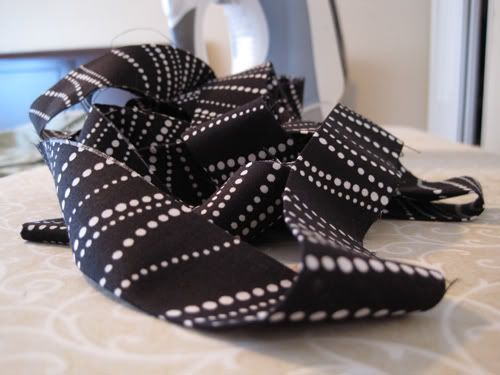
On the hot pads and placemats I lined the backside with the accent fabrics. On the napkins I did not, for obvious reasons.
An an aside, use this stuff to line your hot pads. I found it in the “utility fabrics” section.
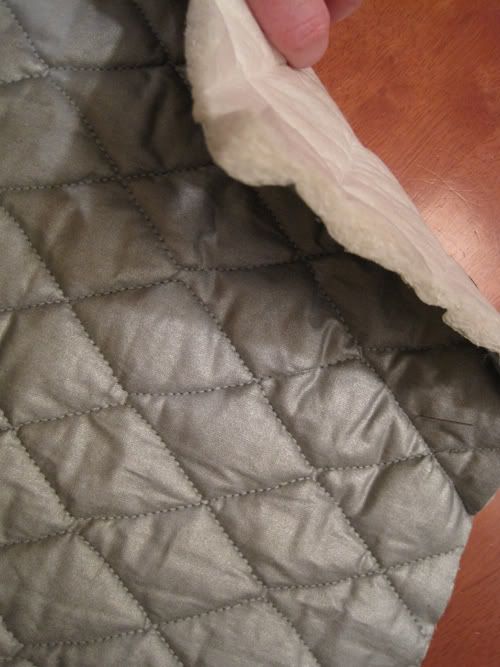
After all is said and done, you will have a load of stuff to hand sew. If you’re handy with sewing binding on completely by machine, go for it, but I happen to be pretty lousy at it so I treated this like a quilt binding.
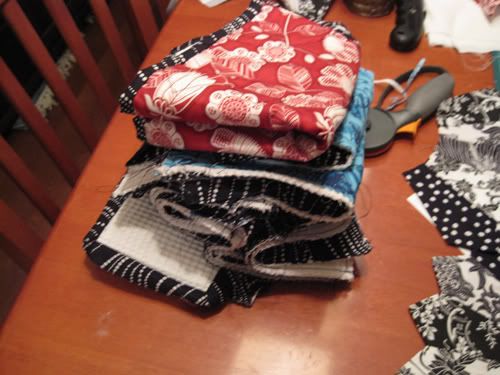
When you get into these kinds of projects you quickly learn how to multitask to get that pesky binding sewn on. Shortly after this picture was taken, I was on the recumbent stationary bike at the gym watching a movie on my iPod and hand sewing a napkin’s binding. Works for me. Fastest hour at the gym in my life too.
Now, for the “learning experience” part of this gift. I had to learn how to etch glass using store-bought etching goo. I had some difficulty finding it, so if you want to do this call around first or just order it online. It’s pricey stuff too, so if you can get your hands on a coupon go for it.
I used Armour Etch cream, got it at Michael's.
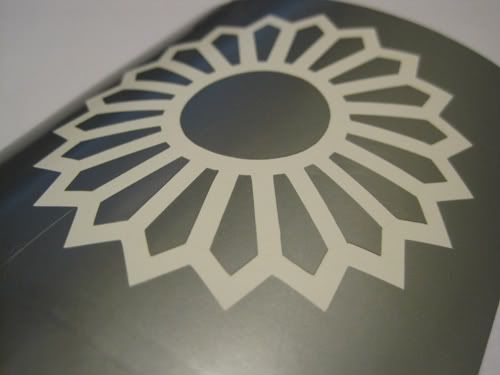
The directions call for using Contact brand paper and cutting the stencil out manually but I’m just too darn lazy to do that. I had my diecutter do it for me :) As an aside, this is the best $300 I’ve spent - I run this cutter from my illustration program so I can cut any shape I can draw up, including a little Dresden Plate.
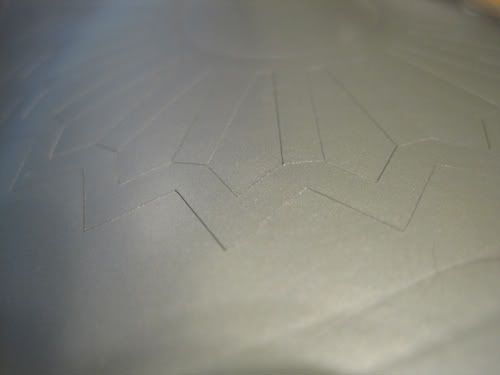
I cut these in self-adhesive automotive vinyl that has a little bit of “stretch” in it so I can form it around curves. Then, comes the weeding!
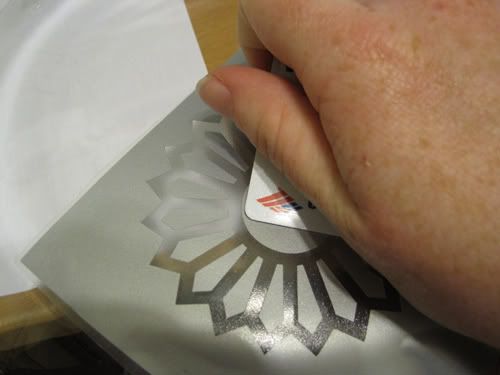
Using transfer media, slap it onto the glass and use a credit card to really seal down the edges. And, when it’s sealed down good and tight, go over it again. Also, based on an earlier bad result due to renegade goo, I learned to leave a lot of vinyl around the area to be etched. That blocks out your overshoots better than masking tape. It’s still a good idea to tape off the edges though. Please note that I didn’t tape off my edges here - I was in a major massive hurry!
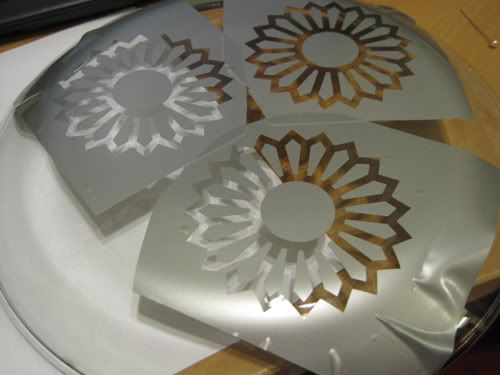
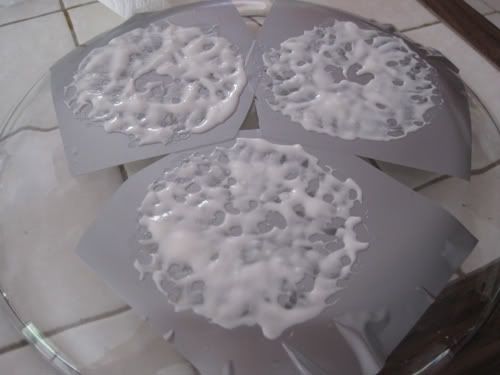
Next, smear the goo on according to the directions. This stuff isn’t for large, open areas so plan on just using it for narrower designs. The finish is “streaky” and this would be quite apparent on a large area. The instructions say to paint it on up, down, right, left, in, out, etc. but that seemed to pull the goo OUT of the stencil rather than put it in, so I just liberally dabbed it on. Let it sit however long the bottle says to, wash off with cold water, remove the stencils, and voila.
All in all, I didn’t have to spend an arm and a leg on this project, and it would have been even cheaper if I had worked from scraps. Given that I’m still building my fabric stash, I opted to buy larger cuts of fabrics to have some for next time. This was a fun project and I especially enjoyed stepping out of my comfort zone and making things clash on purpose. Jessie loved her gift!
And, in a next post I'll explain my techniques for working with the much maligned quilt binding. Yes, the things you have to do to make it "right" are tricky, but aren't nearly as scary once the tricks to doing them are explained.


seriously michelle! those are gorgeous!
ReplyDeleteThanks Kim! I had a lot of fun making them :)
ReplyDeleteWOW!!! Those are fabulous. Really, really fabulous. I also love handmade things, they are just so much more special than something mass produced out of a factory. And I'm sure your friend will think of you everyday at 6pm when she uses her beautiful placemats.
ReplyDeleteThanks Kelsey! I'm just starting to get "good" at sewing things up, and with the addition of a fancy new sewing machine I'm going to be doing A LOT more creative stuff!
ReplyDelete