Pretty Corners
(“so pretty like a star in the sky...or a cheerleader or something pretty...”)
This is how to handle sewing the binding around corners to get a nicely mitered result:
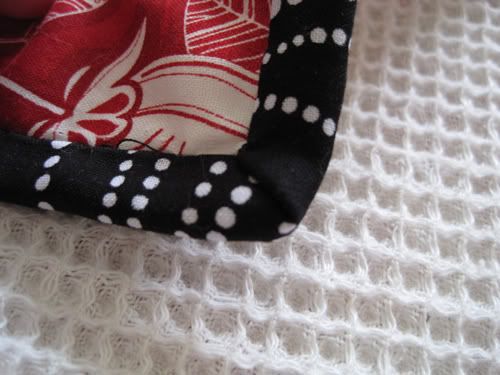
On the “incoming” edge, sew your binding all the way to the edge of the base fabric, backstitch a little, then pull the piece off the machine and trim your threads.
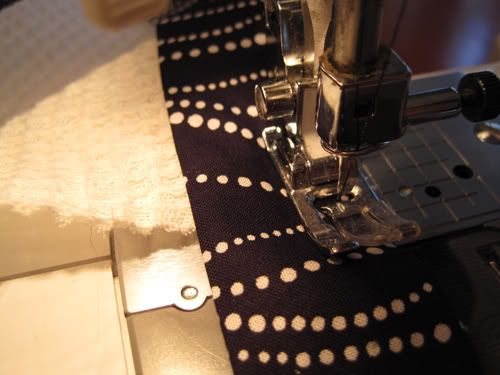
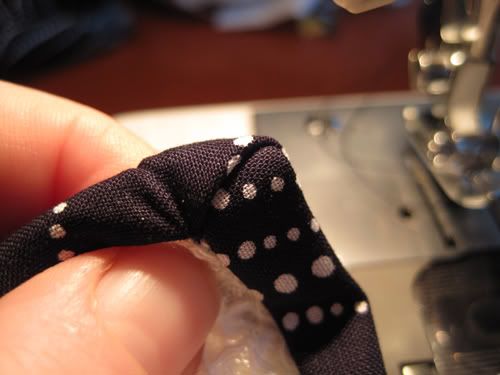
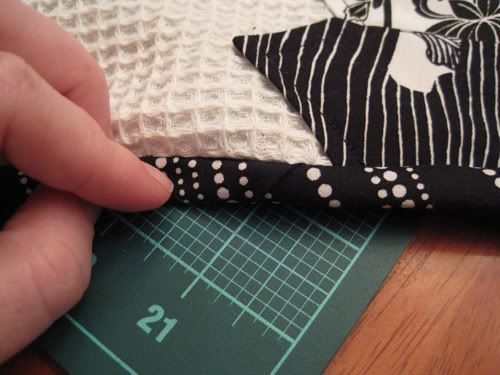
Then, fold the loose edge of the fabric over as shown. Pin in place if needed. Make sure the flap of fabric that gets folded “in” will not get caught in your next line of stitching.
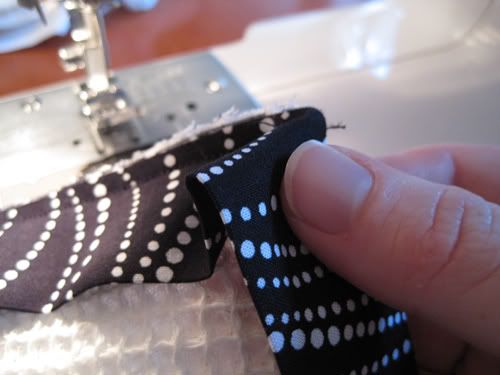
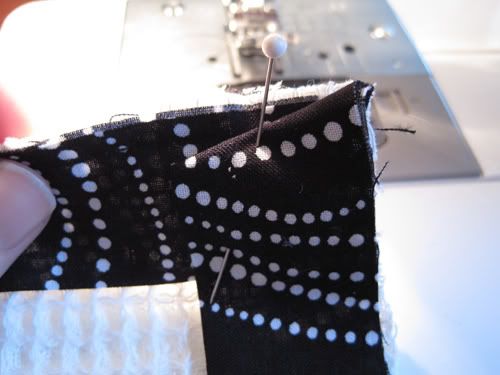
Next, sew your “outgoing” edge by starting a 1/4” in.
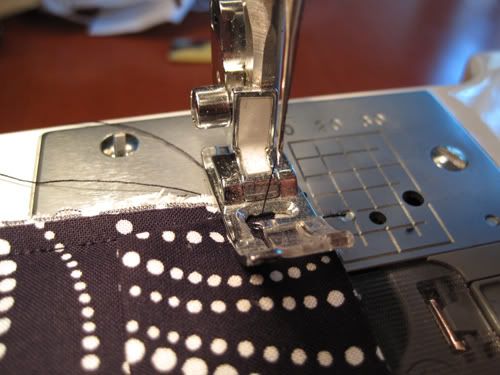
If done properly, the corner will tuck over neatly for you to hand sew.
Joining Binding Ends
This method has always left me absolutely baffled, so I’m mostly just putting this here so I can remember how on earth this is supposed to be done. When you get to the end of your piece, you need to join the two ends of your binding to get a nice, even look. Tricky thing is, they need to be joined with a 45* seam so you don’t have a huge lump of fabric at the seam. In fact, all the seams you make when sewing up quilt binding should be 45*, but that’s another post. So, here’s how you do it.
Leave a good 6” or so of binding unsewn when you begin. Also, position your binding so the final seam ends up in the center of a longish panel. That will make your life easier.
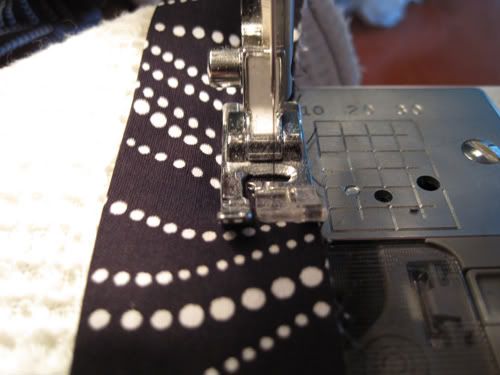
Also, leave a good 6” of extra binding after you sew. Notice how I’ve left a large open area in the center? The bigger the better (seriously).
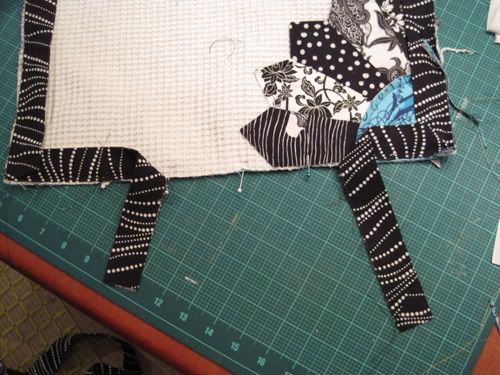
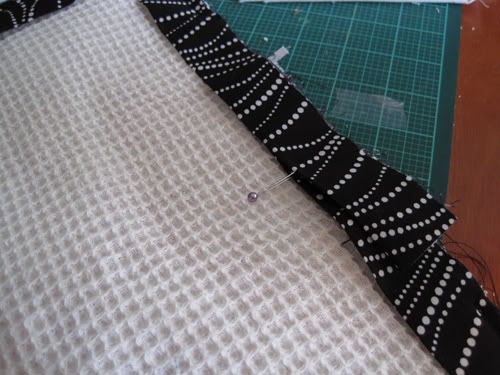
Next, lay the pieces flat over each other. Pick a point in the center, and mark the top folds of your binding in the same place with pins (see picture). Take note of the top layer of binding - I ran the pin up through the inside.
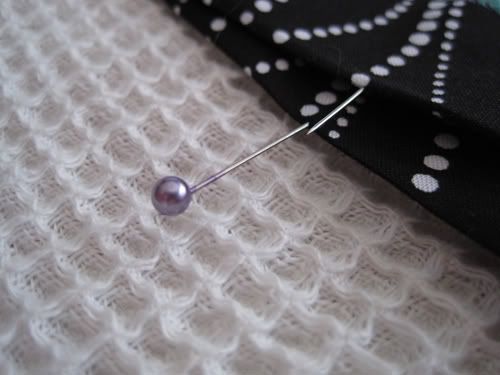
Next, run the top layer of fabric’s pin exactly through the “exit wound” of the pin on the layer below. Right sides of fabric should be facing, as shown.
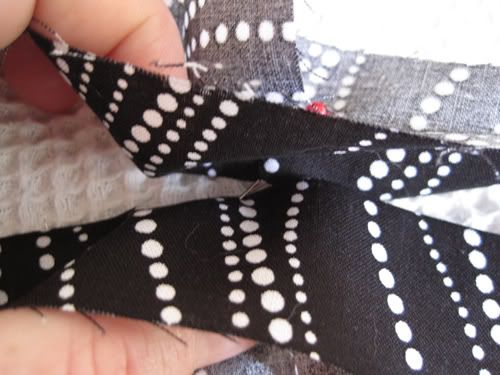
Rotate the pieces of fabric to be perpendicular to each other, as shown. I rotate the top layer of fabric 90* clockwise.
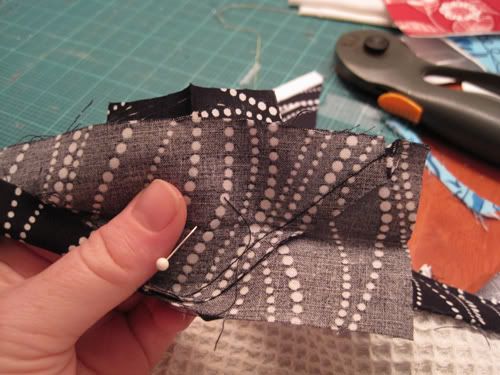
Pin these pieces together thoroughly. See the green pin in the center? I put that there to mark the line you’ll be sewing on. Sew this line.
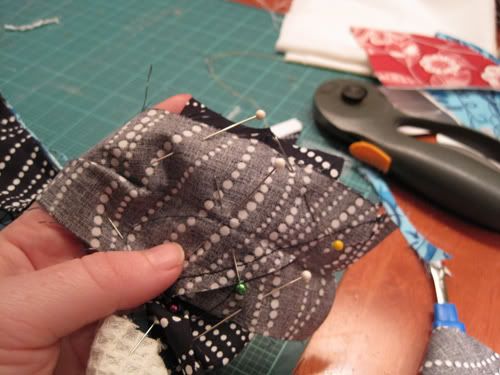
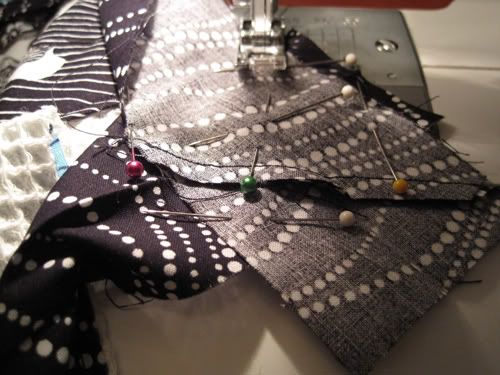
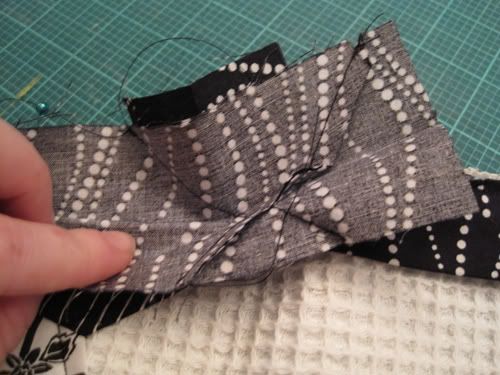
You appreciated me telling you to leave a lot of slack, didn’t you :)
Next, BEFORE YOU EVEN LIFT YOUR HAND FOR THE SCISSORS, test your seam to make sure you got it right. I’ve had to rip this seam out so many times that I always always always check it. It should look like this.
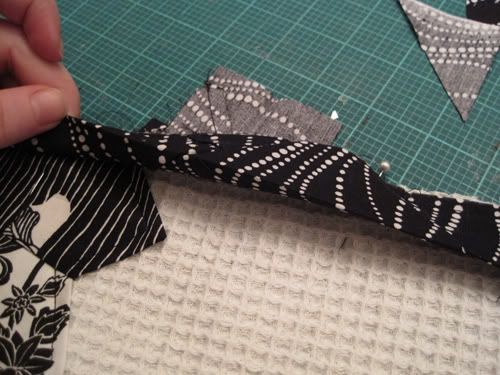
If it looks good, trim off the extra fabric, press the seam, and sew that puppy down.


No comments:
Post a Comment