With that comes showers :) And, being the idiot I am I took it upon myself to come up with all kinds of good stuff for gifts. This first post is about Kim's gift. Part 2 and 3 will come as those showers hit. But, I will give thematic hints for the next two - ladybugs and bath time. I'll let you roll that around in your mind.
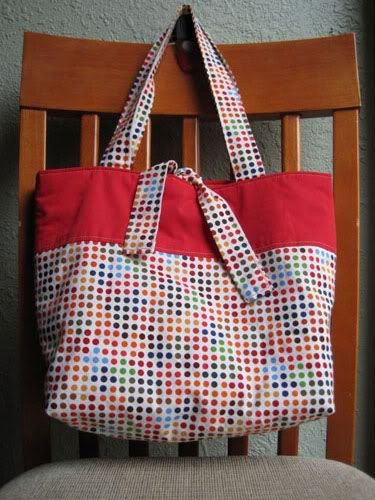
Given what a whirlwind the last month has been, I unfortunately didn't have the time to document my progress as I built these gifts. And, several of them involved quite a bit of trial and error so I would have just confused you anyway. I promise to cover my process in future posts.
All three of these babies are first babies, so my options were pretty much wide open as for what to make, since everyone is still building their gear stash, or just trying to figure out what on earth they need. Given the popularity of my crocheted finger puppets, that was an easy choice for Kim's gift. And, since she has a fish tank, going with the aquatic grouping was an easy choice. (I hope you really do like aquatic stuff, Kim!).
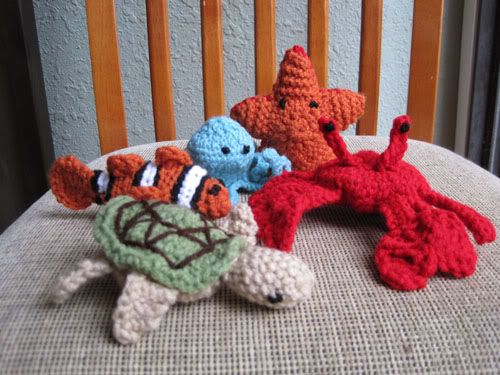
This is actually what I did on the way home from Missouri. I made the turtle at work. In my defense, it was a very late night there and I knew I'd be sitting around waiting for approvals, so I ran home and grabbed my crochet work. Handy that crochet roll is...
Anyway, I'll of course go into more detail about this later, but the trick for these puppets is that you just break them down into their simple shapes. The turtle is a circle, a rectangle, four long triangles, and a tube for the head. The trick is knowing how to do this breakdown and then manipulate the stitching to add appendages, which is actually a lot easier than it sounds. Most of the crab is one continuously worked piece. They really are fun and make such great gifts. They are very portable and versatile (a set of my puppets keep a little friend of ours company in the hospital when he gets chemo).
So, we've got finger puppets. That didn't seem like enough of a gift to give by itself. Ok, Michelle, think...finger puppets are something that would be used to entertain a child at the doctor, at church...CHURCH! Ok, yes, I cannot stand screaming kids at church (why don't their parents ever take them out?). Believe it or not, even though I'm in a 18-30 year old singles congregation we quite often have screaming children. But I digress. So, I now have my theme. Church toys. The unsung hero of pew diplomacy.
With the theme of "quiet toys" loaded into the barrel, my next thought was to create a quiet book. We had one for Alex that didn't get used much, but I think that's because we never took it out. But, intrigued kids are quiet kids, which makes for a happier church experience.
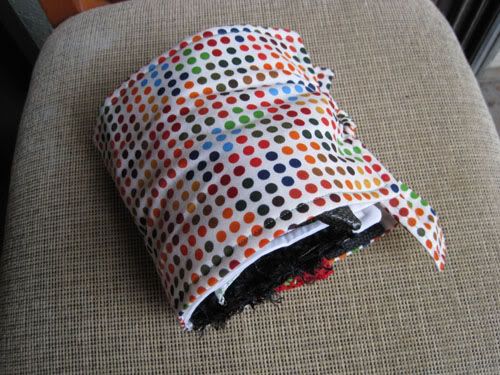
This is another project I'll have to chronicle separately, but it was ridiculous fun to make. I just went to the fabric store and found all sorts of textured fabrics that I could turn into things. I got smooth pleather (which the cutting table ladies complained about endlessly), netting, rough burlap, felt, iridescent cuts, and fake fur, which my cat promptly decided was hers.
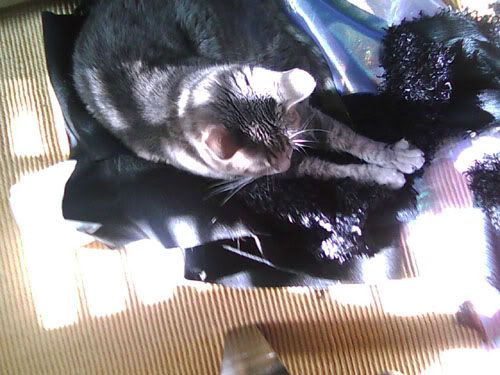
I do feel it pertinent to note that my cat was taken away from her mom too quickly, and likes to knead on the dog. This fur felt a bit like my dog, and looked exactly like her fur when she was a puppy. I have such silly animals - I can't say I was surprised to find the cat there.
So, with fabrics in hand I set off to find a variety of "action items". Kids are so tactile that I wanted to make things interactive to keep their attention, and I did just that. I found zippers, slide buckles, Velcro, etc. All things that are verbs, basically, but could be secured so as not to be a choking hazard. Then, with some thought I put together several pages worth of interesting textures and patterns:
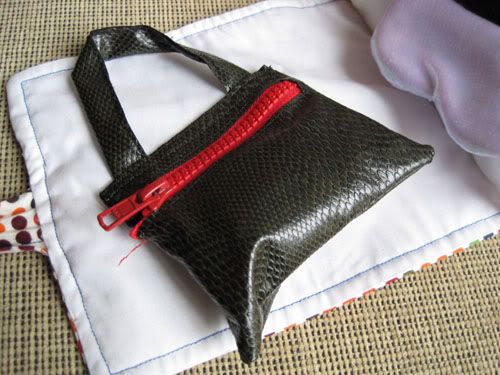
Zippy purse - unzips to reveal fabric shapes attached by ribbon:
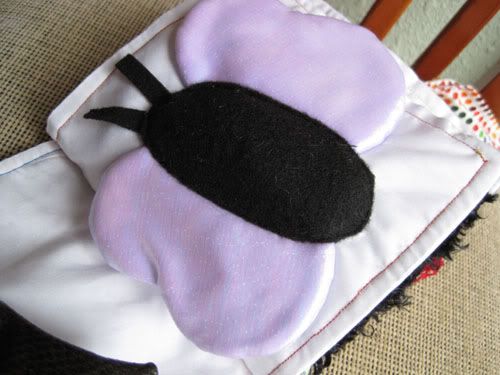
Crinkly butterfly - I put plastic in the wings to give it a soft crinkle:
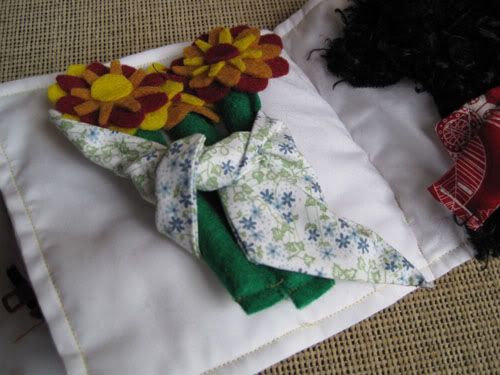
Tied fluffy flowers - the fluffy part is debatable, but on this page you "tie" a boquet:
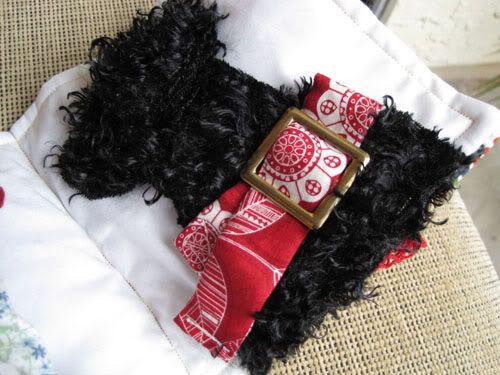
Furry dog's collar - the collar can be undone BUT! I got a slide buckle without a tongue so the kids couldn't learn to undo real pets' collars :):
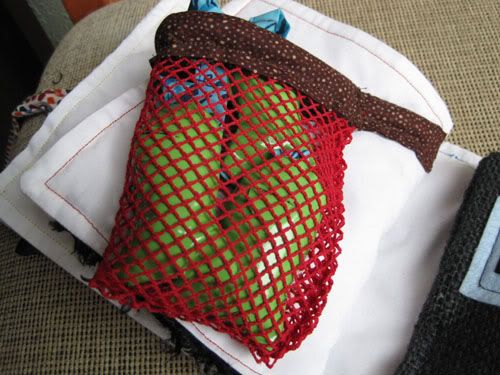
Smooth fish in net:
Rough mailbox - opens to reveal fabric "envelopes" on ribbons:
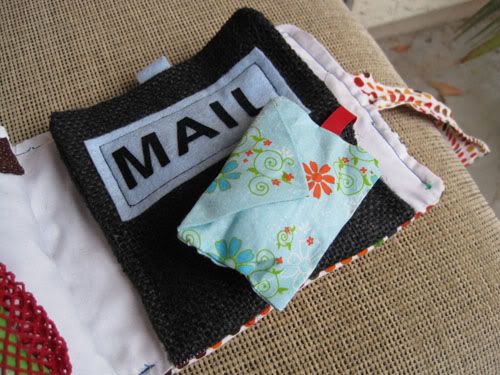
I also made it tie closed to help keep it nice.
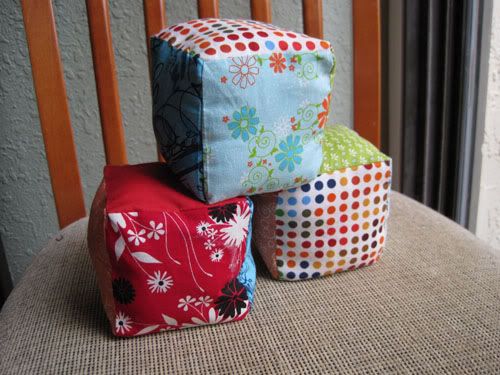
The next item I made was some simple blocks, included against my better judgment. I put a little bit of rice in there to give them stability, which has the added benefit of making them really fun to chuck across the room...
Now, how on earth are we going to haul all of this around? It's tote bag time! I used this basic tote bag pattern and embellished it a bit with color blocking...
Pockets (can't have too many)...
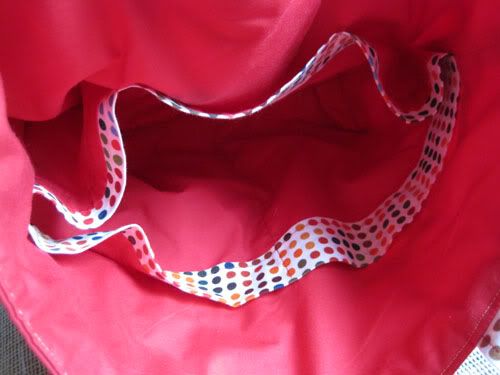
And a simple tie closure to be little one friendly.
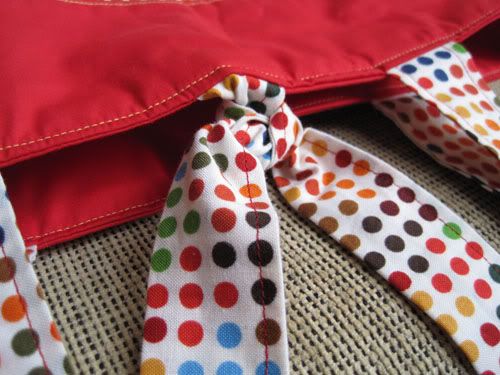
I made my bag slightly larger than the one in the tutorial to hold more, but it's still sized nicely so that a toddler can carry it herself.
The great thing is that you can slap a tag on (I made this with leftover fabric) and use it as a gift bag. No last minute dashing to the store for an expensive bag!
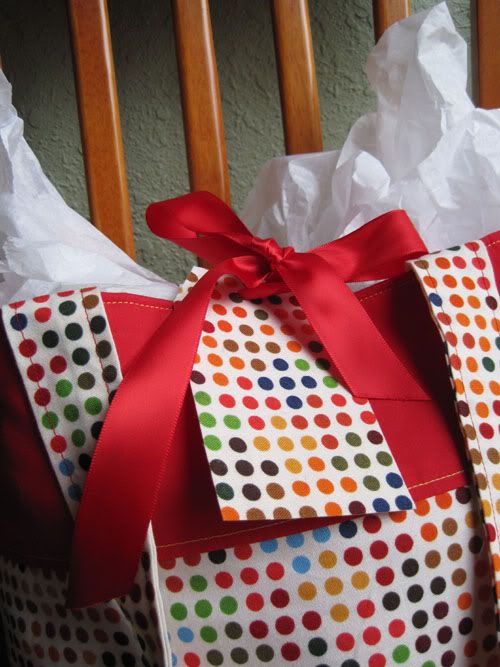
All in all this was a fun project, and I hope it keeps Kim's baby (and future siblings) happy for a long time :)
And again, I will post tutorials when I make the next round!
And to answer the questions I'm getting frequently, YES I am planning to sell my finger puppets. I won't take orders (I always have been a stubborn little booger), but will simply post up what I have finished and available for sale. That is a bit further out in the future, but I will try to have some ready as stocking stuffers this Christmas. Stay tuned...oh, and as a teaser a set of three is the prize for a giveaway I'm planning for my blog. How about them apples?


No comments:
Post a Comment