Last weekend baby shower number two hit. My initial plan for my baby shower gifts was to make the same basic gift for each mom-to-be, but with tweaks to make them unique. But, after talking to Jeanne (gift 2) after Kim’s (gift 1) shower, I found that while any baby gear is appreciated, I needed to be a bit more adventurous in my gift choices. I like to keep them guessing.
So, after a bit of discussion I got a little insight on Jeanne’s hopes for a gift – she loves yellow and ladybugs (curious thing is that she hasn’t broadcast that she likes ladybugs, but she got a TON of ladybug stuff). The yellow I should have known because that’s totally Jeanne’s personality – bright and cheery, but the ladybugs presented a welcome challenge. After a bit more discussion and the fact that her baby is a fall baby, I got her to admit that she’d like a quilt. Just to throw her off I thoroughly explored other options with her but I was pretty set – it’s quilt time!
I should also note that I recently inherited a really nice sewing machine that has made these projects a breeze. It’d be wrong to say “Thanks Jean!" because that expresses pleasure at her loss, but I sure hope she knows how much I’m enjoying her machine. I’m very grateful for it too – it’s allowed me to do very nice things for others which was entirely Jean's purpose in life. My old machine was cramping my style :)
So, back on topic.
There are plenty of options available for ladybug-themed fabric, but I was doubtful that I could find a quilt’s worth of yellow-based prints (these also tend to be more expensive). Personally, I tend to not like themed quilts that rely solely on prints to convey the message – I like more tactile approaches. I helped finalize the colors of the baby’s nursery so I knew that it’d be a plus if I worked greens and reds into the quilt too. After a bit of Googling and debating with my mom through email, I found a great simple ladybug appliqué pattern that relied on two semicircles for wings and some felt body pieces. I might have been a bit more hesitant to do appliqué had I still been using my old machine, but the new one, and some smarter production methods, made actually marginally bearable.
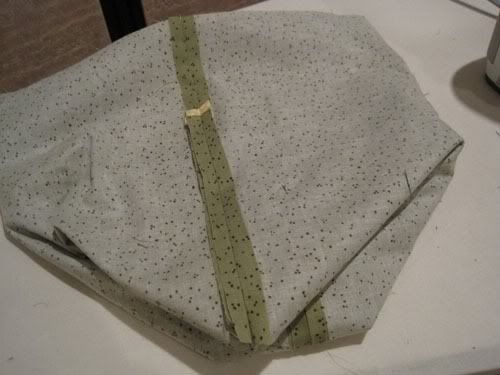
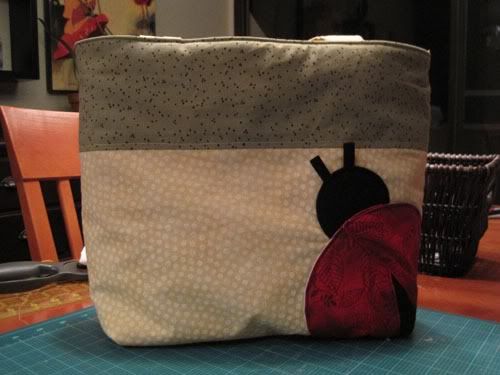
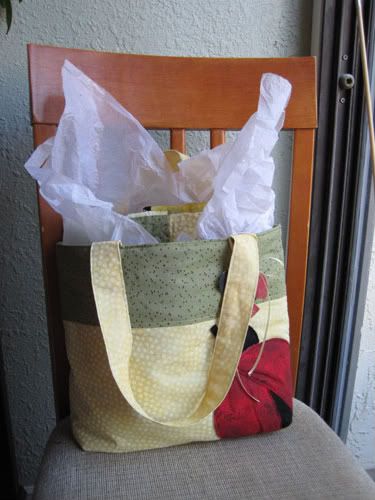
The first task was to stitch up the coordinating tote bag, using the same pattern I used for Kim’s gift (modified from the pattern here). I’m really starting to like these tote bags because they’re so quick and easy to make, and the recipients also seem to really like them (“Church bags!!!" I’m told…). They also make fantastic gift bags that tie the whole gift together. People also seem to get interested in what you’ve made the moment you arrive at the shower. Yes, I’m vain like that.
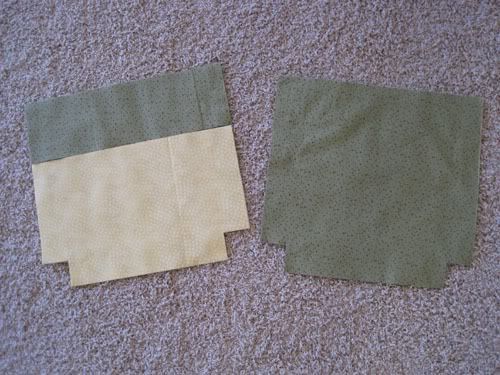
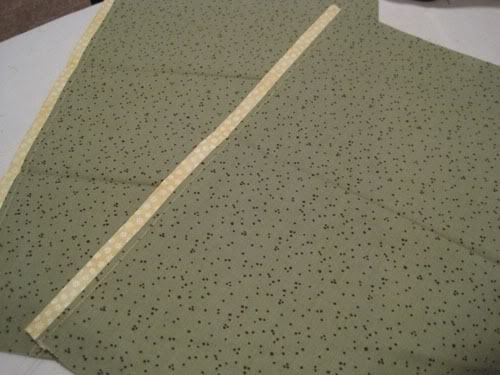
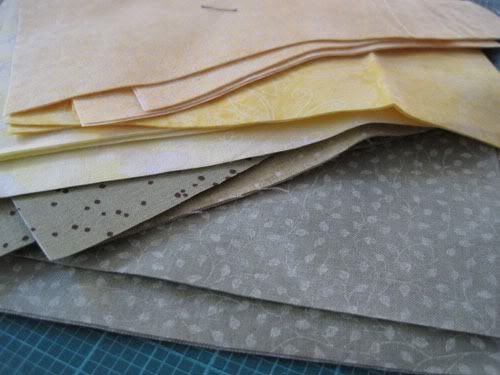
To start, the pieces need to be cut out. On the left are the raw pieces for the bag’s shell, on the right is the inner lining. This is only half of the pieces, I’m actually not quite sure where the other pieces were at this point…
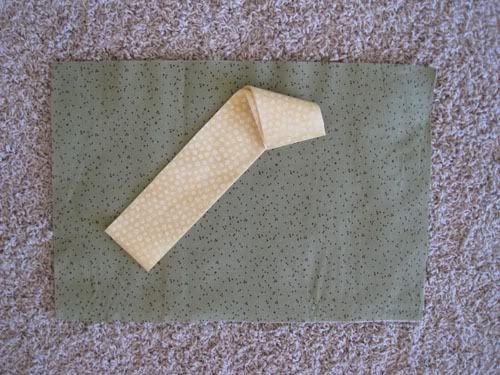
I use a “color block" design on the bags to make them a bit more interesting. That part is easy, it’s just sewing the blocks together, pressing the seam, and topstitching.
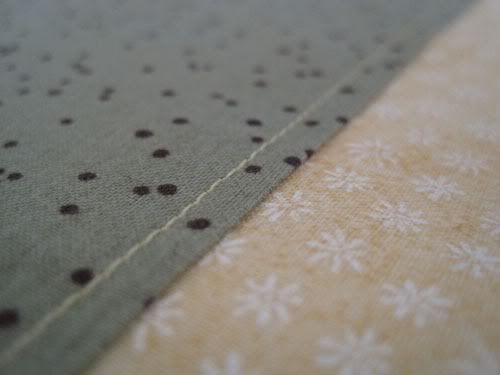
Notice how I press and topstitch to the dark? That’s reasonably important - it helps to keep that seam flat. Do both pieces and set aside for now.
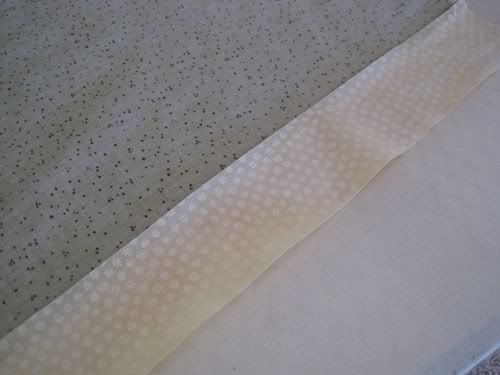
What’s a church bag without pockets? A black hole. Let’s fix that. I cut up some panels the same width as my shell and lining pieces, but several inches shorter. Then, I cut out a length of wide (3" I think) accent fabric to use as pocket trim. Here’s how to install that without much effort.
Sew the accent fabric to the top of the pocket panels.

Flip it over and press your trim’s seam allowance over to the larger panel (be conscious of the transparency of your fabrics here - you don’t want the shadow of your seam allowance showing through).
Iron over about 3/8".
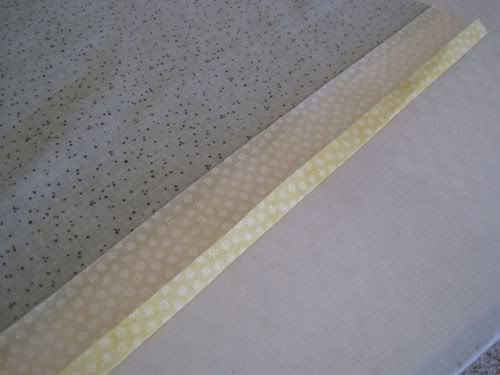
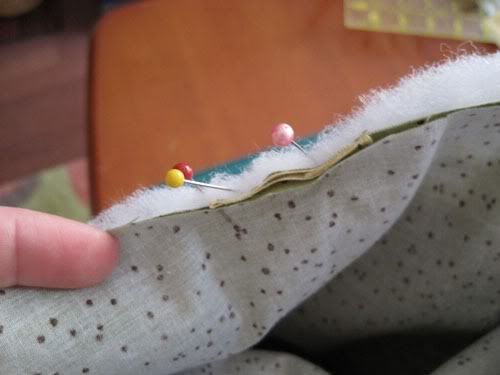
Then iron it over again so the fold you put in during the previous step just barely fits under your color block’s seam allowance.

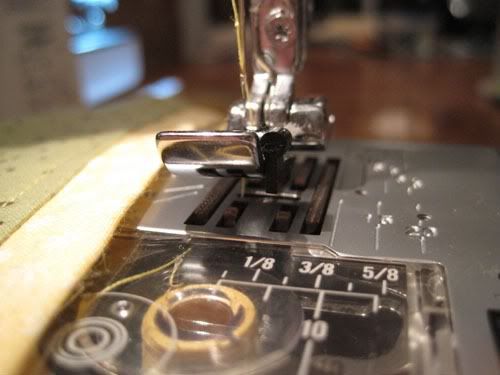
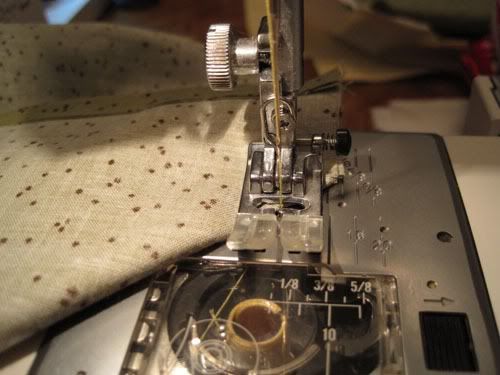
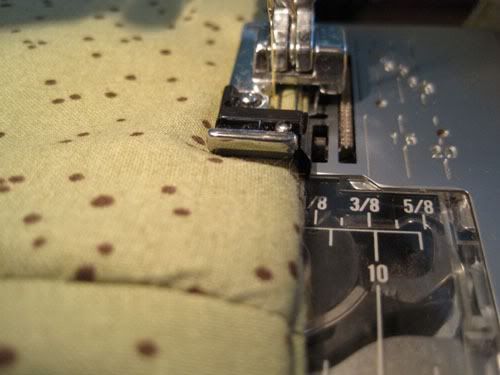
I didn’t take a picture, but go ahead and hook that lip of trim fabric under that seam allowance. Topstitch about 1/4" from your sewn seam. This will catch the the previous step’s folding antics while putting in a decorative topstitch on the front, which just so happens to coordinate nicely with the details on the bag.
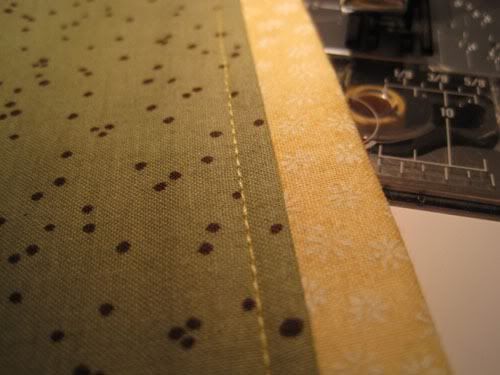
I’m usually pretty good at topstitching evenly, but if you have trouble consider using an overedge foot.
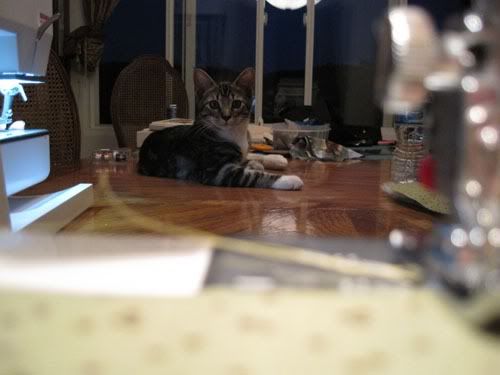
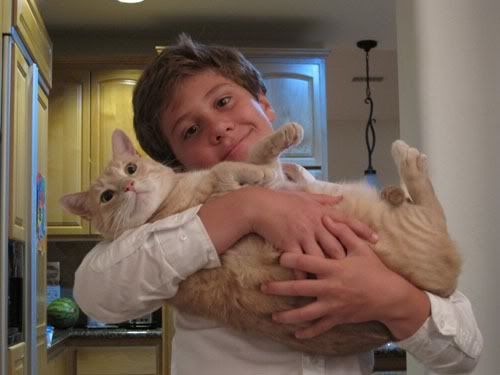
This one got very interested in what I was doing.
Once you’ve completed both pocket panels, iron one into halves and the other into thirds. This gives you a good reference for topstitching them onto the lining panels.
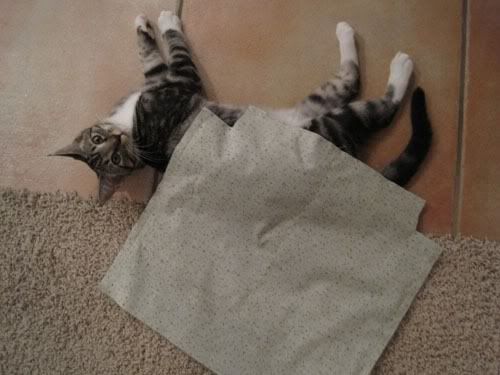
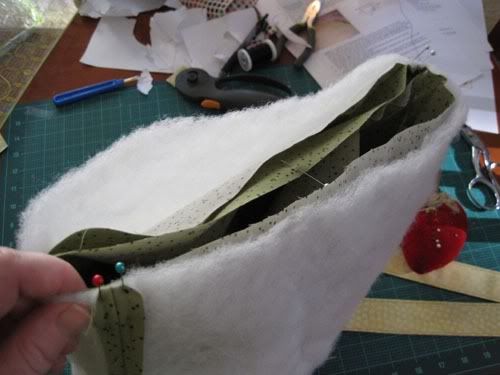
Now for some assembly! Put the lining panels together, right sides in, and stitch the edges and bottom. Stop short of the edge of the fabric by your seam allowance’s measurement (you can go all the way to the edge of the fabric at the top, but leave a good sized hole for turning). Harass the cat.
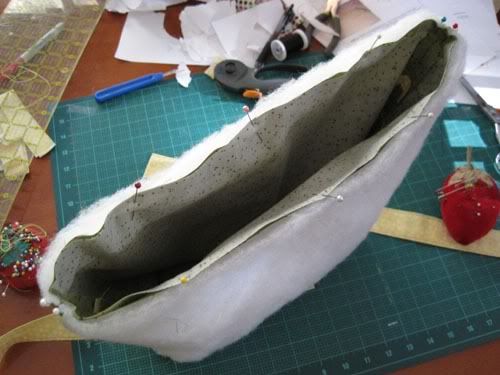
Press these seams open. I found this easier to do over the pointed end of my ironing board.
This next step gives the bag some capacity. Pull the bag open like you’d open a bag of microwave popcorn, as shown.

Sew this new edge straight across.
Listen to the little brother demand attention at the expense of the fat cat. Set the lining assembly aside.
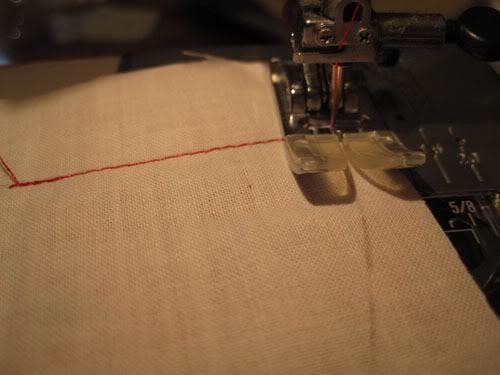
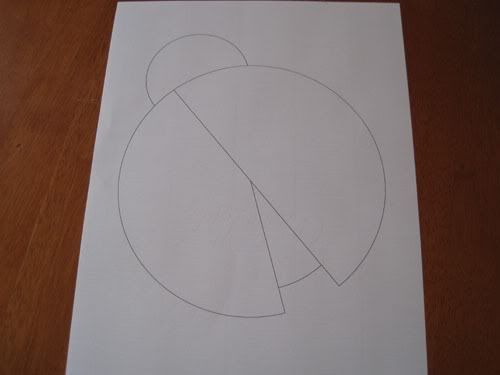
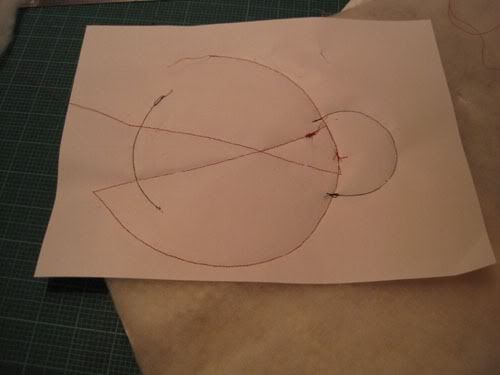
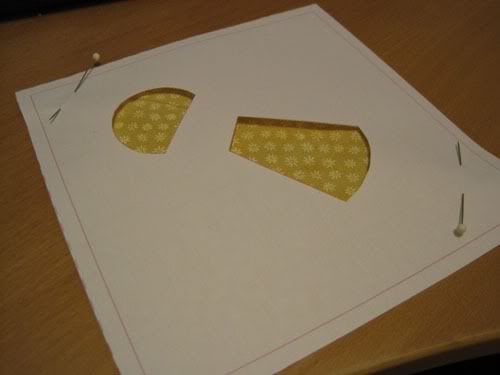
We can’t repeat this assembly process with the shell of the bag yet - it needs its ladybug applique. Using my illustration program, I drafted up a wings pattern to follow and traced it onto some muslin, faced with a fun red fabric. If you do this, use red fabric for the backing - I had to hit some spots with a red Sharpie later.
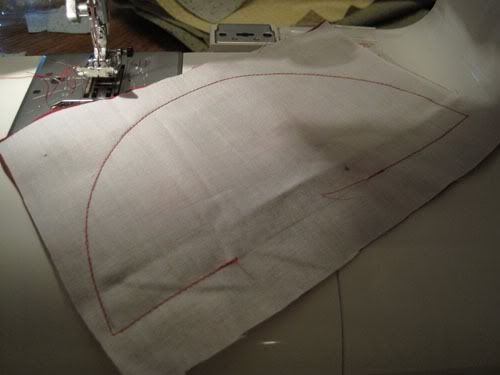
Stitch along the traced line. Notice how I didn’t trim my fabric? I’ve found it MUCH easier to trace the pattern on a large piece of fabric and trim it down later. It comes out a lot better when both you and the feed dogs have good traction on the piece.
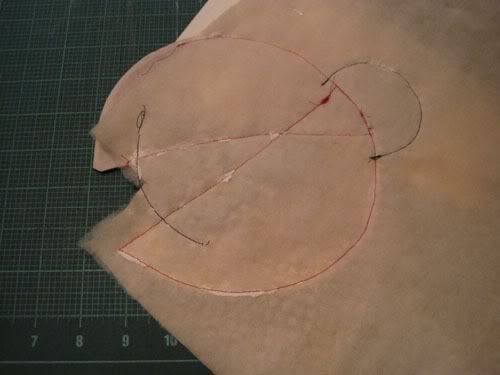
Be sure to leave a turning hole.
Now, trim the fabric down to 1/8" and clip your curves and corners.
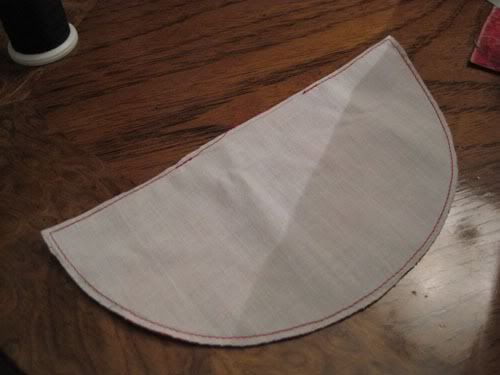
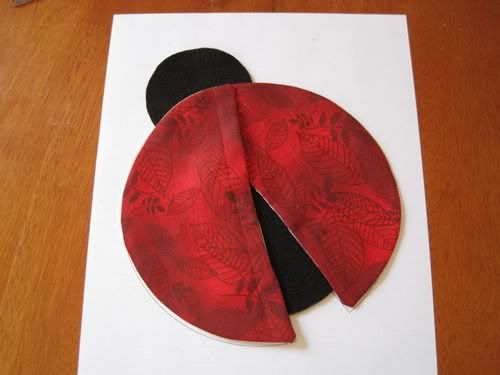
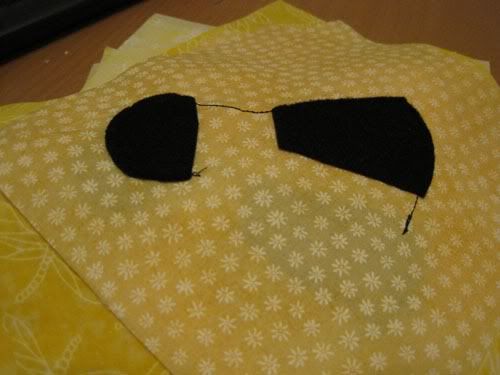
Turn this piece, press, and hand sew the opening closed. I also cut out some body pieces from felt (make sure it’s colorfast!).
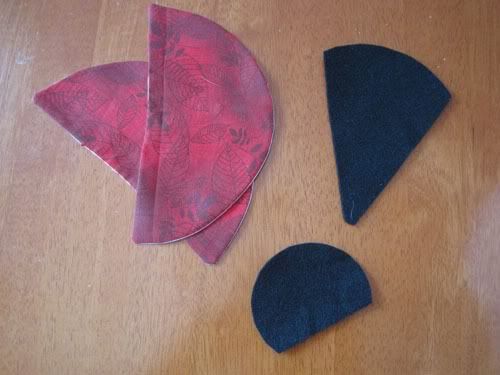
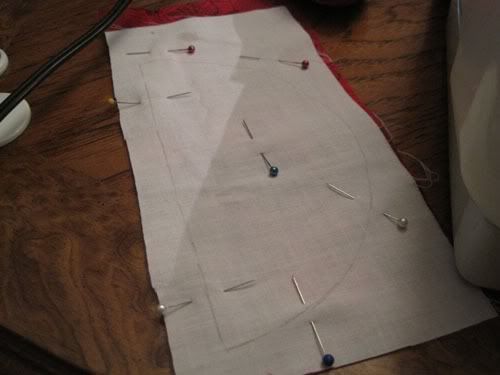
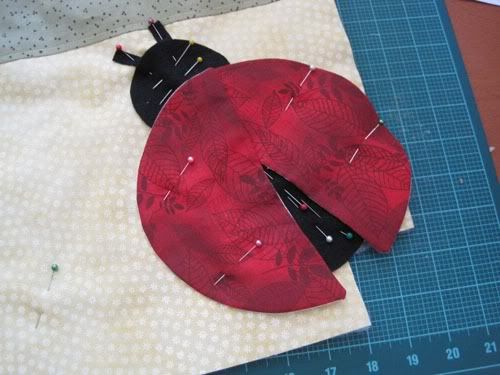
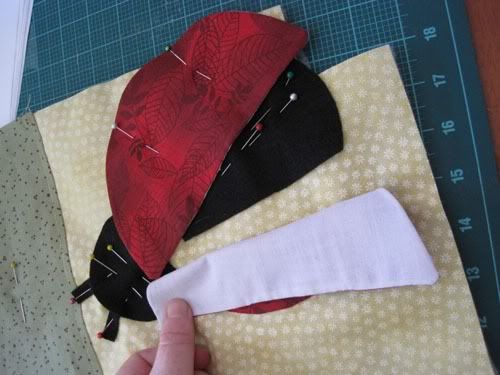
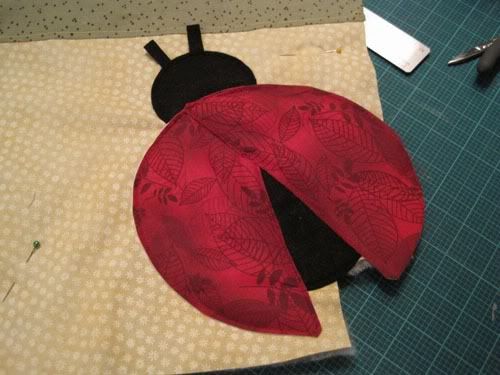
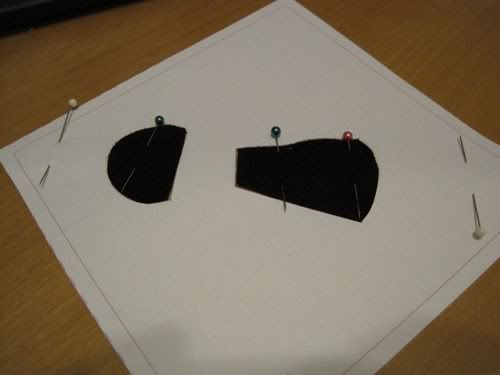
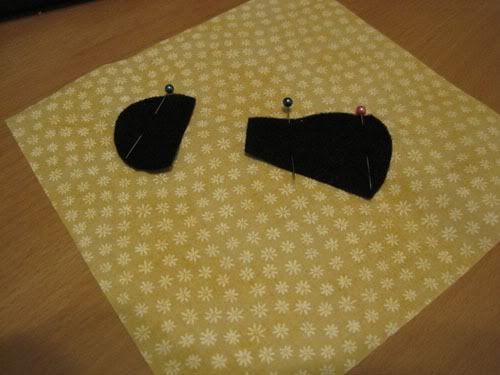
Using a template, I arranged my various body pieces and pinned them together in one movable shape. Transfer to the corner of one of your outer shell pieces. I set it up to get caught in the seam to solidly anchor the element. It can go wherever.
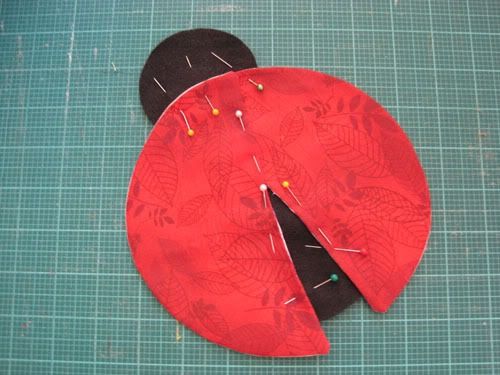
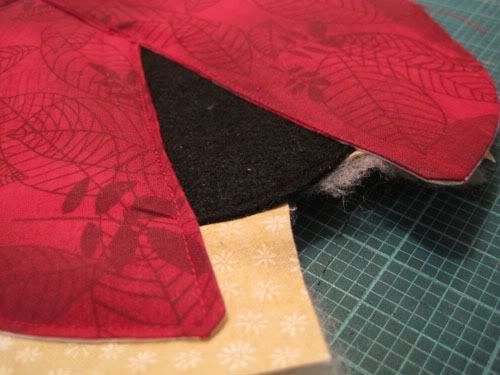
Since nothing was sewn down yet, I redid my pinning to allow me to pull up the wings so I could applique the body parts on. Notice I’ve also added some batting.
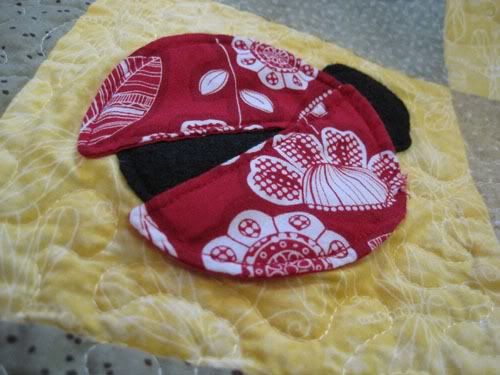
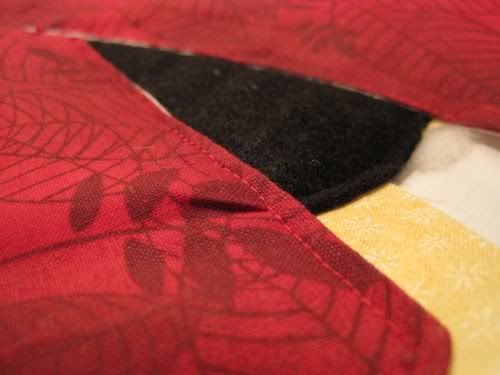
Stitch the body down, and then go back and hit the red. You can see here the areas that I had to touch up with the Sharpie. (And the one pucker on the whole ladybug - way to frame that shot Michelle...).
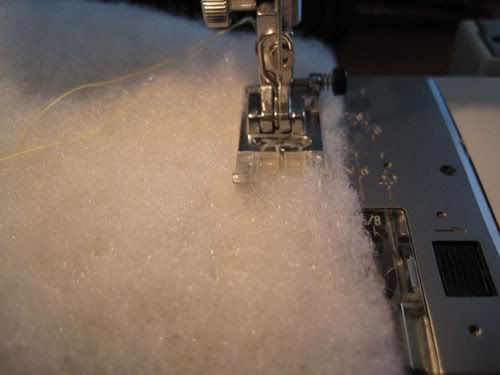
Feed dogs sometimes like to eat batting, so I put a piece of paper underneath to prevent jamming since I didn’t want to have to restart any applique stitching. Funny thing is I’ve only ever seen cats eat batting, not dogs. The paper just pulls off, by the way.
Looks better with some Sharpie love.
Finished!
Repeat the same assembly process as you did with the inner lining, but don’t leave a turning hole.
Whip up some straps - I find that just cutting a strip the width of the fabric and finishing works great - you just cut it in half when done to get perfectly-sized straps.
The bag gets its final assembly now. Turn the pocket assembly right side out and nestle it inside of the finished shell piece. It doesn’t matter which way the lining goes unless you’ve done something to make it matter. If you did, pay attention to your positioning here.

Pin the top securely. I match up my side seams, pin those, and then find my four centers and line them up with their adjoining pieces.
Pin your handles in. Make sure you have no twists!
Sew completely around the top.
Turn and press thoroughly. Sew up your turning hole.
Once you’ve finished pressing, topstitch around the top edge to keep the fabric laying nicely. If you’ve used a thick batting you’ll want to sew further from the edge and pin it. You can see I’m using my overedge foot here, which worked great on this bulky piece.
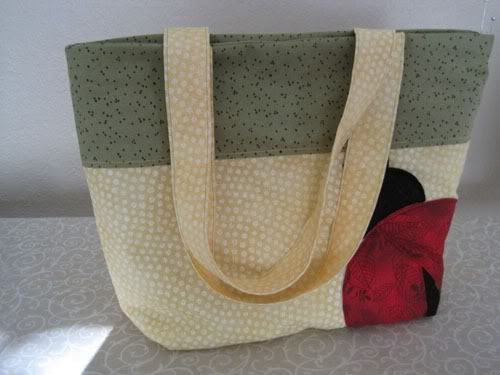
Finished!
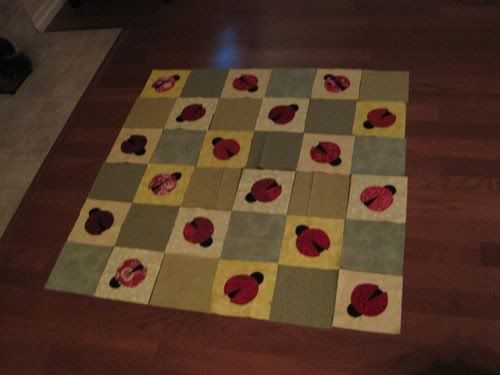
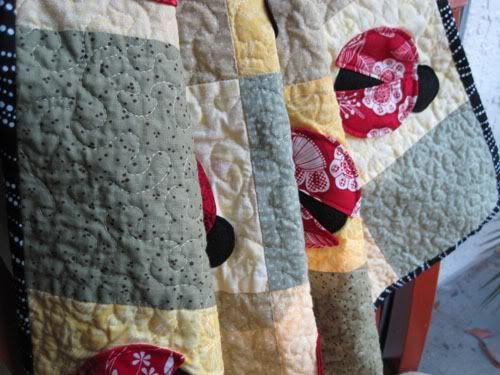
Next, time to move onto the quilt. Using my illustration program, I built a 6x6 block quilt pattern using 6" squares (finished). I also gathered a small variety of yellows and greens - I had three fabrics of each but more would have been better. The quilt ultimately ended up in a checkerboard pattern of green and yellow, with ladybug appliques on the yellow squares.
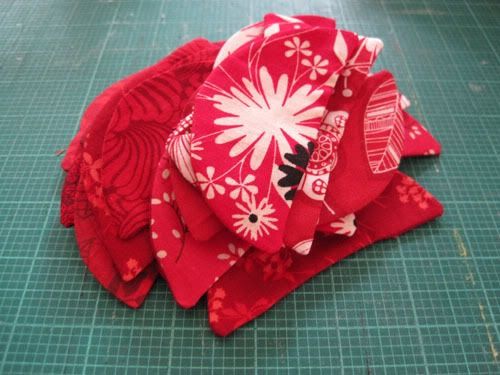
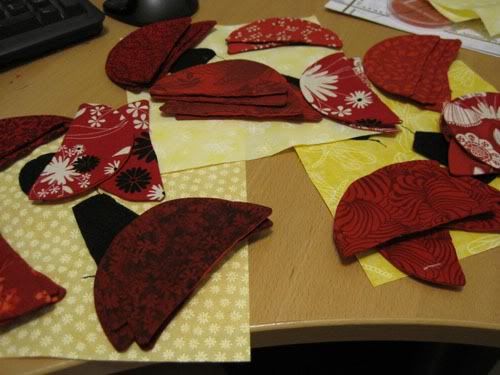
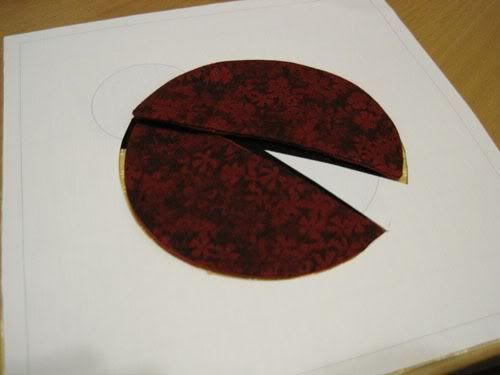
Once those were cut I moved into the wing appliques. I gathered a variety of red scraps and cut them to about an inch larger than my pattern piece.

I wised up and used red backing fabrics here.
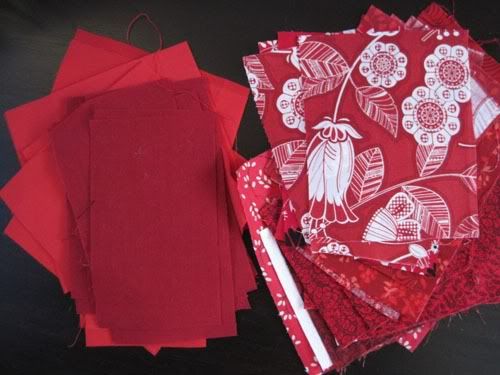
Then the pattern gets traced on, a patterned red is included, and it all gets stitched along the tracing.
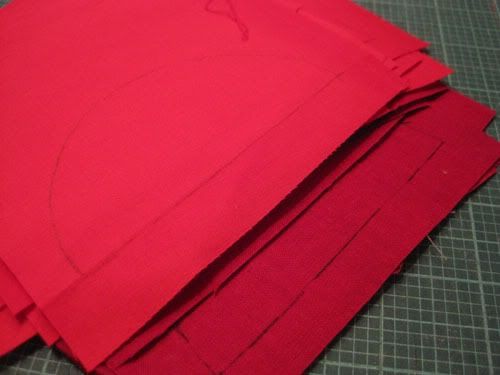

You probably realized you should have put in a movie for that part.
Now, trim down to 1/8" and clip the edges and corners. If you were smart you’d leave a good chunk of fabric at your turning hole to get caught in your applique topstitching, to close your hole. I didn’t, so I hand sewed them all after I turned and pressed them.

You might have noticed night turned into day - yes, this did take some effort :) Thank goodness for Hulu!
Body pieces get cut next, using a pattern.
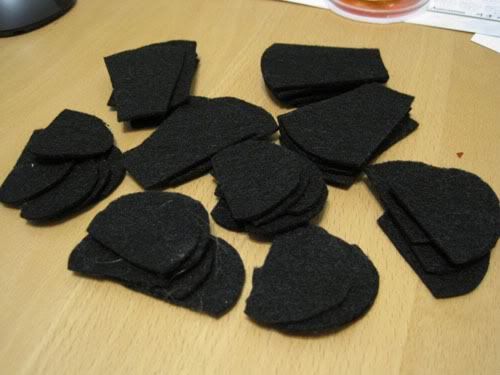
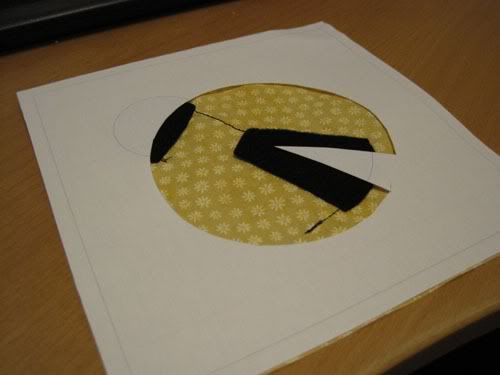
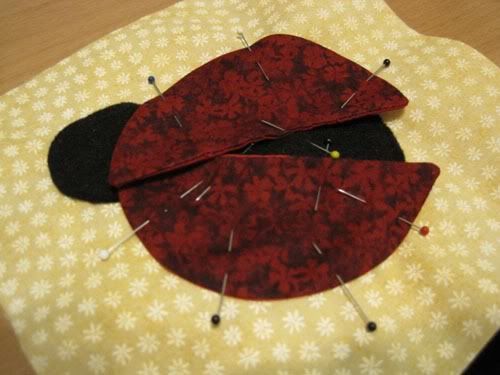
To help me position everything accurately, I built two layout templates - one for body pieces and the other for the wings. The body pieces were positioned first and then topstitched.
Before moving on to positioning the wings, I sorted all the wings so all instances of a red were on the same yellow background. I already knew I’d have to randomize my yellow block placements to avoid repeats, and had I mixed up my reds between my three yellows I would then have TWO repeat scenarios to watch for. With as few fabrics as I was working with this was already an issue.
The wings were pinned on next.
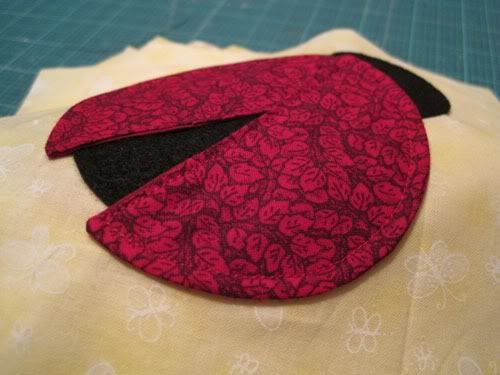
To facilitate appliqueing these on with one line of stitching, I pinned them so the top wing flap could be moved out of the way to get at the layer underneath.
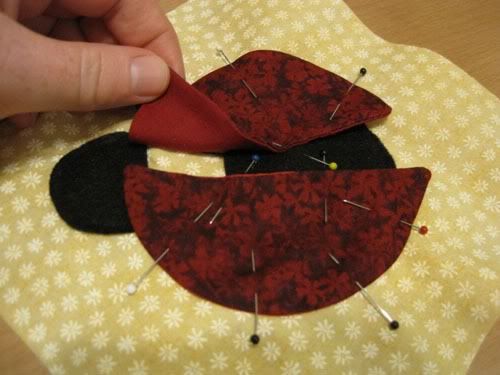
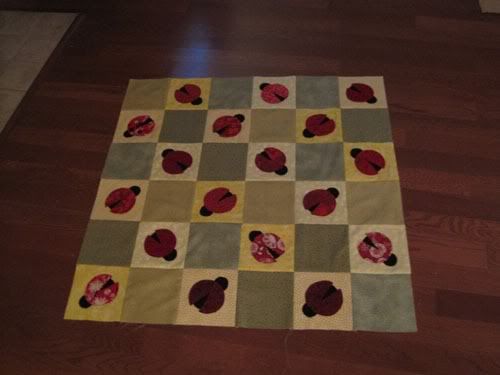
And all of them get stitched!
Now the quilt finally starts to take shape. A cookie for whoever finds my layout goof (that I fixed before I sewed).
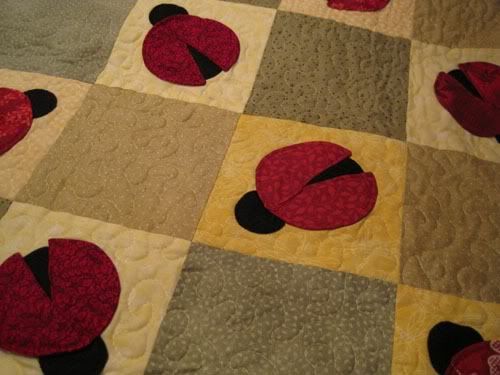
A quick trip through the magical Bernina for quilting (thanks Mom :))
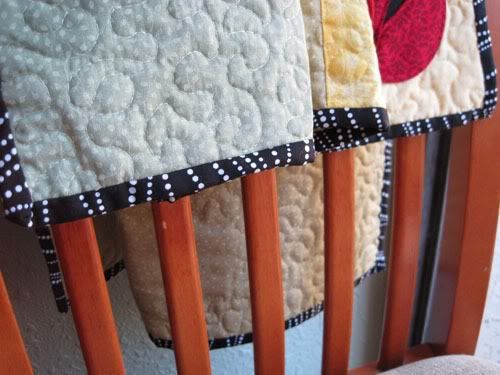
And the binding gets installed. Binding is a great place to pull out an under-empasized color in the design - in my case it was black.
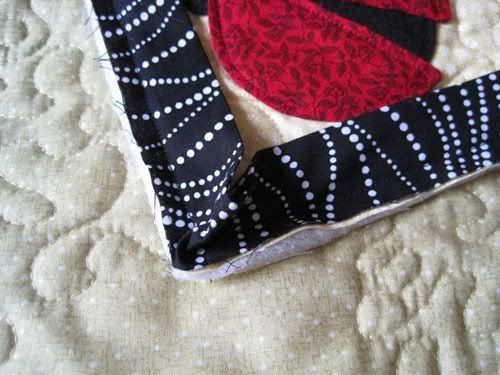
Hand sew that booger on.
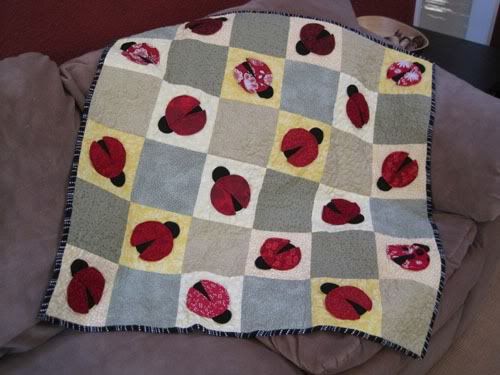
Then, run it through the wash and give it a good tumble try. That puffs up the batting between the quilting and really makes it look cuddly. If you have any doubts about the color fastness of your fabrics, you can throw in a color catcher sheet or just do things the right way and prewash.
All done! This quilt ended up about 36" x 36", the perfect tote-along size for the car or to put on the floor for a clean comfy play place at church.
To complete the gift I made up a “bug set" of finger puppets. I love this little ladybug!
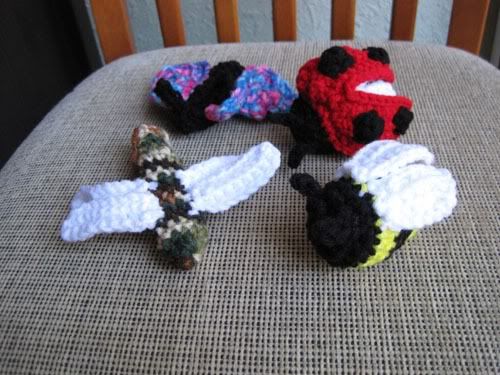
They get packed into a little drawstring bag that matches the whole set.
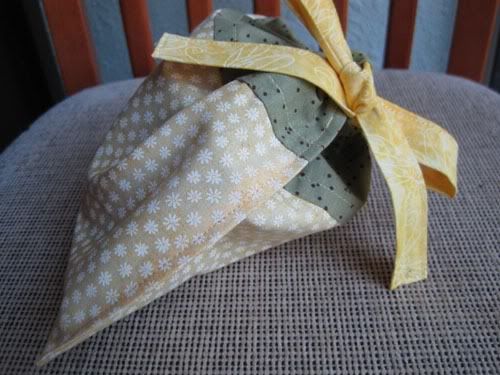
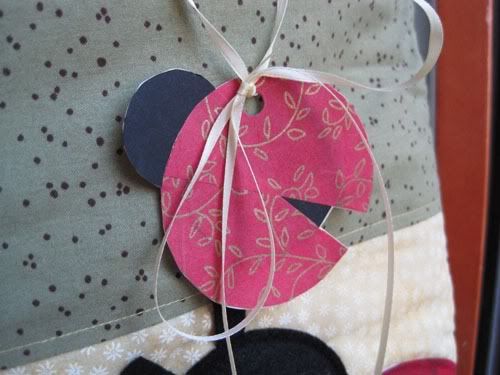
And into the bag they go, with a matching gift tag.
This was a long entry, but I hope you enjoyed it!


I love reading your posts! :)
ReplyDeleteGreat job Michelle! Love your blog! you are certainly one talented girl! Missed you in class!
ReplyDeleteWow, this whole set is simply gorgeous! Nice job. :)
ReplyDelete