For those of you who don’t know, I’ve taken up crochet this year. I don’t profess to be good at it in any way, but I have come up with some cool little things I plan to give as gifts ;) With crochet comes some…supplies…and those supplies have to be managed efficiency to keep yourself together (not to mention the stuff is easy to lose). I was using the little zipper case that came with the hooks that I

I’d actually been noodling this idea for some time, but never found a chance to work on it. With my trip to Missouri coming up, I finally buckled down and put it together. I flew out to MO, but drove back so I knew I had two days that I was going to have to occupy and it came time to get this done.
The roll I worked up folds and buttons in such a way that items don’t fall out, and also has provisions for all needed supplies and a pocket on the back to hold small quantities of yarn for all-in-one portability. And, with use in the car in mind, I made it so it can hook onto a vehicle’s headrest supports so everything is at hand and not sliding off the seat. This came in handy as on the way back from MO as I was fighting to preserve my personal space from the amoeba that is Paula…

This roll is simple in execution but somewhat difficult in concept – pay attention to the positioning of flaps and such. My feeble little mind has forgotten most of my measurements, but it’s such a fluid pattern that it really doesn’t matter. For an easier project, drop the back pocket. Did I say that this makes a great gift?
Here’s how I made it:
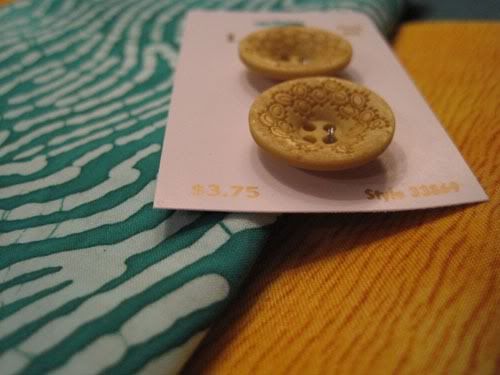
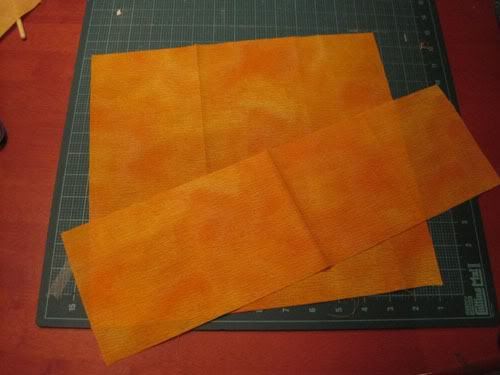
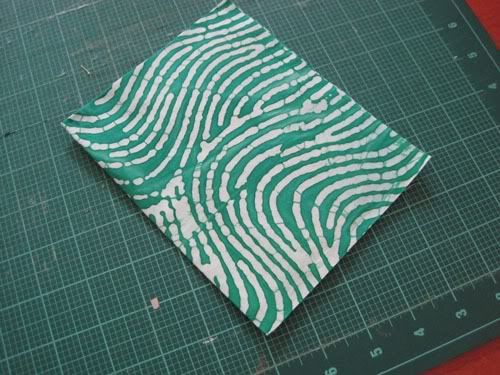
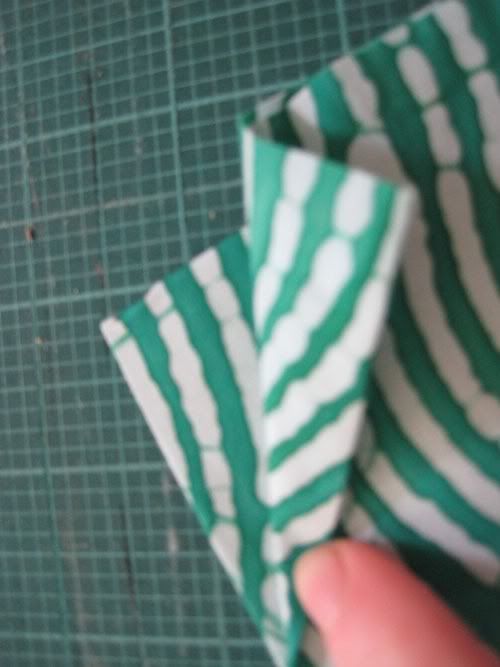
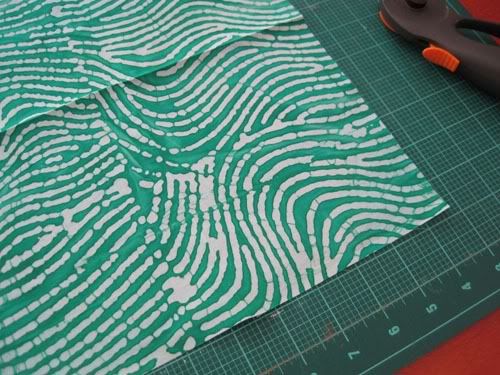
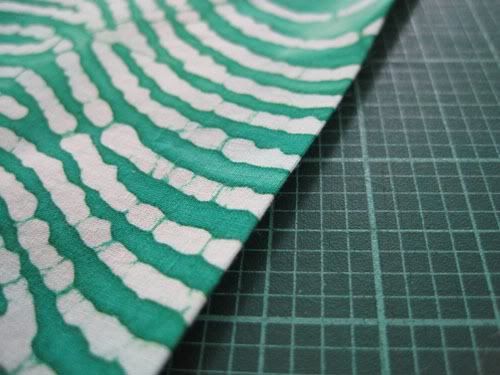
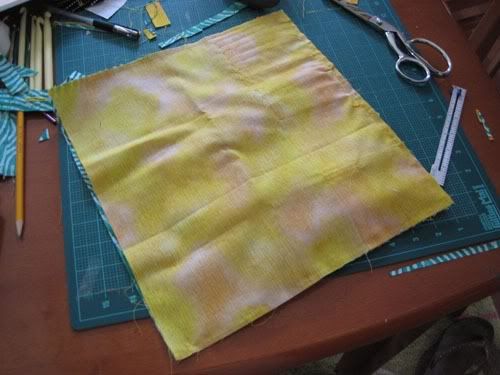
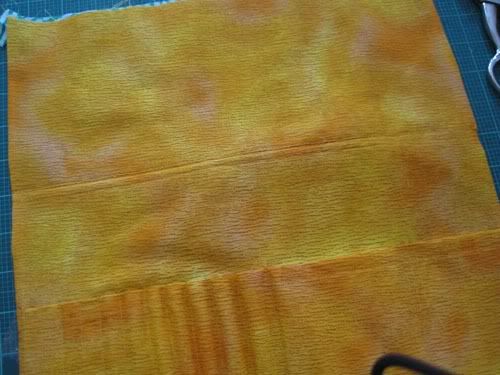
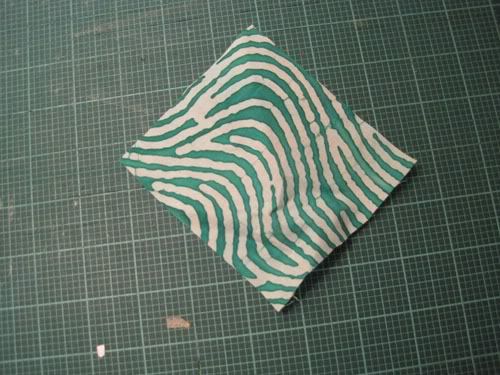
I used two coordinating fabrics. The green batik was a half yard or so of remnant and the orange was a fat quarter. Drop the “extras” and you could probably use two fat quarters (though, I must say, I’m really not a fat quarters fan because they’re so expensive compared to regular fabric – spend a little more for a half yard cut and enjoy the scraps). You for sure need two coordinating buttons, and an additional two if you do the headrest straps.
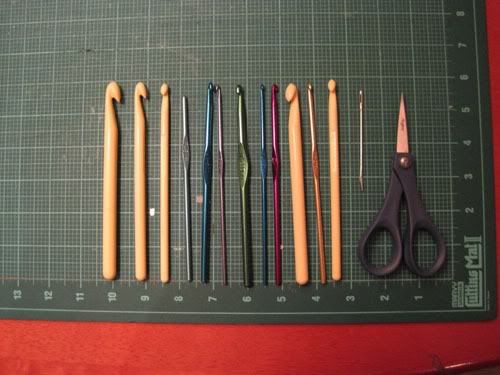
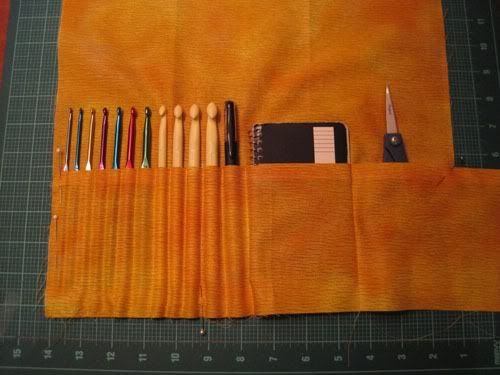
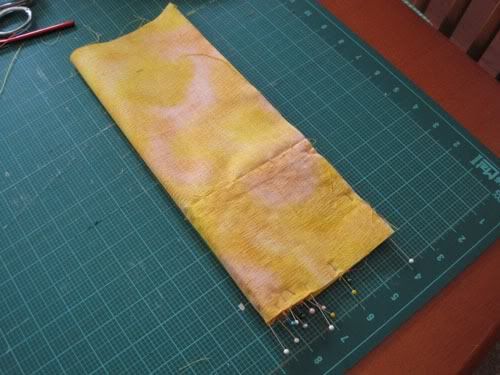
First thing to do is to measure your supplies to get a rough idea of how big to make your roll. You can see I needed about 11” x 6”. Don’t cram your supplies too close together.
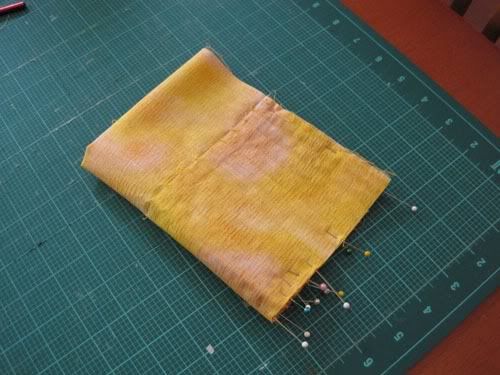
With that I worked up my raw piece size, 12.5” x 13.5” (I think). This allowed for a flap to fold over to keep the items from sliding out.
I cut out my yellow fabric, and included a shorter piece to be my pocket. The shorter piece was about 4” raw, but this will conceal the sizes on the hooks. Decide for yourself if that bothers you. I prefer the red hook so it was a moot issue for me. I also made the pocket piece several inches longer so I could mold it around the bulk of my supplies without shorting myself at the other end.
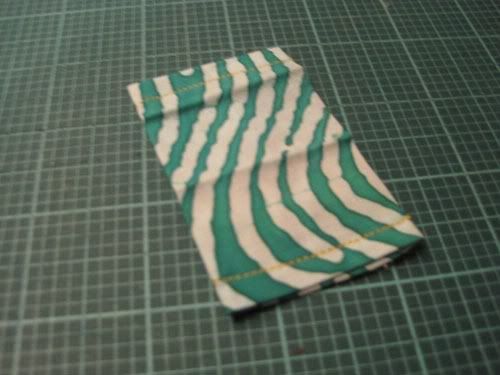
Put a simple rolled hem on the top of the pocket piece and topstitch.
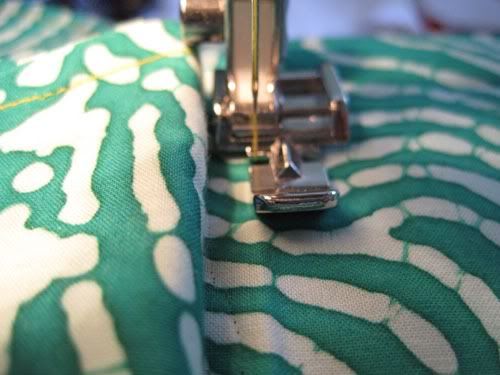
Next, position the pocket piece where you’d like it to sit on the back piece and stitch up one side (in my case the left side as I look at the roll). Make this stitch just under 1/4" so that it acts as a baste stitch but doesn’t show when you sew the faces together. If you like, pin at 1/4" to replicate the actual seam, as I did.
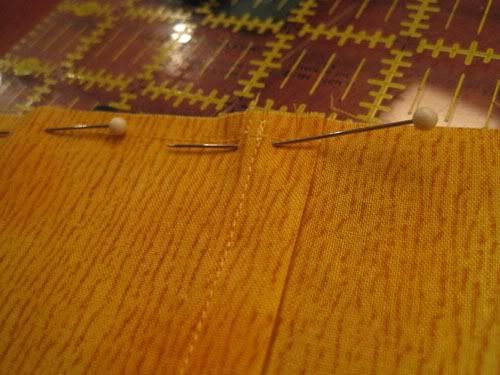
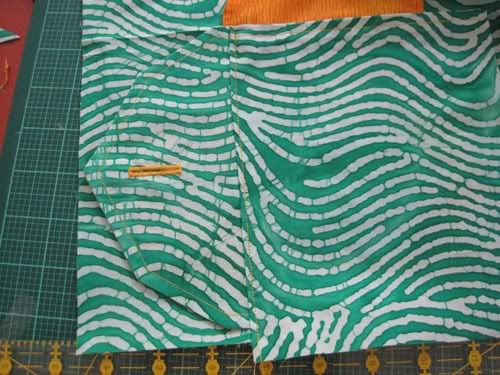
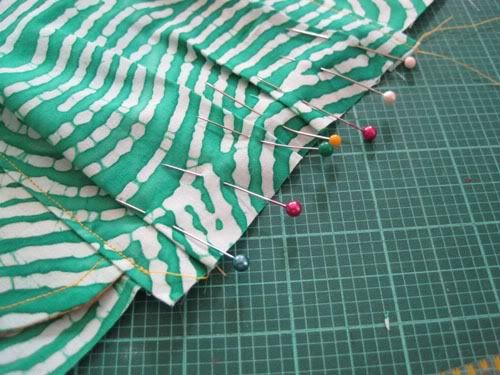
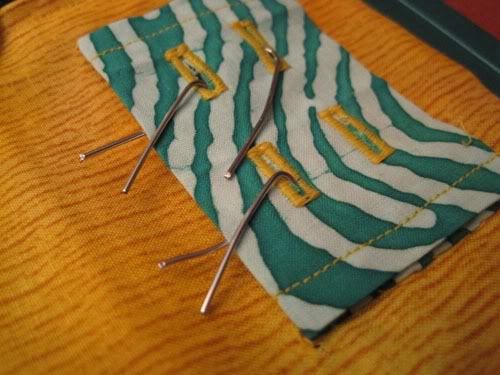
Next, take the smallest of your hooks and place it against the pin or baste stitch, under the pocket. Only adjusting the pocket flap, mold the fabric around the pin and pin in place. Your pin represents your stitch line so make sure it’s snug. You only adjust the pocket piece because you want it to carry all of the pocket’s capacity – if you rely on the back piece to do this your roll will pull out of size and won’t lay flat. Also take note of my positioning of items – this whole thing has to fold so keep in mind where you want those folds to fall and position accordingly.
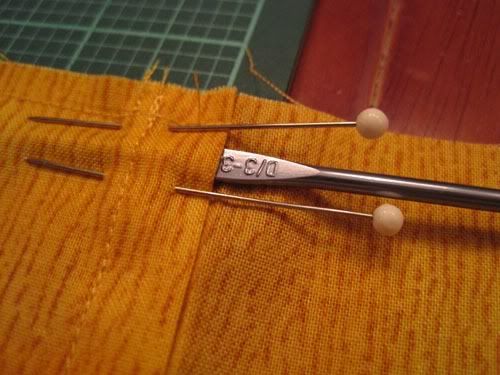
Stitch the line represented by the pin and repeat with all items. A fabric marker or chalk wheel would be helpful here. You’ll see how many supplies I was able to get into my roll.
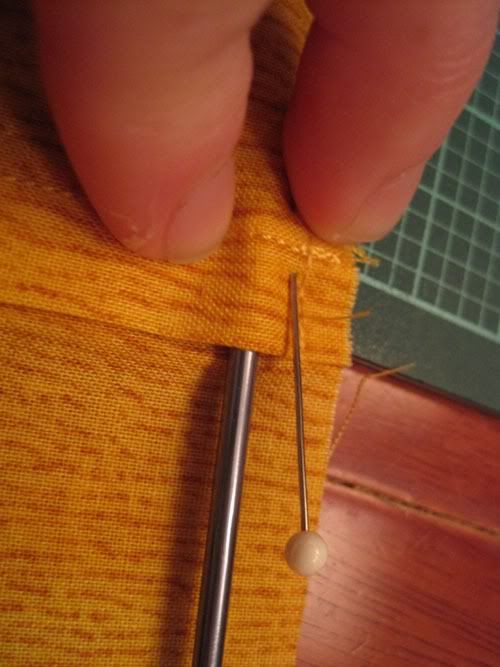
And, since I didn’t take a picture of it I’ll just tell you – I realized with this project why my mom pulls her top thread through to the back and ties off there. It makes a seam that terminates beautifully. This works great on the seams between the hooks and supplies. To do this, sew your seam but do not backstitch. Cut your threads and remove the item from the machine. Flip the piece to the backside and gently pull on the end of the bobbin thread. The first little loop that pops up is the last loop of top thread – take a seam ripper and carefully pull this loop through to the back. Tie a tight double knot and trim your threads. Wow.
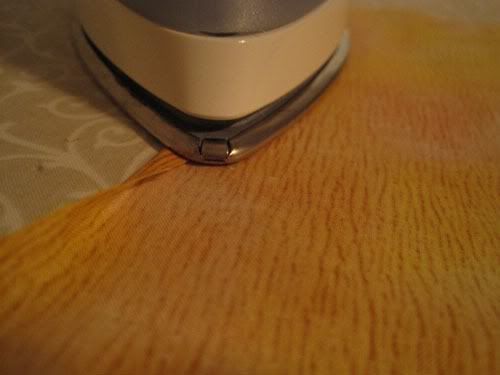
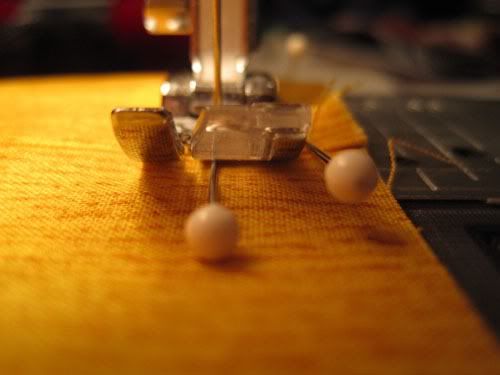
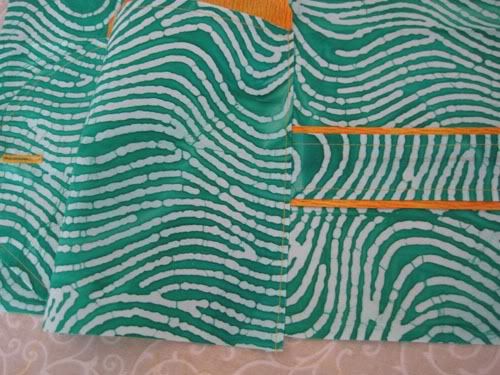
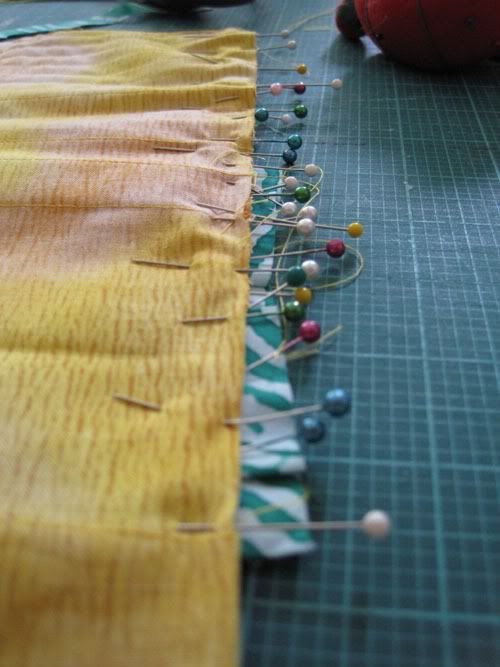
With all of that done, you’ll need to deal with the lumpy mess at the bottom of the pocket. Trim your pocket to be even with your back piece, if you have any overlap. To finish these pockets off I ironed down every other pocket, forcing the excess fabric over the pocket to either side. Pin in place. Repeat with the skipped pockets, and pin in place. I didn’t say it’d be pretty.
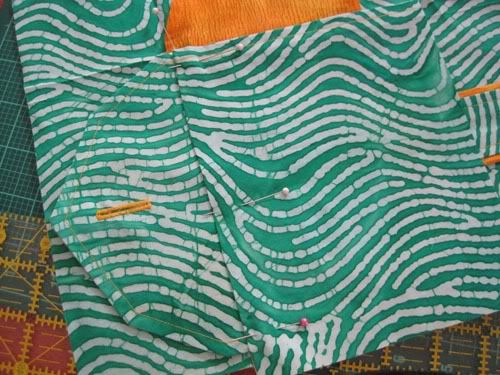
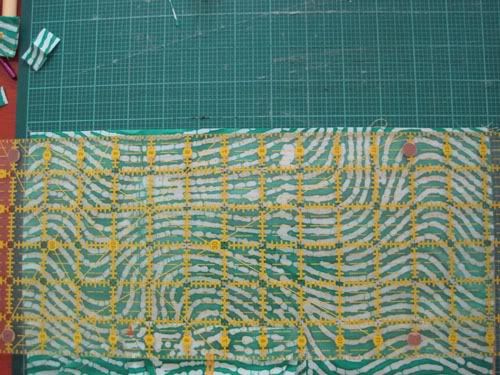
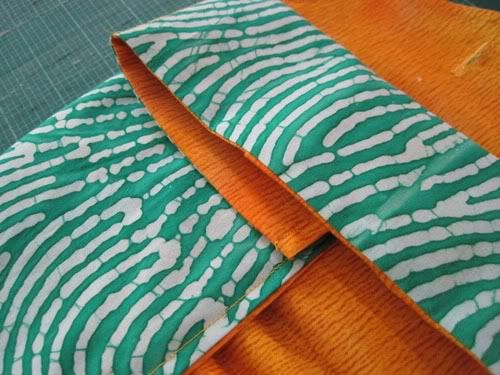
Now, it’s time to give yourself some reference lines. Fill up your pockets with your items and figure out where your roll naturally wants to fold. The easiest way to do this is to fold the right side in at a place it will agreeably fold. Then, fold the left side over right at the half way point. Keep in mind you still have a seam allowance here so advance it to the right so your 1/4" seam allowance has overshot the first fold you made.
Fold the top over at a convenient place. This will become your top flap, so I say it’s good for it to overlap the top of the pocket a bit.
Mark all the folds with pins and remove all the items. Refold and press, taking care to avoid your pretty little pockets.
Using the measurements from these folds, do the same with your outside fabric (which has conveniently been cut to the same size as your base piece for the inside (the piece the pocket was sewn to).
The same seam allowance rule applies for the left side fold.
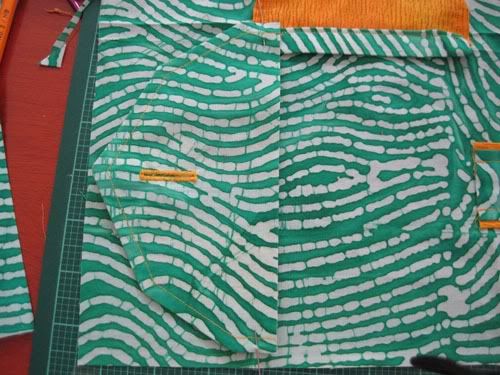
Why did we do this? This is a great way to mark your individual panels for the piecing that will soon come. If you aren’t as abstract as I am, take the opportunity now to mark your panels – front, back, flap left, flap right, etc. The bottom right panel here is the “front” and the panel to the left will hold the back pocket. To the left of that is the panel that you’ll fold first. The top flaps are left alone for now.
Set that aside and let’s make some closure flaps!
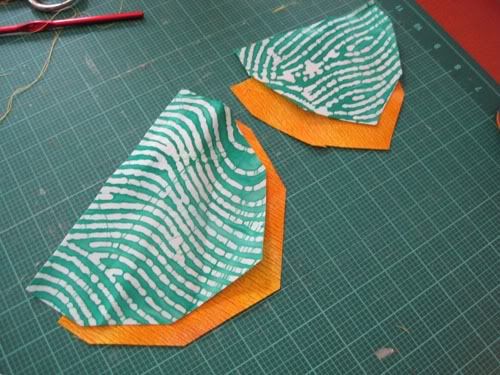
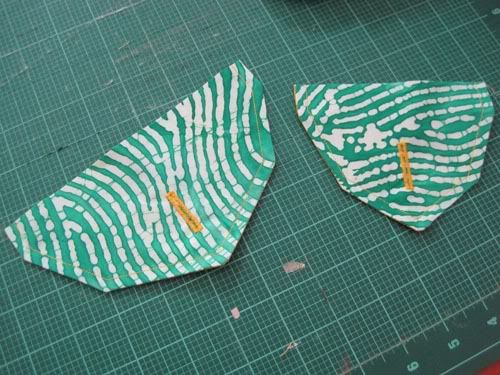
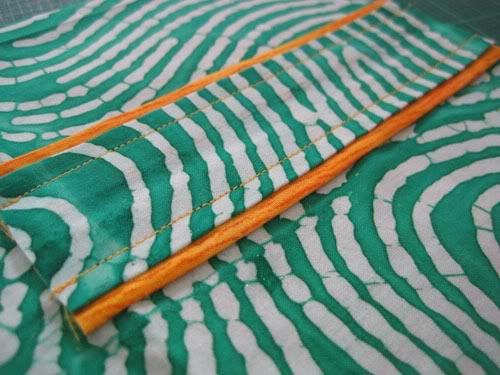
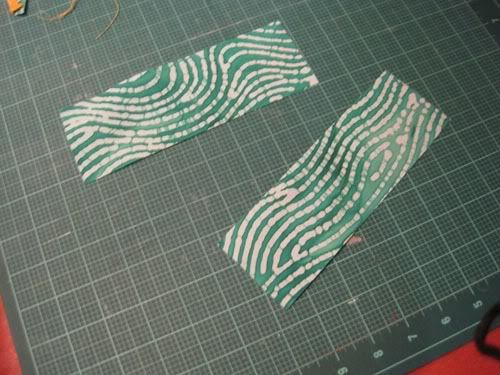
I worked up a nice little gambrel roof pattern based on the size of the panels created in the previous step. As for how tall to make the flaps, that’s your call. My larger (front) flap is 3” finished and the back one is 2.5” finished. Cut a front and backing for each. Make sure you leave an inch or so to work with at the top of the flap (the rectangular area in the picture).
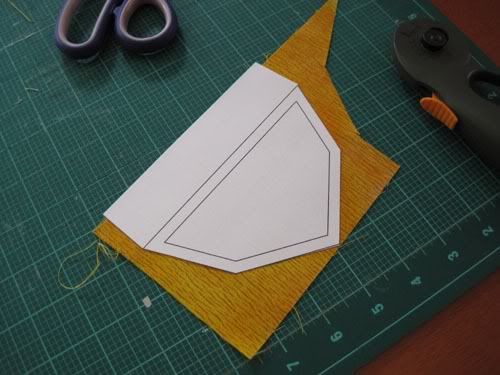
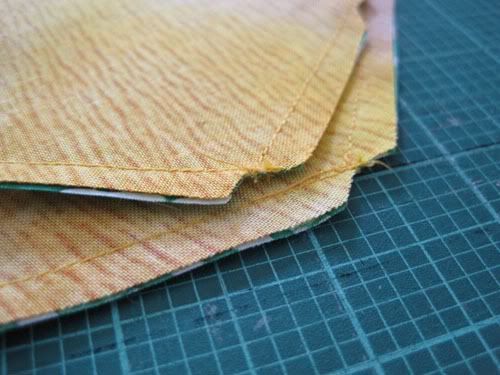
Sew with a 1/4" seam allowance, clip the corners, and turn. I found the end of my seam gauge to be great and getting the corners nice and sharp.
I should note here that the smaller of the flaps needs to be finished on all sides. I failed to do that and had to monkey a slipcover for it later.
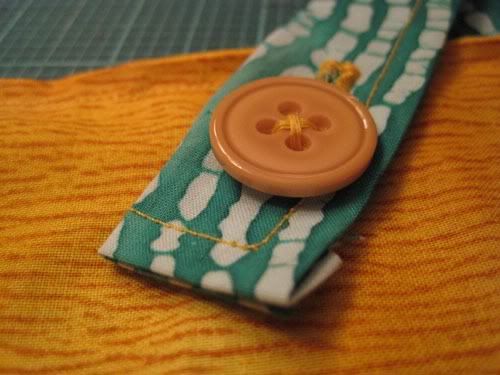
Press, throw on a decorative topstitch, and a buttonhole.
Set these aside.
This next part is optional, but I felt the front needed some balance with the big flap and button that will be on the right hand side of the completed and folded roll. I made a “belt” of sorts. Keep in mind if you drop the back pocket you’ll need to adjust this piece to wrap all the way around the roll, or find a proper way to terminate it at the left hand fold. Also note the pattern direction of your fabric – if you want to create visual interest (which I highly recommend) cut this piece so the pattern is perpendicular to the direction of the fabric on your main piece. It is not a strong element in my roll, but if you did this with stripes it’d look really neat! You can also use a completely different fabric here.
I cut a small strip about 2.5” wide and pressed the long edges in so I got a 1.5” strip. This strip should be a little bit longer than the front of your roll to give you something to work with (that folding and ironing of the main piece you did earlier comes in handy to get sizing!). I cut two same lengths of my contrasting fabric, though only 1” wide and pressed them in half. If you’re lazy like me just cut one long length and trim to size.
I set this up so I’d have a 1/8” reveal of the contrasting fabric against the main fabric. Because I had such a tight tolerance and any screw ups will be very visible, I opted to build one decorative piece to topstitch on later. I used heat-activated tape to attach the contrasting fabric, and it worked great with no wobbles, puckers, or anything that makes Shelle grumpy.
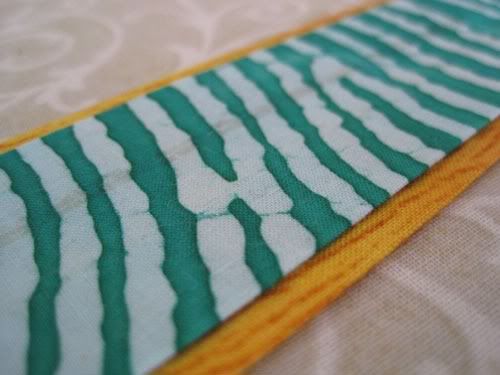
Position on the front panel of your outside base fabric, and topstitch 1/4" in – I used a contrasting thread. If you’re doing the outside pocket, make sure this belt piece overlaps the left hand seam 1/4” so it will catch in a seam that will be going there.
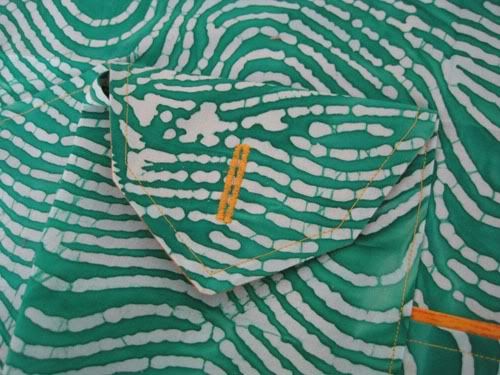
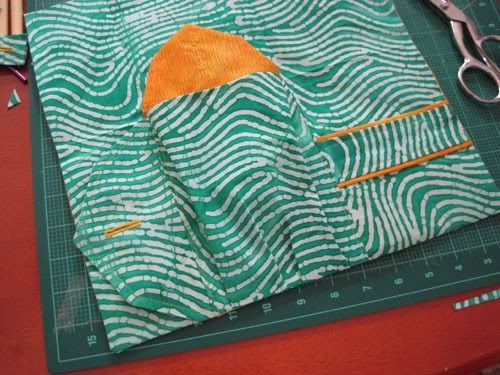
Now it’s time for some fine tuning of your pattern. Lay your flap pieces over their respective places on the base piece and make sure that when all is said and done, they will be equal to the height of the panel they’re attached to. Now, I know that made no sense so here’s a picture:
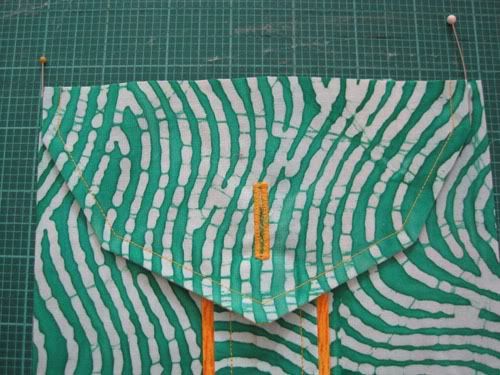
This is my front flap on the panel it folds over to (which is the bottom right panel of your ironed base piece). Notice how its edges fit perfectly against the top fold and the bottom seam allowance? That’s what you want. If it’s not right, adjust your top fold (middle horizontal fold if you unfold the base piece) to accommodate. Do the same with the flap for the back pocket if you’re including that (the panel to the left of the previously mentioned panel will hold the back pocket).
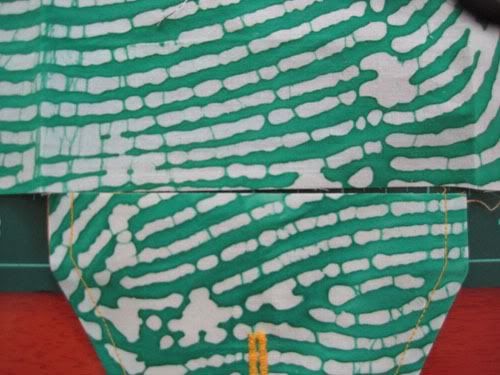
Now that that’s done, it’s time to make the outer pocket! Cut a piece of your main fabric that is a few inches wider than the back panel. Also, make it an inch or so taller. Throw a rolled hem at the top and topstitch, I continued the contrasting thread.
Press the taller sides 3/8” in and press. I left my edges raw because you can’t really see them, but if you’d like to do a lining you can hide these edges well. My little sewing machine can only handle so much so I reduce bulk as much as possible.
Now it’s time to start assembling!
Position the smaller of the flaps onto its panel of the base fabric. I set it up so it folds over just below the top edge of the completed roll. This also shows the slipcover that I mentioned earlier. Topstitch it and tie off the seams on the backside, as previously directed.
Next, position your front flap on its panel (which is the bottom left panel on your base fabric), aligning the top edge with your ironed fold, and shifting it to the right 1/4" so it catches the pocket’s seam. You may notice I trimmed down the extra width on this flap (the rectangular area I mentioned earlier).
Place the left side of the pocket over the flap, and position so its ironed fold is aligned with the fold on the base fabric.
Topstitch 1/8” in.
Repeat on the right side.
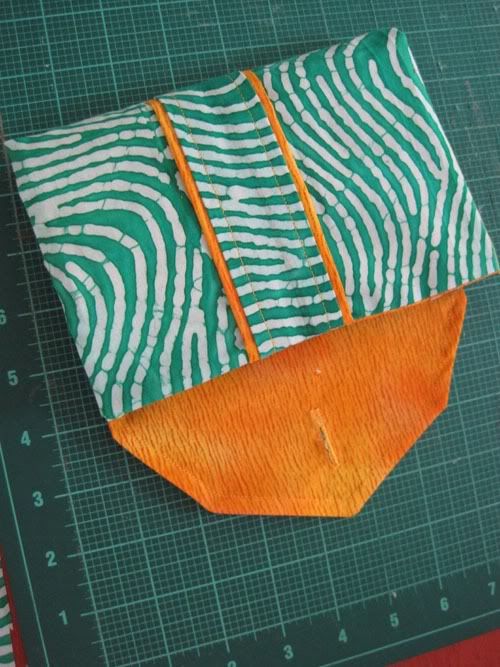
This is how it all folds together. I gave the flap a quick iron to encourage it to fold over nicely.
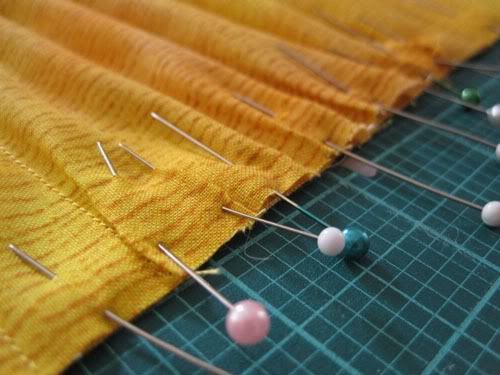
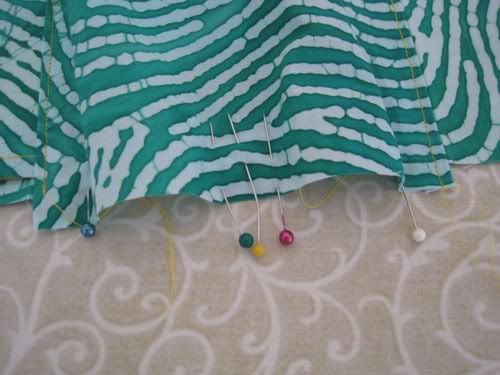
Now, to properly treat the bottom of the pocket you need some pleats. I didn’t trim the fabric to match the base fabric at this point because I wanted some more to work with. Trim it down if you prefer.
Position some pins to help create two nice pleats, and press.
Your outer piece is done! Wooooo time for a cookie!
Now it’s time to start sewing. I sewed the bottom edge together first because it was the most delicate.
Sew the two side seams, leaving the top edge open.
Turn and press.
I smoothed out the fabric and put in a topstitch where my “keep things inside” flap folds. This keeps the layers of fabric together and also provides a reference of where to fold. You may need to switch to a narrow foot to do this.
Here’s what it looks like now:
Even out your top edge, turn the raw edges in, and press.
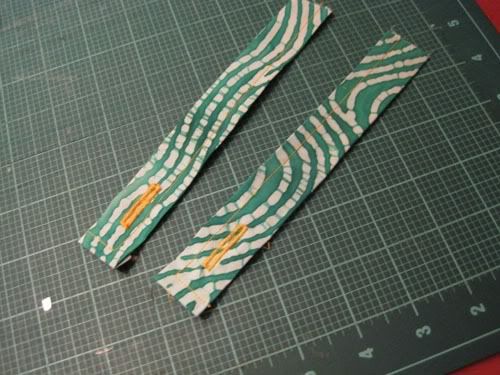
To make the headrest straps, cut two rectangles of fabric.
Fold the edges in and topstitch, and add a buttonhole. Make sure you make mirror imaged straps. You can leave the shorter edge without a buttonhole unfinished.
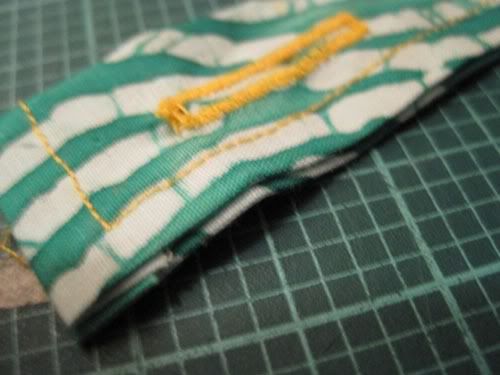
My sewing blogs say topstitching things like this is easier when you position one layer just inside the other, like this:
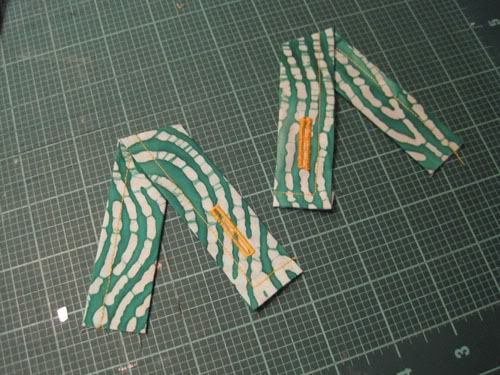
Iron into convenient angles (why am I seeing a double Ssahng Jeol Bong V-Strike?):
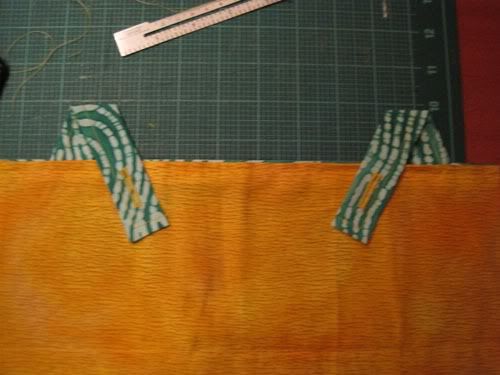
Position in the raw ends of your straps into the open top edge of your roll. You may need to pay a visit to the garage to see how to position them. Pin in place, and topstitch the open end of the roll.
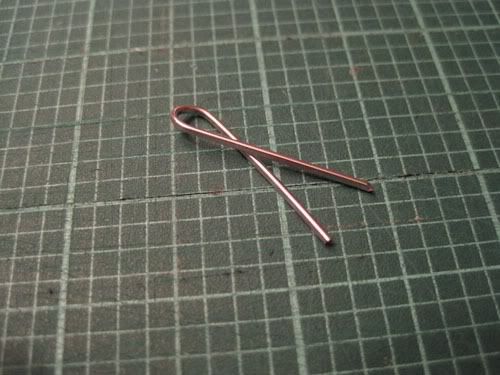
I also added a little piece to hold my stitch markers, which are paperclips that I’ve bent into a ribbon shape.
To do this cut a square of fabric, sew a tube, turn, and press.
Turn the open edges in and topstitch. I ironed in some guidelines for my buttonholes.
I added some buttonholes and hand-sewed this down, though if I had thought about it earlier I could have machine sewed it before I assembled the whole piece.
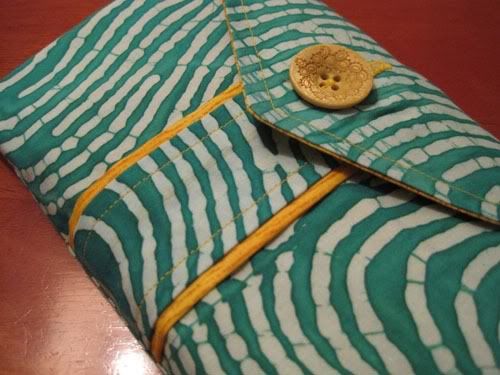
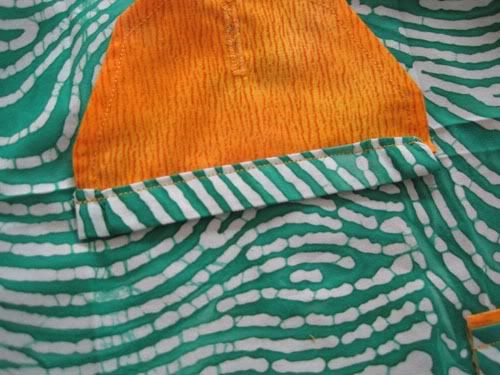
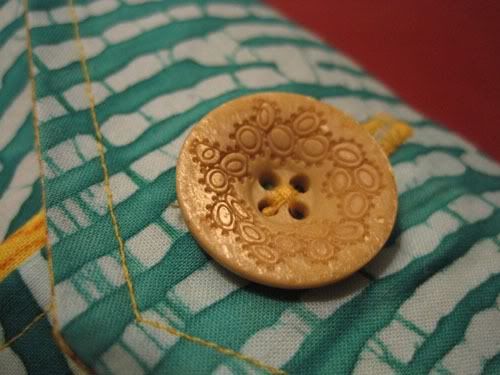
You are done! Now all you have to do is sew on your buttons, fill ‘er up and enjoy!
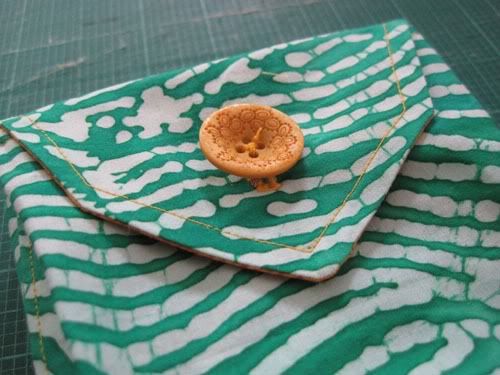
Here’s how it folds:
Top edge over first:
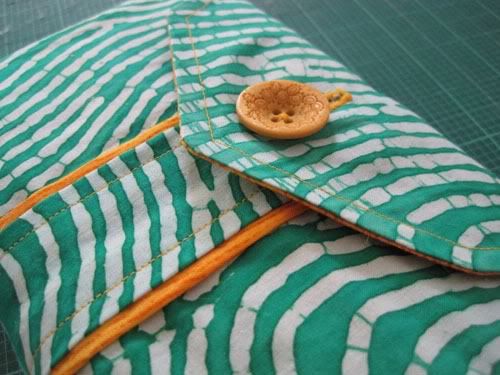
Right flap over next (don’t fold the buttonholed flap):
Then the left flap:
Button to secure:
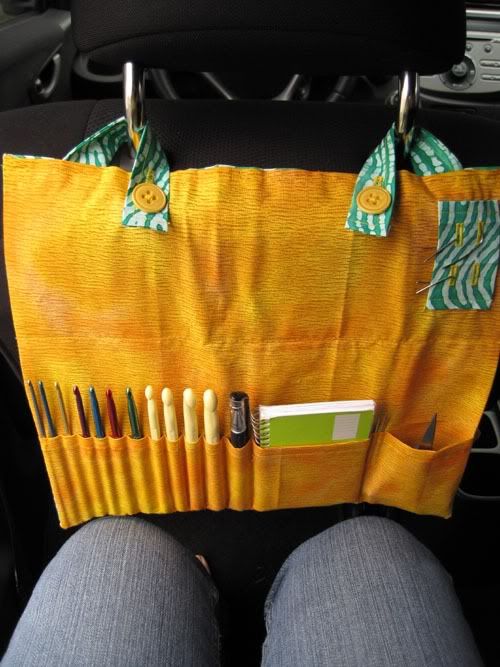
And here’s how it works in the car:
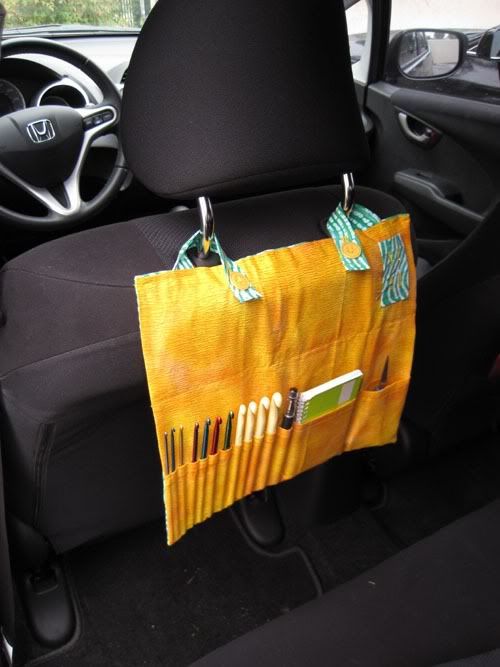
Decide for yourself if this bugs you and adjust the length of your headrest straps accordingly – for the record I have a little car with little seats and little legroom. And I have little legs.
Happy crocheting! Let me know if you need any clarification.


Wow, that's a lot of steps! I love your descriptions though!
ReplyDelete